4-32
Configuration Settings
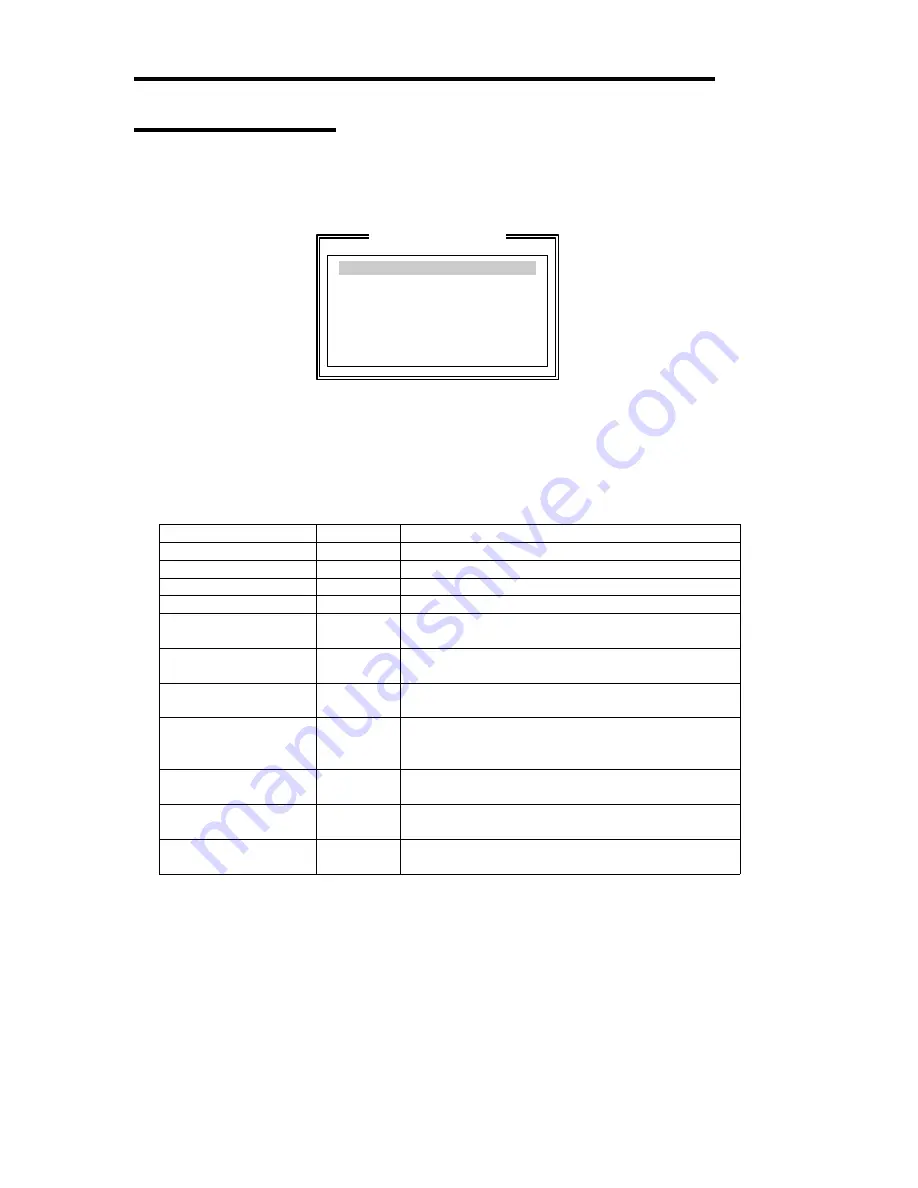
If you select "Configuration Settings" from the "Fast!UTIL Options" menu, the screen for setting
the configuration appears.
Host Adapter Settings
SCSI Device Settings
SCSI Bus Settings
Autoconfigure SCSI Device
Selectable Boot Settings
Restore Default Adapter Settings
Raw Nvram Data
Configuration Settings
Host Adapter Settings
If you put the cursor on "Host Adapter Settings" with keyboard cursors (
↓
and
↑
) in the
"Configuration Settings" menu and press
Enter
, the screen for setting the information on the host
adapter appears.
The table below shows the parameters of the setting items and their factory settings.
Submenu item
Parameter
Description
BIOS Address
-
View only
BIOS Revision
-
View only
Adapter Serial Number
-
View only
Interrupt level
-
View only
Host Adapter BIOS
[Enabled]
Disabled
Specify whether the BIOS extension of the host
adapter is enabled or disabled.
PCI Bus DMA Burst
[Enabled]
Disabled
Specify whether the DMA burst transfer on the PCI
bus is enabled or disabled.
CDROM Boot
Enabled
[Disabled]
Specify whether the start from CD-ROM is enabled or
disabled.
Adapter Configuration
[Auto]
Manual
Safe
Specify whether the adapter configuration is set
automatically by BIOS, manually, or safely.
Drivers Load RISC
[Enabled]
Disabled
Specify whether the load of RISC codes is enabled or
disabled.
>4GByte Addressing
Enabled
[Disabled]
Specify whether hard disks of 4 GB or larger is used
or not.
Fast Command Porting
[Enabled]
Disabled
Do not change the factory setting.
[ ]: Factory-set
Summary of Contents for Express 5800/320Lb-R
Page 10: ...iv This page is intentionally left blank ...
Page 17: ...1 3 Label D Label C Label B Label A Label E ...
Page 18: ...1 4 Rack mount Model Label A Label D Label E Label C Label B ...
Page 19: ...1 5 Label D Label C Label B Label A Label E ...
Page 21: ...1 7 Label A Internal View Label B Label B ...
Page 36: ...1 22 This page is intentionally left blank ...
Page 44: ...2 8 Front View inside Tower model Rack mount model ...
Page 83: ...3 9 This page is intentionally left blank ...
Page 84: ......
Page 177: ...5 49 Not support ...
Page 191: ...5 63 This page is intentionally left blank ...
Page 192: ......
Page 254: ...8 12 Check the disk status to confirm that the disk is added successfully ...
Page 273: ...8 31 Chapter 7 Troubleshooting ...
Page 283: ...8 41 18 Use cable ties to fasten the extra length of cables Cable ties included with cabinet ...
Page 297: ...8 55 This page is intentionally left blank ...
Page 298: ......


