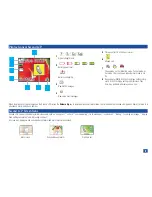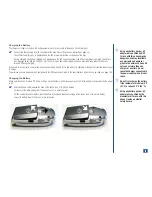
Charging the Battery
The charger unit begins to restore the battery power when it is connected to the phone. (See Warnings.)
*
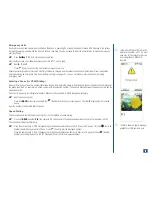
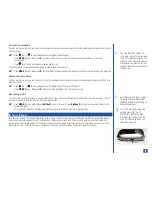
Connect the charger plug into the connector at the base side of the phone as indicated on page 19.
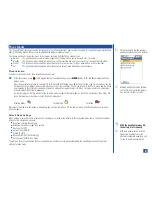
Check that the battery icon is displayed and the LED glows red (located on the back of the flip).
During charging, the battery charging icon displays and the LED continually glows red. When charging is complete, the battery
icon displays as full and the LED goes out. The battery icon and LED display are seen as described even when the phone is
turned Off during charging.
If you need to receive calls, the wireless phone can be turned On and left in Idle while it is charging, although the total time takes longer
to charge.
The wireless phone is designed to be charged with the NEC equipment listed in the specifications of your phone as shown on page 165.
Changing the Battery
Make sure the phone is turned Off. Some settings, stored numbers, and messages may be lost if the battery is removed while the power
is On.
*
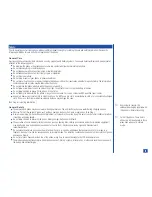
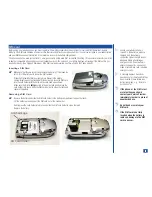
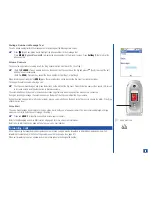
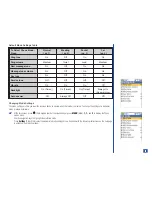
Slide the battery catch towards the base of the phone (see
in picture below).
Carefully lift the battery away from the phone (see
in picture below).
Put the new battery pack in place with the battery terminal end towards the hinge of the phone (see
in picture below).
Lower the battery toward the phone to lock into place.
I
Using any battery pack or AC
adapter not specified by NEC
for use with this phone may be
dangerous and may invalidate
any warranty and approval
given to the wireless phone. Do
not connect more than one
charger at any time. Do not
leave the charger connected to
the power supply when it is not
in use.
I
Do not try to charge the battery
if the temperature is below 5 °C
(41 °F) or above 35 °C (95 °F).
I
Using any battery pack or AC
adapter not specified by the
manufacturer for use with this
phone creates a potential
safety hazard.
À
Á
Â
20


