Chapter 5: Disassembling and Reassembling the Printer
7193 Service Guide
August 1998
50
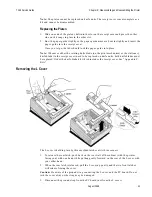
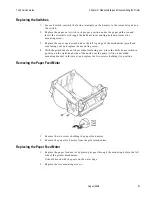
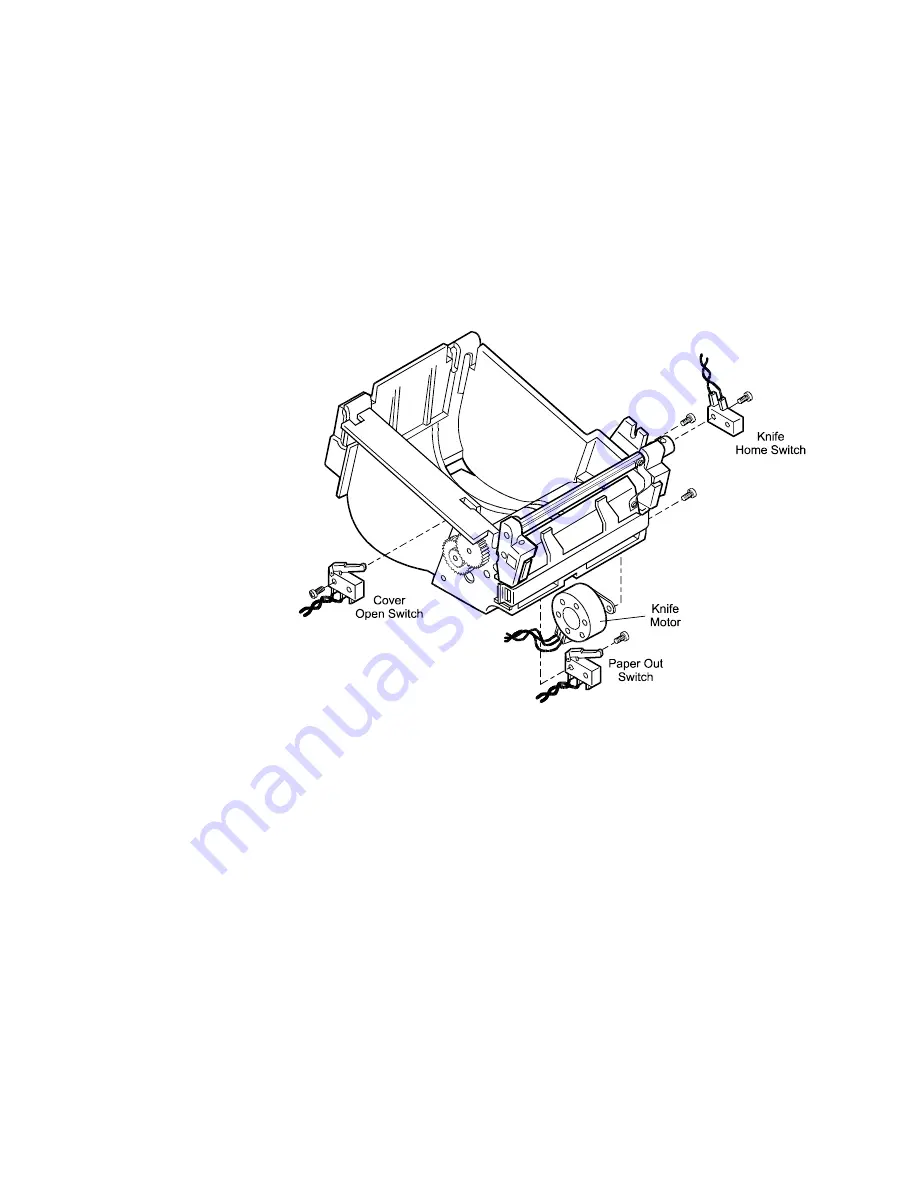
Replacing the Knife Motor
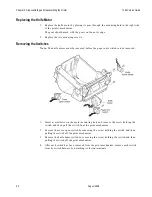
1.
Replace the knife motor by placing its gear through the mounting hole in the right side
of the printer mechanism.
The gear should mesh with the gears on the outer edge.
2.
Replace the two mounting screws.
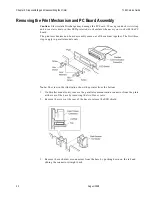
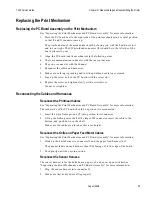
Removing the Switches
Note:
The knife motor must be removed before the paper out swictch can be removed.
1.
Insert a screwdriver in the motor mounting hole and remove the screw holding the
switch and then pull the switch from the print mechanism.
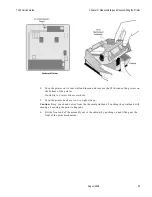
2.
Remove the cover open switch by removing the screw holding the switch and then
pulling the switch off the print mechanism.
3.
Remove the knife home switch by removing the screw holding the switch and then
pulling the switch off the print mechanism.
4.
After each switch has been removed from the print mechanism, remove each switch
from its switch harness by detaching its faston terminals.
Summary of Contents for 7193
Page 1: ...BD20 1440 A Issue B August 1998 NCR 7193 Thermal Receipt Printer Service Guide ...
Page 6: ...Contents 7193 Service Guide August 1998 x ...
Page 10: ...Chapter 1 About the 7193 Printer 7193 Service Guide August 1998 4 ...
Page 19: ...7193 Service Guide Chapter 2 Installing the Printer August 1998 13 Parallel Models ...
Page 22: ...Chapter 2 Installing the Printer 7193 Service Guide August 1998 16 ...
Page 24: ...Chapter 2 Installing the Printer 7193 Service Guide August 1998 18 ...
Page 26: ...Chapter 2 Installing the Printer 7193 Service Guide August 1998 20 ...
Page 38: ...Chapter 3 Diagnostics 7193 Service Guide August 1998 32 ...
Page 66: ...Appendix B Ordering Paper and Supplies 7193 Service Guide August 1998 60 ...
Page 78: ...Appendix E Commands 7193 Service Guide August 1998 72 ...
Page 83: ......

