17
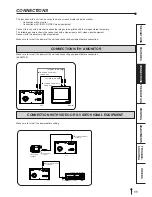
CONNECTIONS
PRINTING
ADJUSTMENTS
PRECAUTIONS
FEA
TURES
PREP
ARA
TION
OTHERS
TROUBLE-
SHOOTING
PRINTING (BASIC)
BEFORE PRINTING
2
2
2
2
2
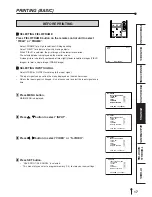
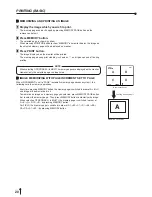
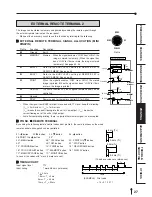
SELECTING FIELD/FRAME
Press FIELD/FRAME button on the remote control unit to select
“FIELD” or “FRAME”.
•
Select “FRAME” for a high resolution still image printing.
Select “FIELD” for a picture of quickly moving objects.
•
When “FIELD” is selected, the print image will be lower in resolution.
The selected mode is displayed on the monitor screen.
•
A video picture is normally composed of two slightly lower resolution images (FIELD
images) to form a single image (FRAME image).
2
2
2
2
2
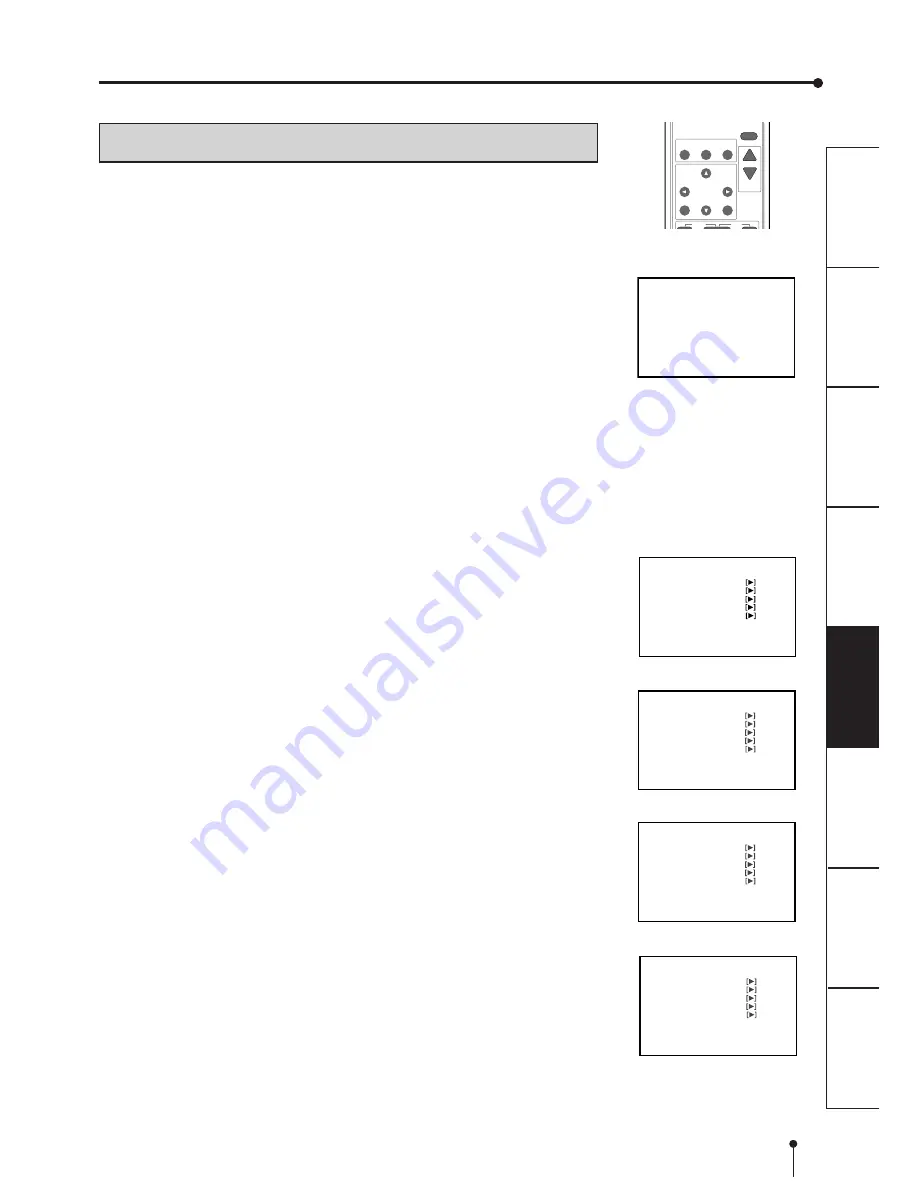
SELECTING INPUT SIGNAL
•
Select VIDEO or S-VIDEO according to the input signal.
•
The input signal can be set on the menu displayed on the monitor screen.
•
Unless the input signal is changed, it is not necessary to select the input signal every
time.
1
1
1
1
1
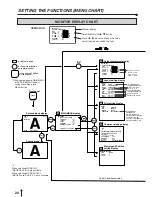
Press MENU button.
MAIN MENU is displayed.
2
2
2
2
2
Press
{
{
{
{
{
,
}
}
}
}
}
button to select “INPUT”.
3
3
3
3
3
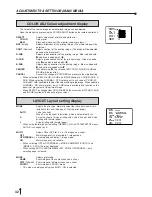
Press
[
[
[
[
[
,
]
]
]
]
]
button to select “VIDEO” or “S-VIDEO”.
4
4
4
4
4
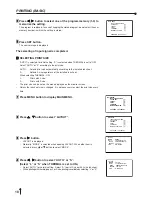
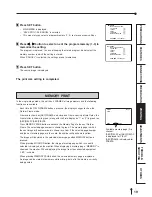
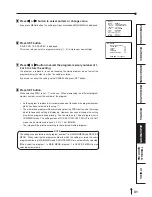
Press SET button.
•
“SAVE PRG 1/2/3/CANCEL” is selected.
•
This menu lets you select a program memory (1-3) to store your new settings.
PROG.
MENU
CLEAR
STOP
SET
COLOR FIELD
ADJUST /FRAME
DISPLAY
PRINT
Q’ ty
-
+
MAIN MENU
INPUT VIDEO
/S-VIDEO
COLOR ADJ
LAYOUT
PRINT
COMMENT
MEMORY POSITION
SAVE PRG 1/2/3/CANCEL
MAIN MENU
INPUT
VIDEO/
S-VIDEO
COLOR ADJ
LAYOUT
PRINT
COMMENT
MEMORY POSITION
SAVE PRG 1/2/3/CANCEL
MAIN MENU
INPUT VIDEO/S-VIDEO
COLOR ADJ
LAYOUT
PRINT
COMMENT
MEMORY POSITION
SAVE PRG 1
/2/3/CANCEL
PRG. 1 Q'ty 1
VIDEO
[
A
BC] FRAME
LIVE
MAIN MENU
INPUT VIDEO/S-VIDEO
COLOR ADJ
LAYOUT
PRINT
COMMENT
MEMORY POSITION
SAVE PRG 1/2/3/CANCEL

