Rev. 112206.1
Page 64
•
Click
on OK and then you will be returned to the “print” main dialog box.
Click
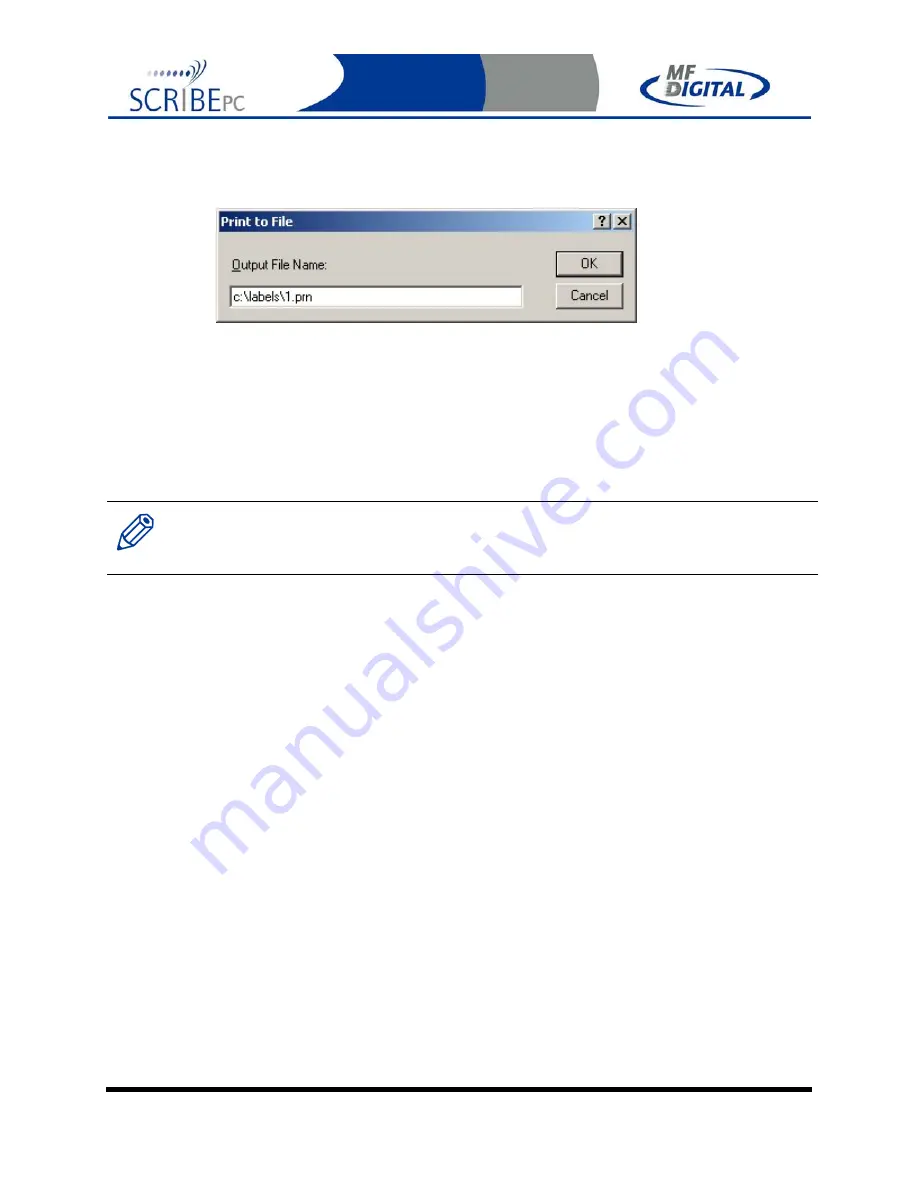
“OK” again and the “Print-to-File” dialog box will open:
•
Type in the path and desired filename, but be sure to retain the .PRN file
extension. In the example above, we will be creating 1.PRN in the “labels”
folder. Folder will not automatically be created. Folders in the path MUST
already exist. It is a good idea choose the labels folder defined on the
settings TAB of the Scribe PC software.
•
You have usefully created a PRN file!
Note:.
A .prn file cannot be edited. It contains information to create the image, and the settings of the
particular printer.
If any of the settings of the printer are changed, a new .prn file must be
generated.


