16
3. Access the desired Setup Menu by
pressing the Up
or Down
Left
or Right
Directional Push-
buttons. Pressing the ENTER
Push-button will then activate the
highlighted Menu Item.
4. Return to the Main Menu by press
-
ing the BACK Push-button on the
Remote Control.
5. To exit the SETUP Mode press the
SETUP or BACK Push-button.
To assist in navigating the On Screen
Menus, please refer to the set of
MX122 Menu separate folded sheets
"
MX122-Menu-1 thru Menu-9
".
These separate sheets are contained in
the Owner’s Manual Packet.
Checking the Network Connection
The following example will illustrate
how to navigate through the built-in
MX122 SETUP Mode and the multiple
On-Screen Menus.
Occasionally, McIntosh might make
available Firmware Update/Upgrade for the MX122.
These Update/Upgrade would be from the McIntosh
Computer Server via a Network Internet Connection.
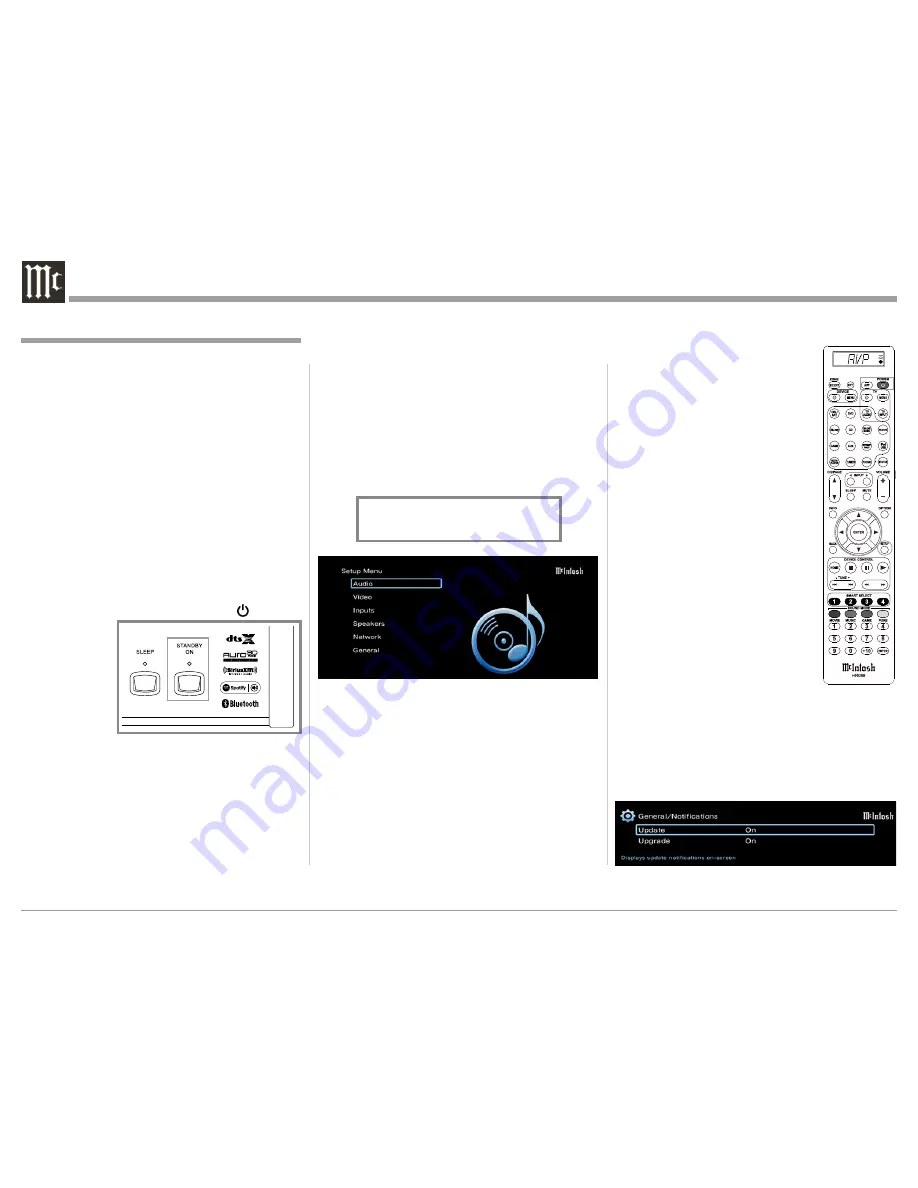
When the Firmware Notifications are set to ON (Setup
Menu, General/Firmware/Notifications, figure 5) the
MX122 will periodically scan for an update/upgrade.
The ability to change a menu item setting or have
access to a menu item setting, is dependent on the
operational state of the MX122 and the choices made
in other menu items. Some menu choices require more
than one step to complete.
1. Press the AVP (Audio Video Processor) Remote
Control Push-button, then press the SETUP Push-
button to enter the Setup Mode. The Front Panel
Information Display will indicate the Main Setup
Menu. Refer to figures 2 and 3.
Note: While Setup adjustments can be accom-
plished using the MX122 Front Panel Infor-
mation Display, the On-Screen Display on a
Monitor/TV connected to the HDMI Monitor
1 or 2 Output allows more information to be
visible at the same time, making it easier to
navigate through the choices.
2. Navigating thru and making changes to the
Setup Menus are performed by using the HR088
Remote Control directional Up
or Down
,
Left
or Right
, ENTER and the SETUP
Push-buttons. The MX122 Front Panel Naviga
-
tion Up
, Down
, Left
, Right
and ENTER
Push-buttons may also be used.
Introduction to the MX122 Setup Mode
Figure 3
Figure 2
*SETUP MENU
Audio
Figure 4
Your McIntosh MX122 has been factory configured
for default operating settings that will allow you to
immediately enjoy superb video and high fidelity
audio.
It is important to have first performed the MX122
Connections and Setup Settings changes as outlined
in the MX122 Initial Setup Guide (Separate folded
sheet). After performing the steps outlined in the
Initial Setup Guide and if you wish to make additional
changes to the factory default settings, perform the
following steps. If not, proceed to “How to Operate
the MX122” starting on page 34.
Power
The Red LED above the STANDBY/ON switch lights
to indicate the MX122 is connected to AC Power.
To Switch ON the MX122, press the STANDBY/
ON Push-button on the Front Panel or the (Power)
Push-button on
the Remote Con-
trol. The MX122
STANDBY Red
LED will switch
Off and the Front
Panel illumina-
tion will switch
On as part of the
initialization process. Refer to figures 1 and 4.
Note: When the MX122 is switched On, it will take
about 15 seconds for initialization of the inter-
nal circuitry.
Adjustments and Setting changes
All of the adjustments and settings are performed by
using the extensive On-Screen Setup Menu System.
The On-Screen Setup Menuing System is interactive.
Figure 1
Figure 5
Summary of Contents for MX122
Page 33: ...33 ...


