Preparing Your Printer for Printing
Software Preparations for Printing
Sprinter User's Manual
8-13
14. Push back both the L
OCKING
P
INS
.
15. Relocate the S
UBSTRATE
C
OLLECTING
M
ECHANISM
C
OVER
by inserting it
into the two locating holes and gently pulling it downward.
Software Preparations for Printing
Using the Forward Icon
To advance the S
UBSTRATE
, click the F
ORWARD
icon
. This action
brings the printer to the unload status, raises the P
ULLING
A
RM
, runs the
main motor as well as that of the S
UBSTRATE
C
OLLECTOR
R
OLLER
.
When you click the F
ORWARD
icon, the following window appears.
To stop the S
UBSTRATE
advancing, click OK.
Setting the Print Head Temperatures
During the printing process, the P
RINT
H
EADS
’ temperature will naturally
increase. This increase will be controlled by the settings made for the A
IR
C
OOLING
unit (if installed).
Use W
ARM UP
before you start a print run. Use C
OOL DN
to reduce
THE
P
RINT
H
EAD
temperatures to the required level before starting a new print run.
The temperature of the P
RINT
H
EADS
is controlled through the C
OOL DN
and
W
ARM UP
icons.
!
To warm up the Print Heads to the required temperature:
1. From the M
AIN
S
CREEN
,
click W
ARMUP
.
The W
ARM
U
P
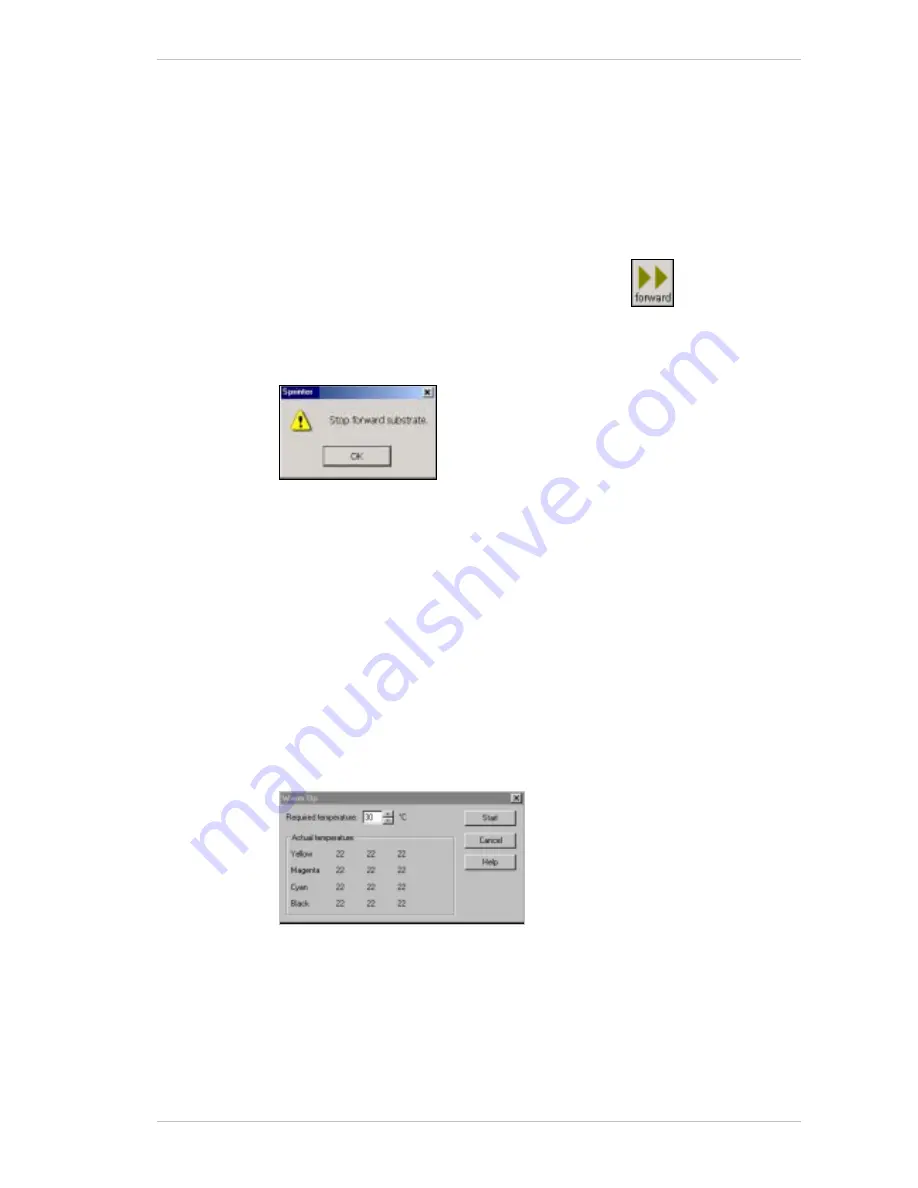
. dialog box appears (Figure 8-14).
Figure 8-14: The Warm Up Dialog Box
2. Select the required temperature from the R
EQUIRED
T
EMPERATURE
spin
box.
3. Activate the C
OOLING
S
YSTEM
.
4. Click S
TART
to initiate the process.
Summary of Contents for The SprinterB
Page 1: ...The SprinterB User s Manual...
Page 4: ......
Page 14: ...x The SprinterB User s M Figure 12 18 The PhotoPRINT Server Properties Window 12 12...
Page 20: ...Overview 2 2 Sprinter User s Manual This page has been intentionally been left blank...
Page 152: ...Troubleshooting IV Sprinter User s Manual Adjusting the Substrate Brakes Torque...


