Starting Up
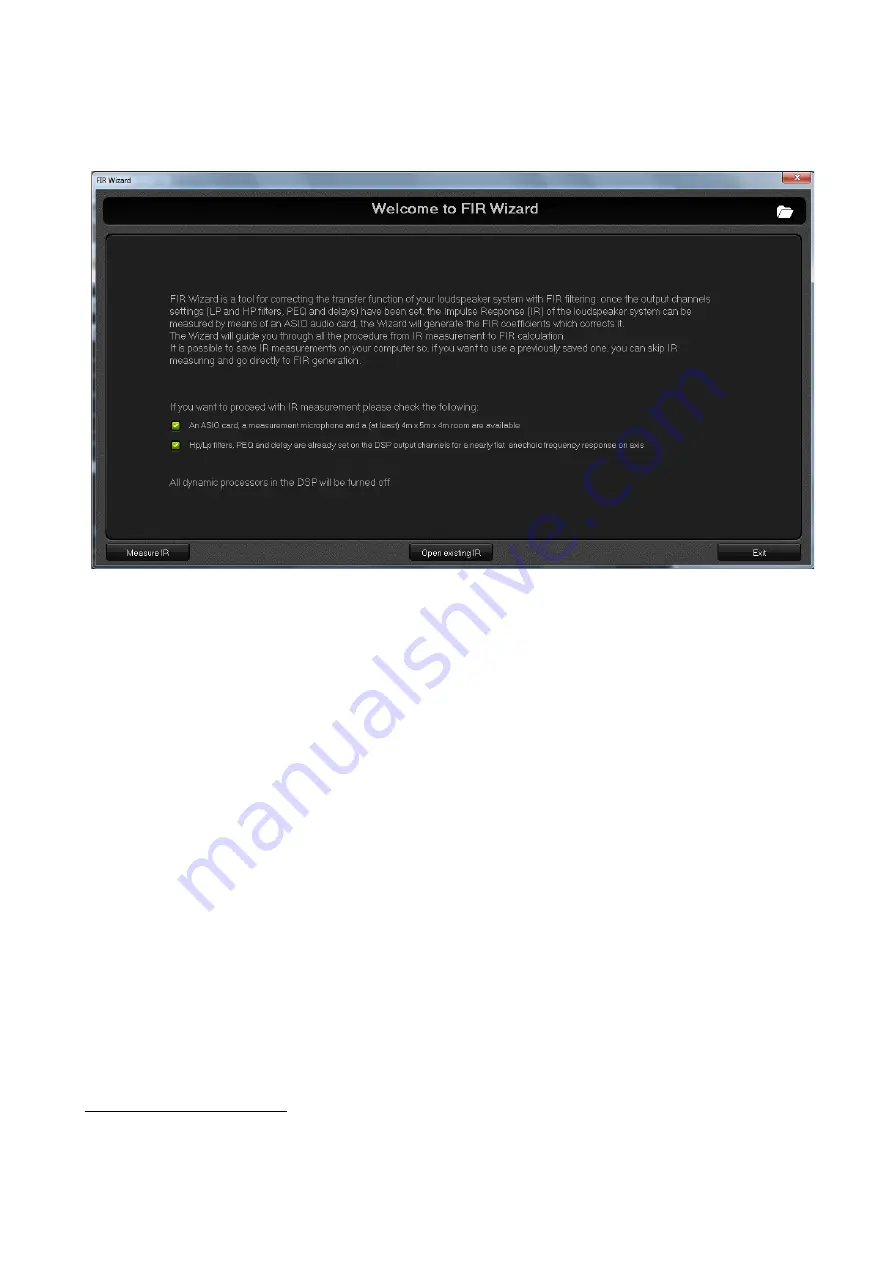
The image below shows the home page of the FIR Wizard.
From the home page, the user can choose to:
1) Start from an existing Wizard project: click the open button at top right of the screen and a file
browse window appears allowing to select a Wizard project file (.zwz)
2) Start from an existing IR, that has been already measured and saved from the FIR Wizard: click
the “Open existing IR” button at the botton center of the screen and open an IR file (.oir) from the
file browse window.
3)
Start with a new IR measurement: to do this, be sure you have an ASIO sound card, a
measurement microphone and, at least, a 4m x 5m x 4m (L x W x H) obstacle free
measuring room (if the available space is a little bit smaller check for possible tricks
described in the following section). Moreover, as already described in the “Preliminary”
section, it is suggested to set up the Xover, the PEQ and the output delays to have a nearly
flat frequency response on axis. Then, click the two reminder checkboxes to enable the
“Measure IR” button and click it to proceed with IR measurement steps. At this time, all the
dinamic processes in the DSP will be automatically turned off, as well as the equalization
FIR filter that could be already active.
Measurement Geometry
After clicking the “Measure IR” button, the “Measurement Geometry” page is shown and three
Summary of Contents for LPP-480F
Page 1: ...User Manual LPP 480F...
Page 49: ......


