34
C
STARTUP PROCESS: LEVELING, LOADING, TESTING
mAKiNg A TEST OBjECT FrOm ThE SD CArD
CONTINUED
Projects Available on the SD Card | Continued
How to add files to the SD card
*
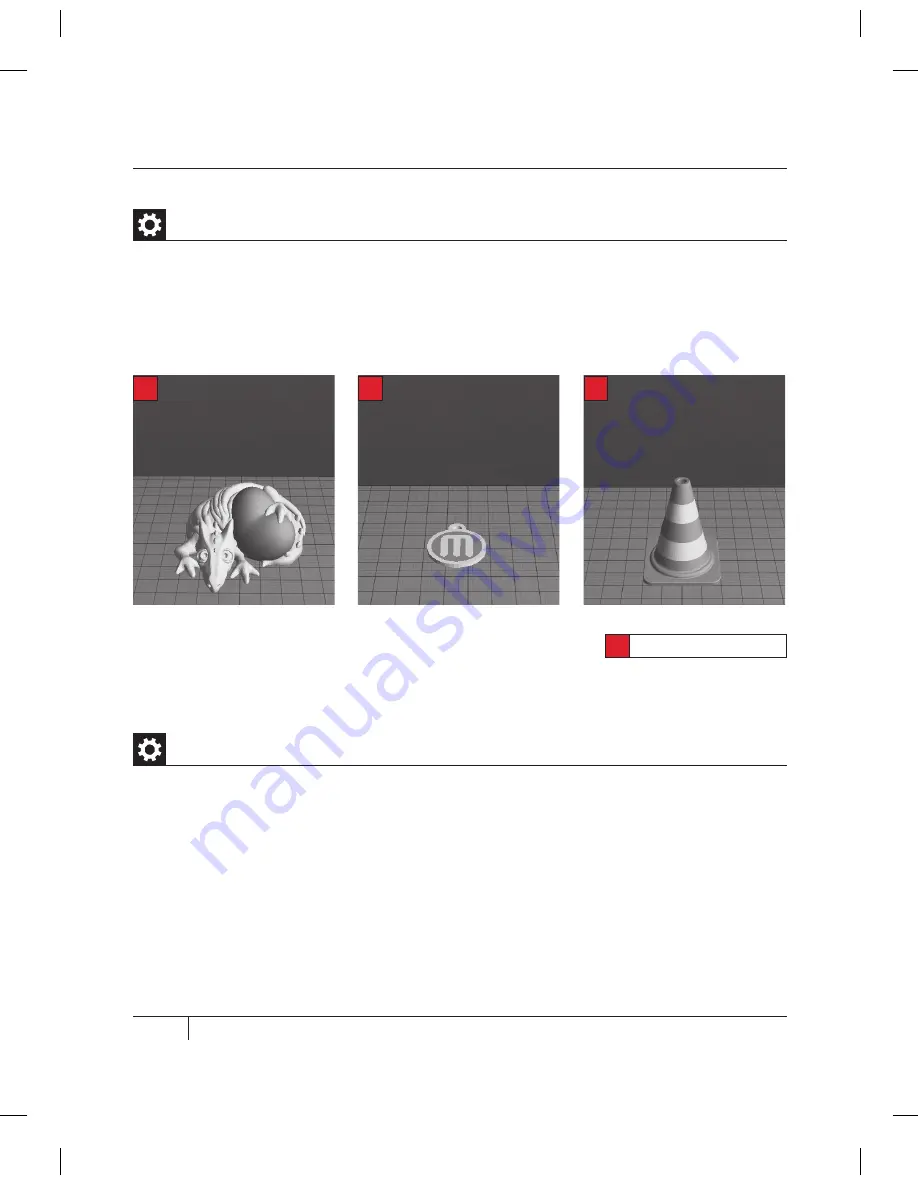
Dual extrusion print
PET mONSTEr VALENTiNE
File Name: Heartless Dragon
Make Time: 40 minutes
Design By: andreas, tbuser
Thingiverse: 29088
*
TrAFFiC CONE
File Name: Traffic Cone
Make Time: 42 minutes
Design By: CocoNut
Thingiverse: 21773
*
mAKErBOT PENDANT
File Name: pendant
Make Time: 8 minutes
Design By: Todd
Thingiverse: 25556
*
1. Insert the SD card into an SD card reader on or attached to your computer.
2. Open a .stl, .obj or .thing file in MakerWare, as detailed in the following chapter.
3. Click the Make button and select your desired print settings.
4. Ensure that the “Export to a File” radio button at the top of the Make dialog is selected.
5. Click Export! and save the resulting .x3g file to the SD card.
Summary of Contents for Replicator 2X
Page 1: ...USER MANUAL DUAL EXTRUSION...
Page 2: ......
Page 4: ...Welcome Let s get started A...
Page 8: ...Setting Up Your MakerBot Replicator 2X Experimental 3D Printer B...
Page 20: ...Startup Process Leveling Loading Testing C...
Page 35: ...35 NOTES C Startup PROCESS leveling loading testing...
Page 36: ...Making an Object with MakerBot MakerWare D...
Page 46: ...E Troubleshooting Diagnostics and Maintenance...
Page 64: ...MakerBot One MetroTech Center 21st Floor Brooklyn NY support makerbot com makerbot com...


