104
MAINTENANCE
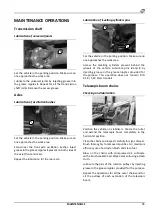
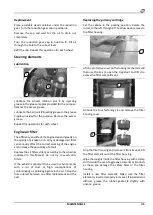
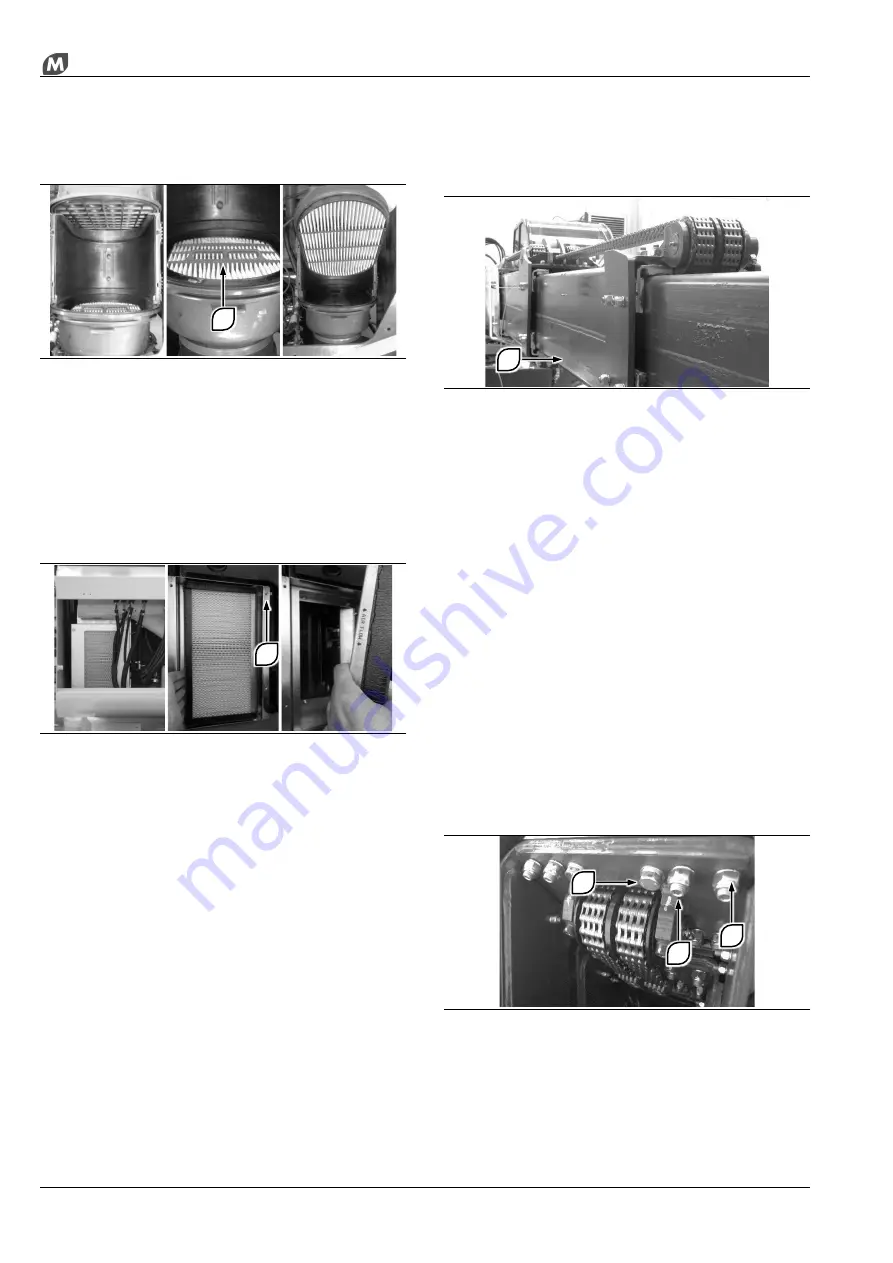
Replacing the safety cartridge
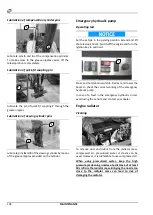
Carry out the primary filter removal procedure
described earlier.
Grip the filter element by means of handle
3
and pull
to separate it from its seat. Remember the direction of
assembly.
Install a new filter element. Lightly grease the outer
gasket of the new filter element with silicone grease.
Cab air filter
Replacement
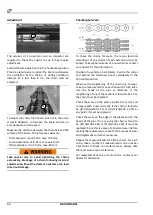
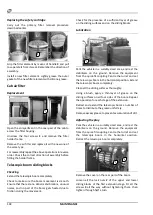
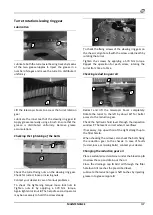
Open the compartment in the rear part of the cab to
access the filter housing.
Unscrew the four screws
1
and remove the filter
holder frame.
Remove the air filter and replace it with a new one of
the same type.
For reassembly repeat the above operations in reverse
order. Check the correct direction of assembly before
fitting the holder frame.
Telescopic boom sliding blocks
Checking
Extend the telescopic boom completely.
Check to make sure the boom movement is smooth.
Ensure that there are no abnormal vibrations, unusual
noises, and no part of the boom gets heated due to
friction during the movement.
Check for the presence of a sufficient layer of grease
on the sliding surfaces and on the sliding blocks.
Lubrication
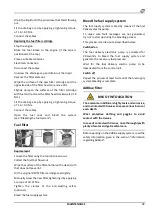
Park the vehicle in a suitably sized area, and rest the
stabilisers on the ground. Remove the equipment
from the quick-fit coupling. Centre the turret and set
the telescopic boom in the horizontal position. Extend
the telescopic boom completely.
Clean all the sliding surfaces thoroughly.
Using a brush, apply a thin layer of grease on the
sliding surfaces on all four sides of the boom. Repeat
the operation for each stage of the extension.
Retract and extend the telescopic boom a number of
times to distribute the grease uniformly.
Remove excess grease to prevent accumulation of dirt.
Adjusting the play
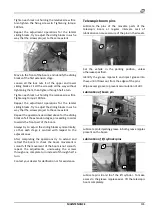
Park the vehicle in a suitably sized area, and rest the
stabilisers on the ground. Remove the equipment
from the quick-fit coupling. Centre the turret and set
the telescopic boom in the horizontal position.
Retract the telescopic boom completely.
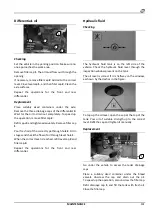
Remove the cover on the rear part of the boom.
Loosen all the lock nuts
2
of the upper and lower
sliding blocks of the first extension stage. Fit all the
screws
3
all the way without tightening them, then
tighten through half a turn.
1
4
3
2
3
1
Summary of Contents for RTH 4.18
Page 6: ......
Page 27: ...SECTION ON PRODUCT INFORMATION 27 DIMENSIONS RTH 4 18 RTH 5 18 ...
Page 28: ...28 SECTION ON PRODUCT INFORMATION RTH 5 21 RTH 5 23 ...
Page 29: ...SECTION ON PRODUCT INFORMATION 29 RTH 5 25 RTH 6 21 ...
Page 30: ...30 SECTION ON PRODUCT INFORMATION RTH 6 23 RTH 6 25 ...
Page 78: ......


