


LUMIFORGE USER MANUAL 19
5. LET’S START PRINTING:
ATTENTION: Since printing time could take long, make sure your computer is not running only on
battery (if you are using a laptop) to avoid that it turns off during the printing process. For the
same reason, make also sure that your Operating System’s settings regarding Energy saving
settings, monitor sleep and screensavers are turned off.
5.1 Phase 1: FILE LOADING AND SLICING
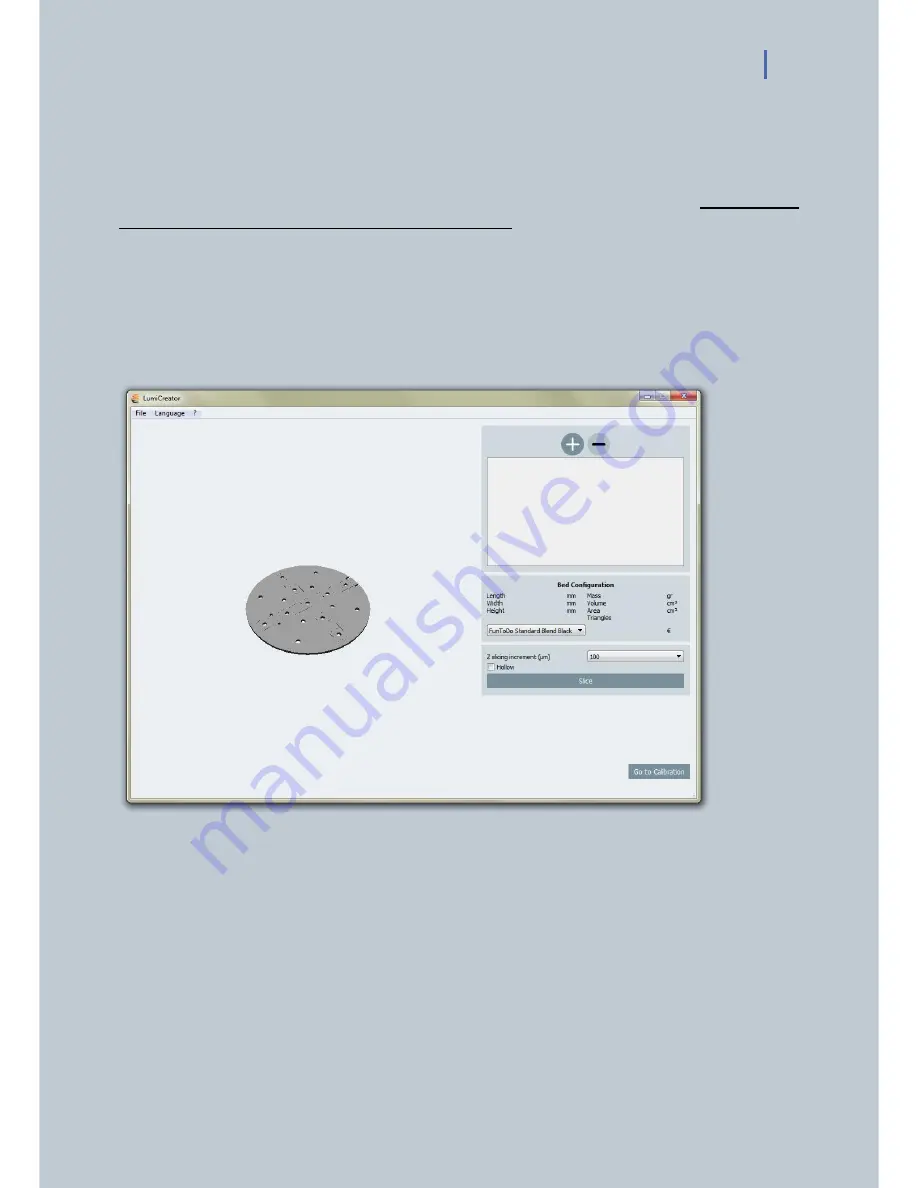
- First of all, launch LumiCreator software on your computer.
- By clicking on the (+) button on the top right you can load the .Stl file (stereolithography file) of
the object that you want to print with LumiForge (img.15).
ATTENTION: The file format of the 3d object you want to print must be in Stl file format.
Img.15 Lumicreator software- first screen “file loading”.
- After loading the 3d model, you will see a preview of the printing tray and the object you are about
to print (img.16). You can delete it (-) and load a new one in this phase.
- Under “Bed configuration” the info about the 3d model are listed.
- Choosing one of the available resin type from the dropdown menu will allow:
to see the volume of material used and the corresponding price,
to set the suggested layer curing time.
Summary of Contents for LumiForge
Page 1: ...CRAFTER MANUAL...


