


LUMIFORGE USER MANUAL 17
Img.12 sensors lighting up.
If sensors do not light up and you keep listening a sound of striving motor, this mean that:
The black spiral cable holder is interfering with the projector movement, in this case just
move the cable holder away.
Something else is in the way and is not letting the sensors to stop the movement, in this
case remove the obstacle
Sensors are faulty, in this case switch the printer immediately off and ask for assistance.
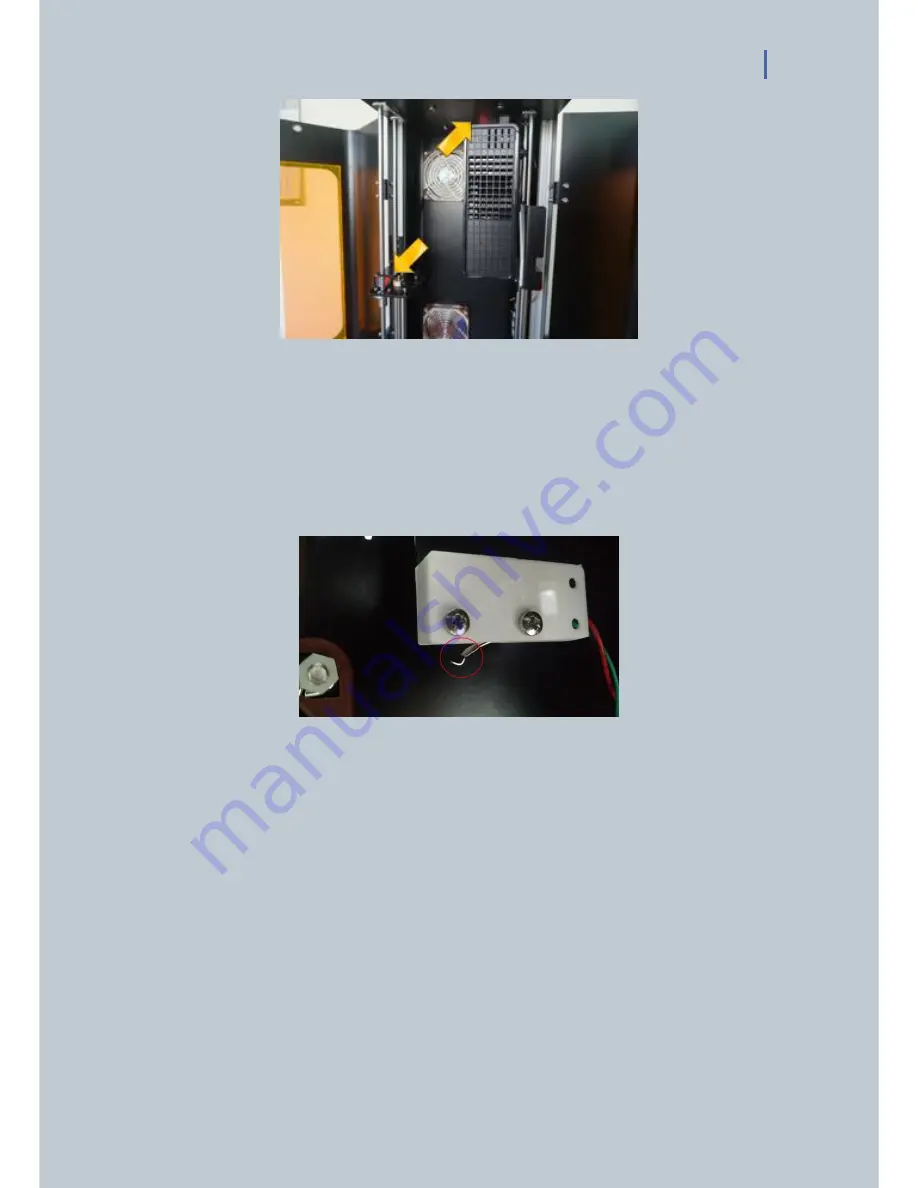
ATTENTION: CHECK THE SENSORS (N.5) FLAP REGULARLY. SENSORS SHOULD LIGHT UP WHEN
FLAP IS MOVED UP! (img. 13)
Img.13 sensors flap.
IMPORTANT: If the starting movement does not happen, please proceed to calibration on the
Software second screen. On the right menu, click on “scan for printer”. If the printer is not
detected, please check if the USB cable is correctly plugged to both the printer and the computer.
Try to plug and unplug and press “scan for printer” after each time until printer is detected.
-
Now turn the Projector on (either with the power button on the device or through the
remote controller if supplied).
ATTENTION: Many projectors will flash light on start-up, or, if you switch your projector on
without having launched LumiCreator software, it will project a powerful light, which may cure
your resin unwillingly. Therefore, if you have already placed the resin vat below the projector, be
sure that the servo-shutter (n.15) is covering the projector lamp.
It is possible to open and close the servo-shutter, pressing together the last two keys on the right
(C+D) on Lumiforge front panel (n.7) (img.5).
Summary of Contents for LumiForge
Page 1: ...CRAFTER MANUAL...


