


Img.10 Connect power supply cable
-
Switch the red switcher (n.23) on
-
The printer is NOW on.
-
Once the printer is on and connected with the computer with the USB cable, the frontal
panel (n.7) screens will light up and fans (n.4) will start to move.
IMPORTANT: Fans are very important to keep the temperature inside the printing area cool and
save projector life. LumiForge fans are provided with a set of filters to protect the printer inside
from dust. Check filters regularly to make sure they are always clean. To clean the filters, blow
them with compressed air o similar.
-
Launch LumiCreator software.
-
Once the software is launched, the carriage (n.12) and the projector movable (n.9 and 10)
bases move up at the starting point.
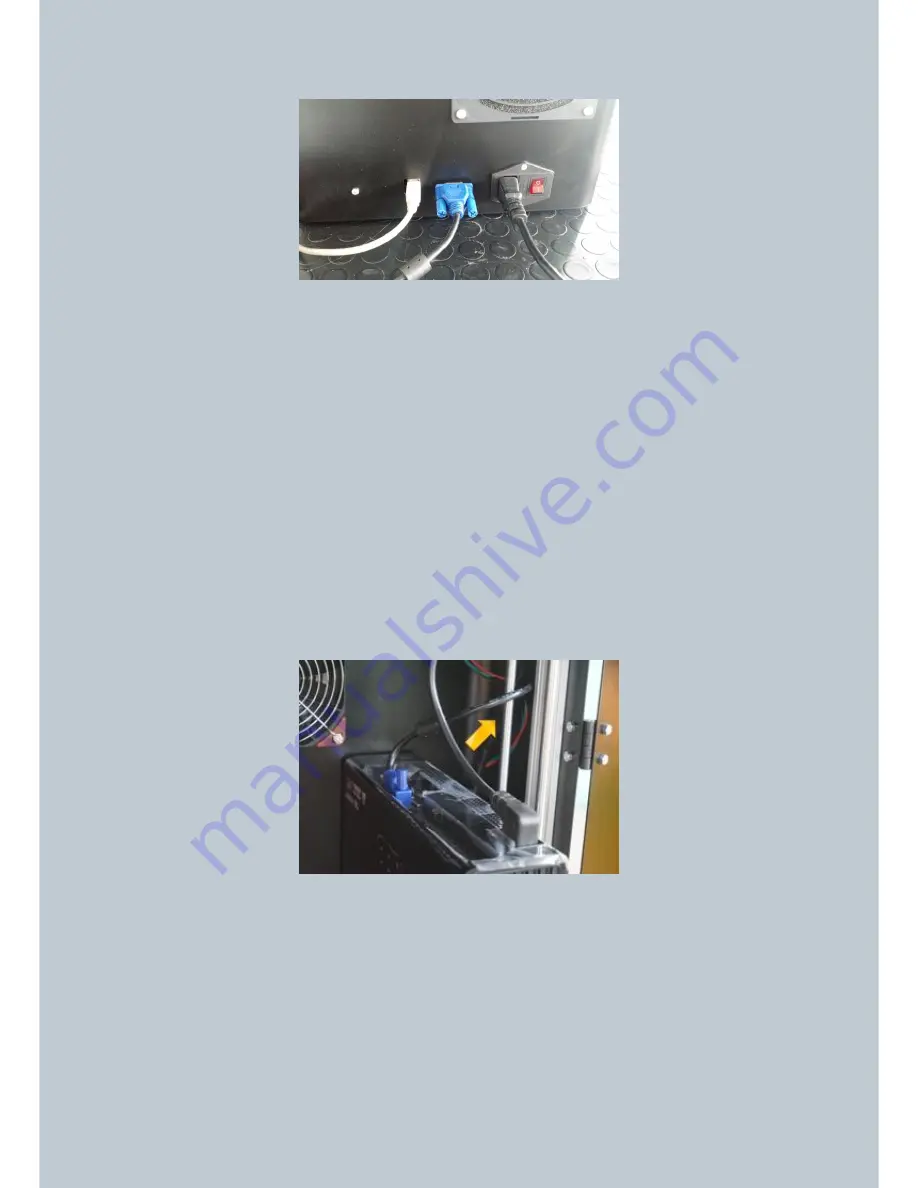
ATTENTION: when carriage and projector start to move up, be careful that internal black cable
spiral holder and the VGA cable do not interfere with their movements. If it does, push them
away. We suggest to insert the VGA cable between the two sustain bar (n.18) to avoid the cable
to interfere with the movement (img.11).
Img.11 Correctly position of VGA cable.
ATTENTION: After moving up, both carriage and projector should stop and sensors (n.5)
should
light up in red (img.12).
Summary of Contents for LumiForge
Page 1: ...CRAFTER MANUAL...


