


2. Click
, then click
BACKUP
.
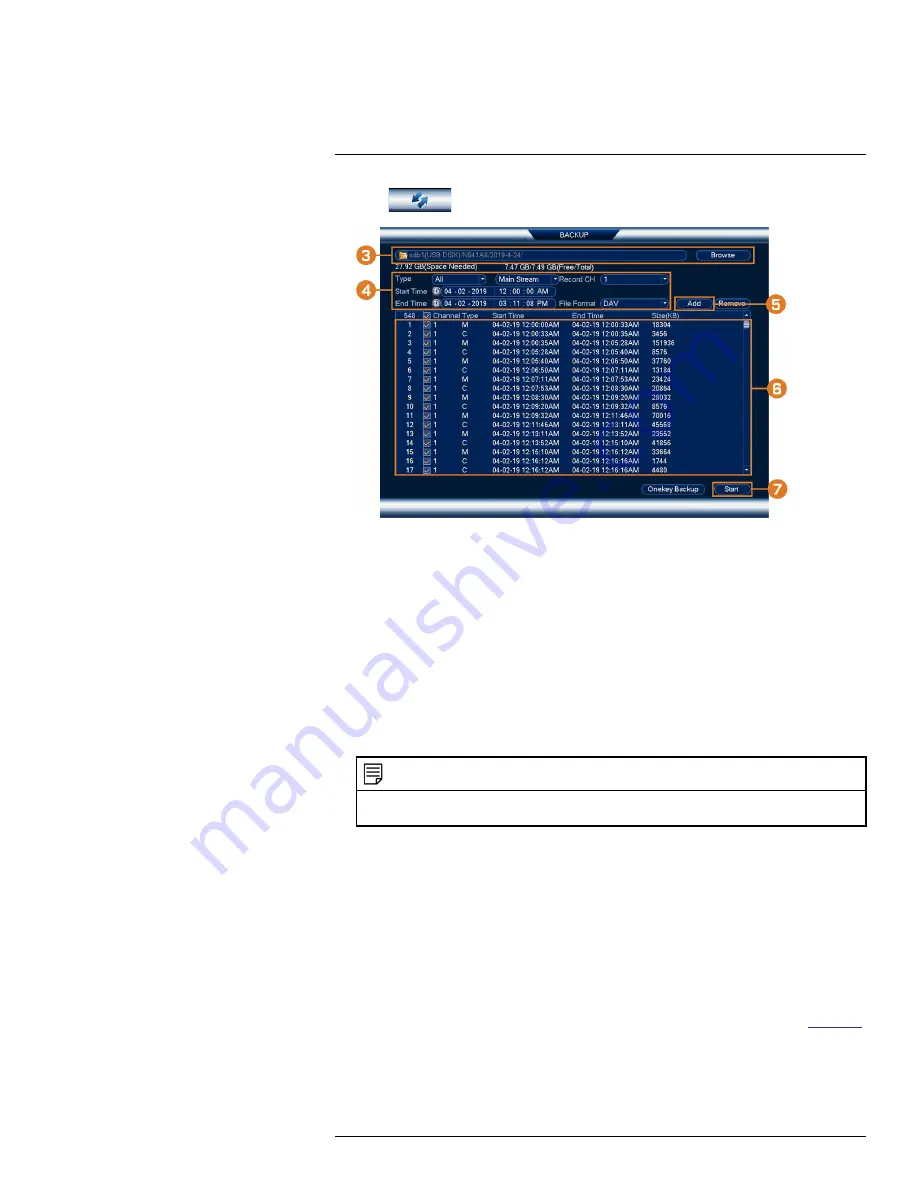
3. Click
Browse
to select the USB backup device and the folder to save your backup files to.
4. Configure the following:
•
Type:
Select the recording type you would like to search for or select
All
to search all re-
cording types.
•
Record CH:
Select the channel you would like to search or select
All
to search all
channels.
•
Start Time / End Time:
Select the start and end time for your search.
•
File Format:
Select
DAV
to save files to save files to
.dav
format. You can playback
.dav
files using the Lorex video player software.
5. Click
Add
. A list of files that match your search criteria appears.
6. Check files you would like to backup.
7. Click
Start
NOTE
HD video files saved on the system may take up a large amount of disk space. The size of video files selected
and the amount of free space on your USB device is shown on screen.
11.3
Using Video Clip Backup
Video clip backup allows you to select a duration of video during playback mode and save it to a
USB device (not included). For full instructions on video clip backup, see 10.4
,
page 32.
11.4
Viewing Backed Up Files
Use the free Lorex Player to play back
.dav
files.
11.4.1
Viewing Backed Up Files on PC
1. Download and install the
Lorex Player for PC
from the recorder’s product page at
#LX400113; r. 3.0/56326/56332; en-US
37