


64/113
: Hit the Apply button to make the settings effective
2.9
CCX
2.9.1
CCX
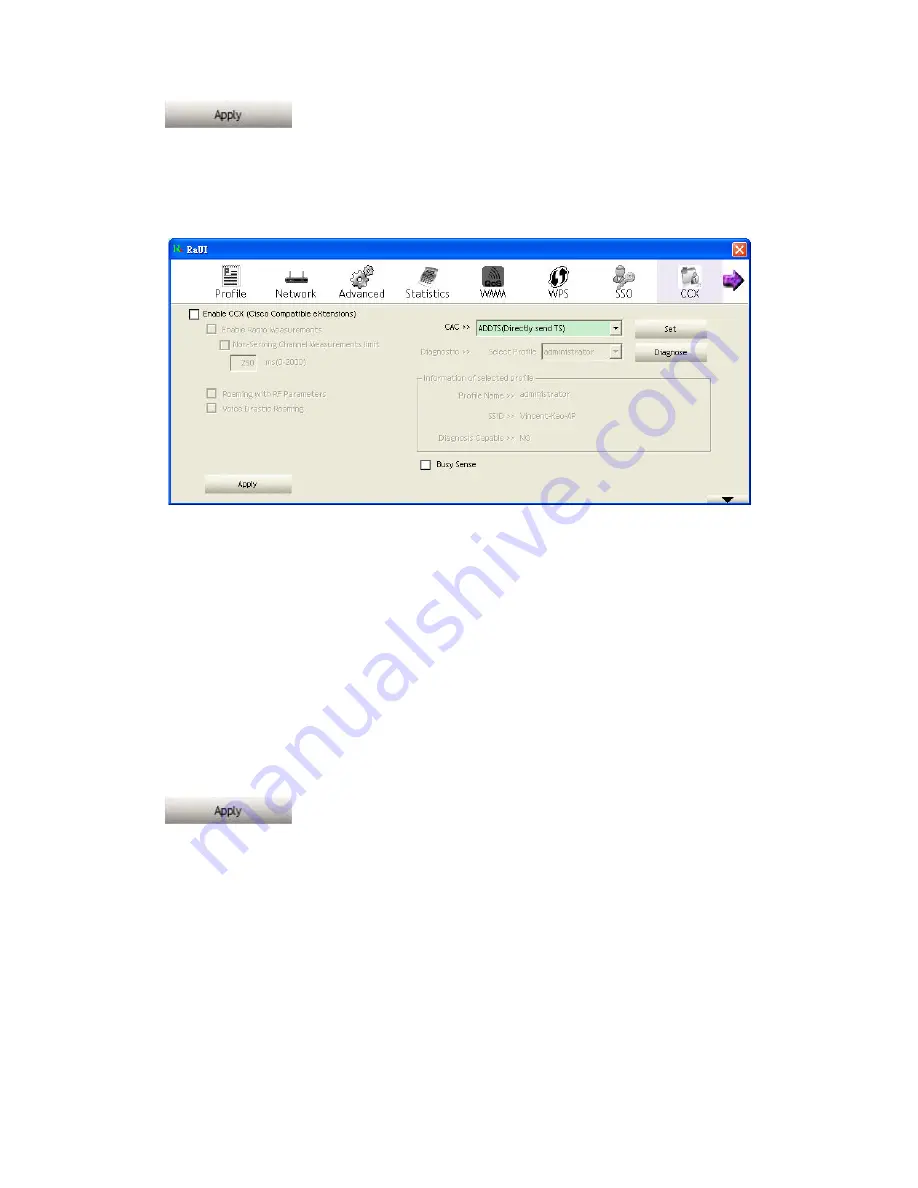
The CCX configuration page as shown in Figure 2-9-1.
Figure 2-9-1 CCX Page
Field definitions:
Enable CCX (Cisco Compatible eXtensions): Choose whether Cisco Compatible
eXtensions are supported or not.
Enable Radio Measurement: Enable the radio measurement, the non-serving
channel measurement limit is between 0 and 1023 milliseconds.
Roaming with RF Parameters: Roaming by a set of RF parameters from AP
Voice Drastic Roaming: Diagnose roaming function by voice traffic test
CAC (Tolerance) : Enable the call admission control
Diagnostic: Select a profile which the user want to diagnose, then hit the Diagnose
button to perform the diagnostic test
Busy Sense: Force Wireless NIC to detect noise more sensitively
The meaning of the button:
: Hit the Apply button to make the settings effective
2.10
About
2.10.1
About
Click "About" displays the wireless card and driver version information as shown in
Figure 2-10.
Summary of Contents for LP-7617
Page 1: ...1 113 Wireless LAN USB Adapter User Manual 1 0 2010...
Page 14: ...14 113 Double click WLAN AutoConfig Manage the AutoConfig properties in the dialog box...
Page 17: ...17 113 Double click the Network and Sharing Center icon...
Page 21: ...21 113 Figure 2 1 5 Profile page Figure 2 1 6 Network page Figure 2 1 7 Advance page...
Page 22: ...22 113 Figure 2 1 8 Statistics page Figure 2 1 9 WMM page Figure 2 1 10 WPS page...
Page 28: ...28 113 The Add Profile will appear...
Page 30: ...30 113 Now the profile which the user set appears in the profile list Click Activate...
Page 37: ...37 113 Click Add to Profile...
Page 39: ...39 113 Next you will see the new profile in the profile list Click Activate...
Page 78: ...78 113 The Auth Encry function will appear as below...
Page 80: ...80 113 Click OK The dialog box will appear as below...
Page 82: ...82 113 Auth Encry function appears...
Page 87: ...87 113 Click 8021X and the setting page will appear...
Page 89: ...89 113 2 Click OK The dialog box should appear as below...
Page 93: ...93 113 3 Click OK The dialog box should appear as the image below...
Page 98: ...98 113 2 Click OK The dialog box should appear as the image below...
Page 99: ...99 113 3 If the connection is successful the dialog box will appear as the image below...
Page 101: ...101 113 Press Connect button show Auth Encry window authentication mode is WAPI PSK...
Page 102: ...102 113 Key type is Hex enter 1234567890...
Page 103: ...103 113 You can also connect AP with WAPI CERT authentication mode...
Page 104: ...104 113 Select user certificate...
Page 105: ...105 113 Select authentication server certificate...
Page 111: ...111 113 It can t add the profile in Network page...


