


4/113
1.
Ralink or Windows Wireless Utility
1.1
Windows Zero Configuration for XP
1.1.1
Ralink Wireless Utility and Windows Zero Configuration (WZC)
Windows XP includes a wireless configuration utility named "Windows Zero
configuration" (WZC) which provides basic configuration functions to the Ralink
Wireless NIC. Ralink's utility (RaUI) additionally provides WPA functionality. To
make it easier for the user to select the correct utility. RaUI will let users make a
selection when it first runs after windows XP boots.
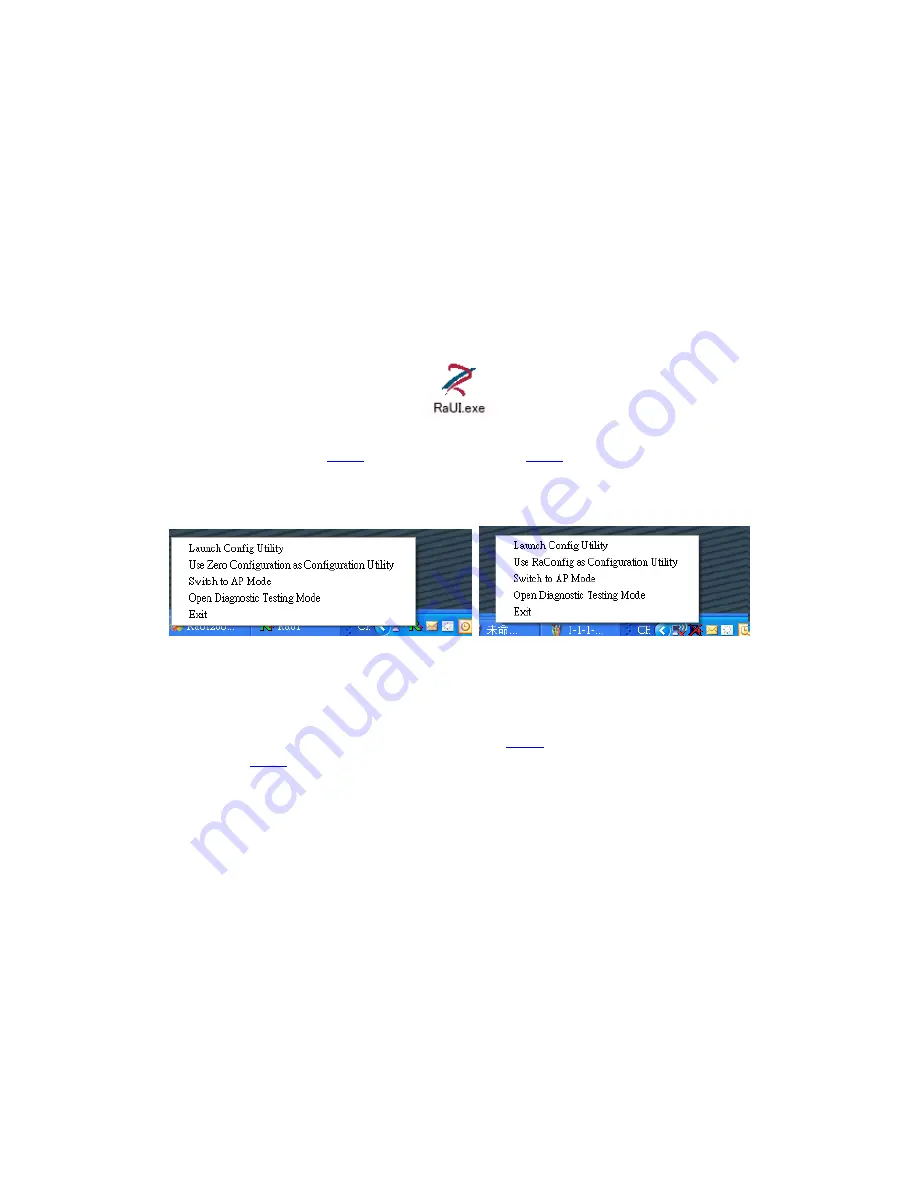
Right-clicking the icon will bring up the selection window and allow the user to make
a selection.
Figure 1-1 RaUI.exe
RaUI can co-exist with
WZC
. When coexisting with
WZC
, RaUI only provides
monitoring functions, such as surveying the link status, network status, statistic
counters, advanced feature status, WMM status and WPS status. It won't interfere
with WZC's configuration or profile functions. It is shown as Figure 1-2.
Figure 1-2 Select WZC or RaUI
If "Use RaConfig as Configuration utility" is selected, please jump to Section 2 on
running RaUI.
If "Use Zero Configuration as Configuration utility" is selected, please continue.
We will explain the difference between RaUI and
WZC
. Figure 1-3 shows the RaUI
status when
WZC
is activated as the main control utility.
Summary of Contents for LP-7617
Page 1: ...1 113 Wireless LAN USB Adapter User Manual 1 0 2010...
Page 14: ...14 113 Double click WLAN AutoConfig Manage the AutoConfig properties in the dialog box...
Page 17: ...17 113 Double click the Network and Sharing Center icon...
Page 21: ...21 113 Figure 2 1 5 Profile page Figure 2 1 6 Network page Figure 2 1 7 Advance page...
Page 22: ...22 113 Figure 2 1 8 Statistics page Figure 2 1 9 WMM page Figure 2 1 10 WPS page...
Page 28: ...28 113 The Add Profile will appear...
Page 30: ...30 113 Now the profile which the user set appears in the profile list Click Activate...
Page 37: ...37 113 Click Add to Profile...
Page 39: ...39 113 Next you will see the new profile in the profile list Click Activate...
Page 78: ...78 113 The Auth Encry function will appear as below...
Page 80: ...80 113 Click OK The dialog box will appear as below...
Page 82: ...82 113 Auth Encry function appears...
Page 87: ...87 113 Click 8021X and the setting page will appear...
Page 89: ...89 113 2 Click OK The dialog box should appear as below...
Page 93: ...93 113 3 Click OK The dialog box should appear as the image below...
Page 98: ...98 113 2 Click OK The dialog box should appear as the image below...
Page 99: ...99 113 3 If the connection is successful the dialog box will appear as the image below...
Page 101: ...101 113 Press Connect button show Auth Encry window authentication mode is WAPI PSK...
Page 102: ...102 113 Key type is Hex enter 1234567890...
Page 103: ...103 113 You can also connect AP with WAPI CERT authentication mode...
Page 104: ...104 113 Select user certificate...
Page 105: ...105 113 Select authentication server certificate...
Page 111: ...111 113 It can t add the profile in Network page...


