37
Easier
Application &
Access
5
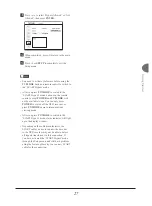
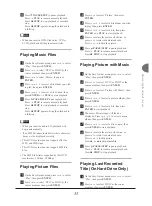
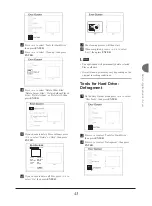
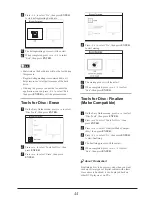
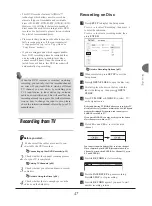
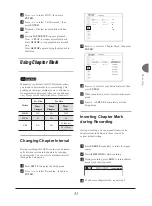
If you choose to save the recording on a DVD
disc or on hard drive, press
to select a
recording mode, then press
ENTER
.
6
Recording will then start.
7
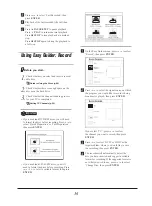
Press
STOP
to stop recording.
Press
PAUSE/STEP
to pause recording.
Press
PAUSE/STEP
again to resume
recording.
Note
• If you are using models which support double-
layer DVD recording, please be reminded that
one recording session in double-layer discs
cannot exceed 8 hours. Once the session has
lasted for over 8 hours, this DVD recorder will
automatically stop recording.
Using Easy Guider: Timer
Record
Before you start...
1.
Check whether you select and insert a record-
able disc.
Guide to Using the Discs (p.94)
2.
Check whether the system date and time of
the DVD recorder is correct.
Setting System Time (p.18)
3.
Check whether there is enough space on the
disc or on the hard drive.
4.
Check whether the channel scanning process
for your TV is completed.
Setting TV Channels (p.20)
Important
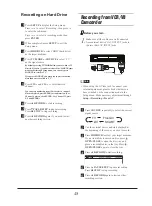
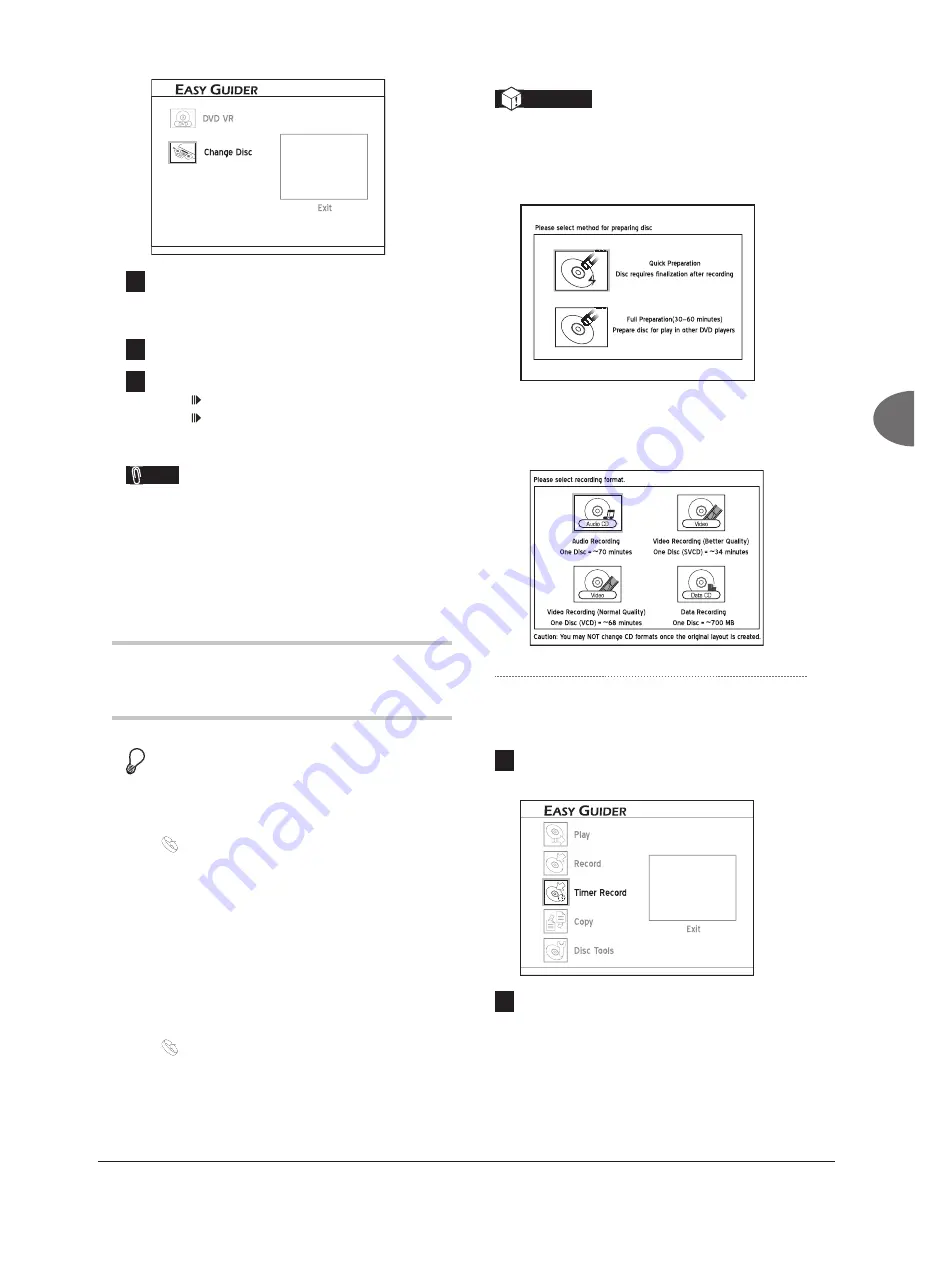
• If you use blank DVD-RW discs, you will need
to format the discs before recording. Press
to
select ‘Quick Preparation’ or ‘Full Preparation’,
then press
ENTER
.
Recording_01_03
• If you use blank CD-R/-RW discs, you will
need to format the discs before recording. Press
to select a suitable format, then press
ENTER
.
Recording_01_03
Normal Timer Recording
1
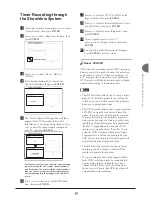
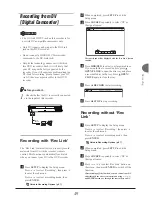
On the Easy Guider menu, press
to select
‘Timer Record’, then press
ENTER
.
2
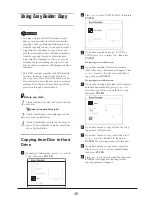
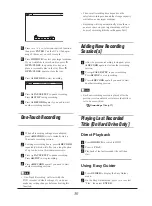
Press
to select ‘Date/Time Setting’, then
press
ENTER
.

