


37
Wireless-G PrintServer for USB 2.0
Chapter 8: Bi-Admin Management
The Bi-Admin Management Utility
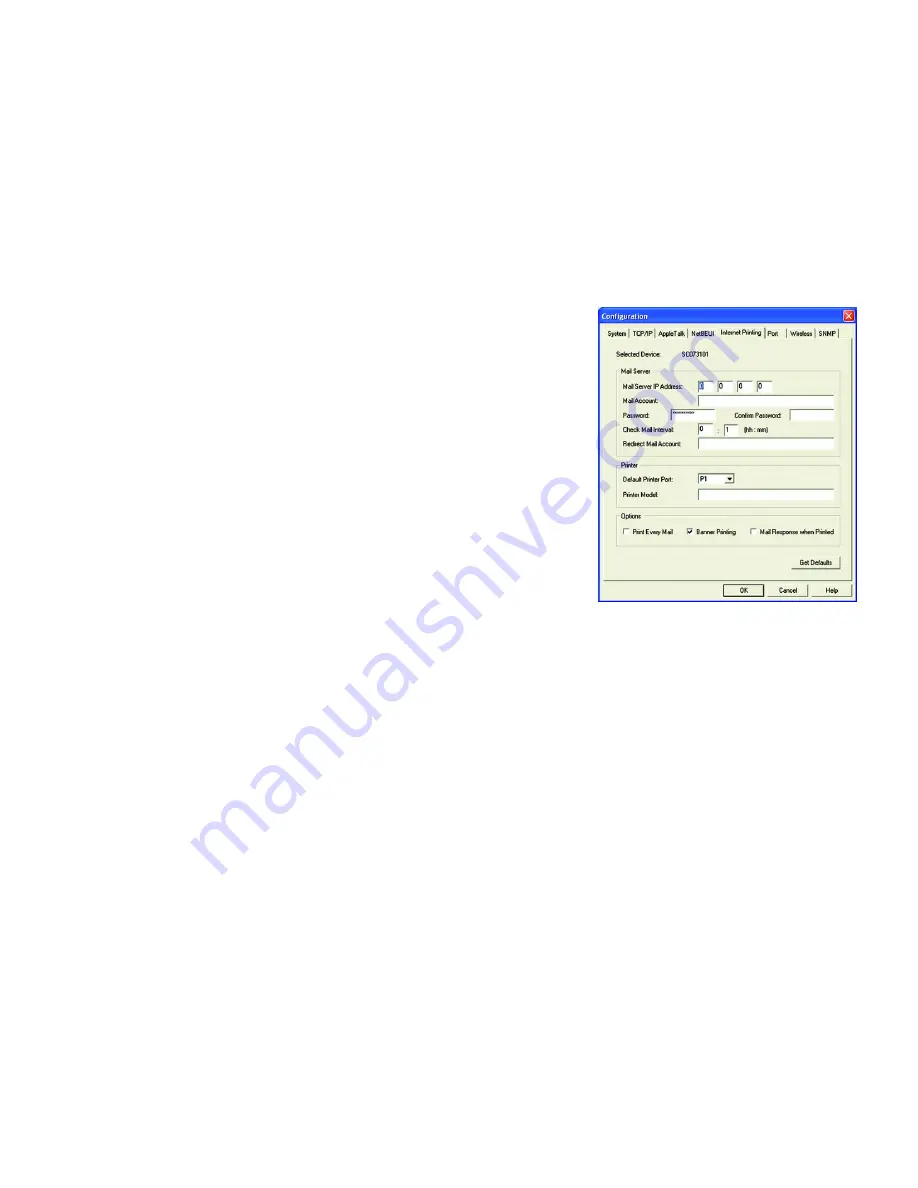
Internet Printing
(Figure 8-16)
•
Mail Server
. Enter the address of your mail server in the
Mail Server IP Address
fields. (This value must
be a fixed IP address.) Enter the Mail Account name and Password next. Enter the password again in the
Confirm Password
field. Then, enter the time interval for the PrintServer to check for e-mail to be printed,
in hours and minutes in the
Check Mail Interval
field. You may also specify an e-mail address to which
mails that cannot be printed are routed; this is useful for both graphic-intensive e-mails and for
troubleshooting purposes. Enter this e-mail address in the
Redirect Mail Account
field.
•
Printer
. Select the Default Printer Port from the drop-down menu. In the field provided, enter the Printer
Model, which can be found through the Device Manager.
•
Options
. Place a check mark next to the options you want to enable:
Print Every Mail
,
Banner Printing
(enabled by default), or
Mail response when Printed
.
Click the
Get Defaults
button if you want to cancel your changes and use the default settings.
When finished making your changes on this tab, click the
OK
button to save these changes, or click the
Cancel
button to undo your changes. For more information, click the
Help
button.
Figure 7-16: Configuration - Internet Printing


