


29
Wireless-G PrintServer for USB 2.0
Chapter 8: Bi-Admin Management
Bi-Admin Installation
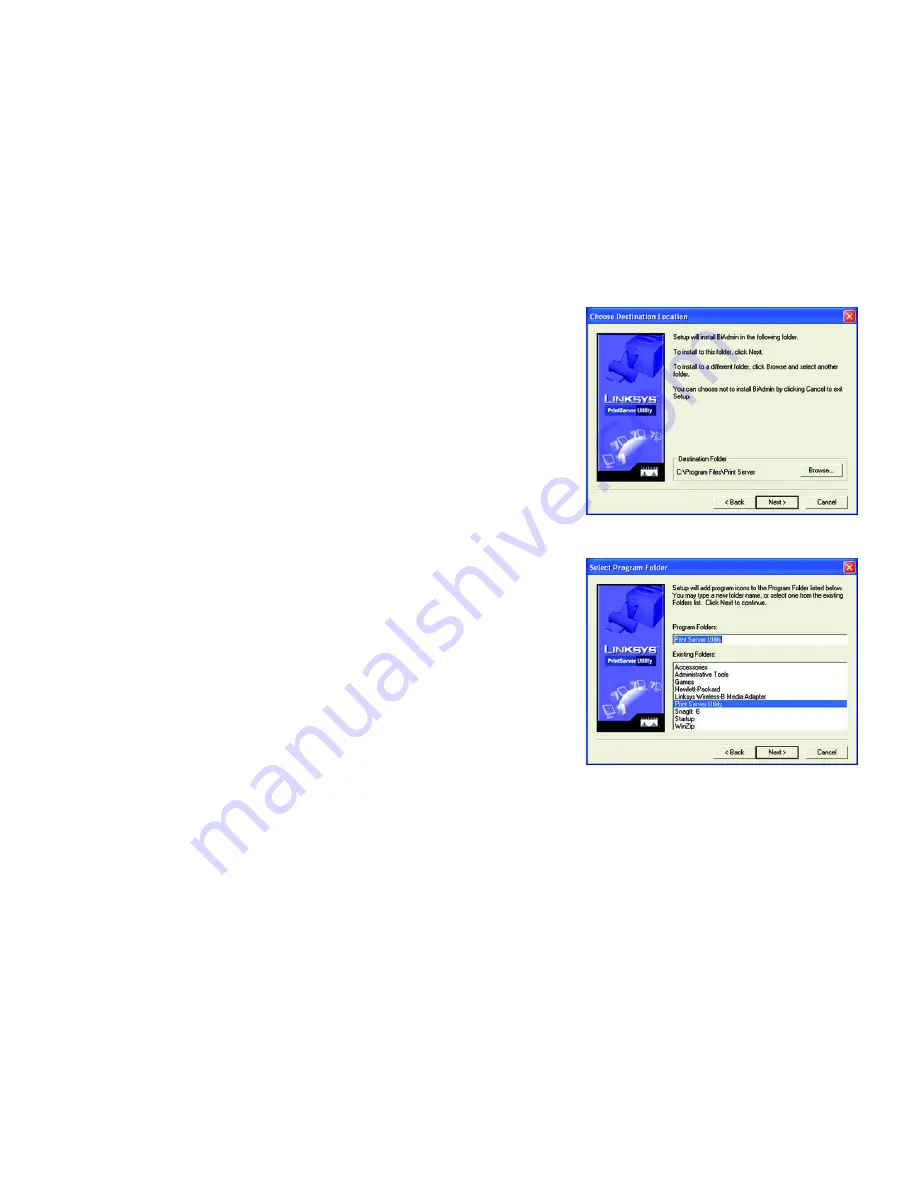
5. The
Choose Destination Location
screen will appear, as shown in Figure 8-3. Choose the location where the
B-Admin folder will be installed. To install the driver in the default location, click
Next
. If you want the folder
to be installed in a different location, click the
Browse
button and select the location. Then click
Next
.
Click
Back
to return to the previous screen. Click
Cancel
to end the Bi-Admin installation.
6. The
Select Program Folder
screen, shown in Figure 8-4, will appear. An icon will be added to the program
folder listed. You may change the name for the program folder, if you wish. Click
Next
.
Click
Back
to return to the previous screen. Click
Cancel
to end the Bi-Admin installation.
7. When the Bi-Admin is installed, the
Setup Complete
screen will appear. Click
Finish
.
Figure 7-4: Select Program Folder
Figure 7-3: Choose Destination Location


