


6
Chapter 4: Configuring the PrintServer Using the Setup Wizard
Installation
Wireless-G PrintServer for USB 2.0
Chapter 4: Configuring the PrintServer Using the Setup Wizard
Installation
To install the PrintServer, you will use the Setup CD-ROM to run the Setup Wizard. It is highly recommended that
you use a computer on the wired network to set up the PrintServer. However, if you only have a wireless network,
then you can use a computer on the wireless network to set up the PrintServer.
1. Insert the Setup CD-ROM into the computer’s CD-ROM drive. The Setup Wizard should run automatically. If it
does not, click the
Start
button and choose
Run
. In the box that appears, enter
D:\setupWizard.exe
(if “D”
is the letter of your CD-ROM drive).
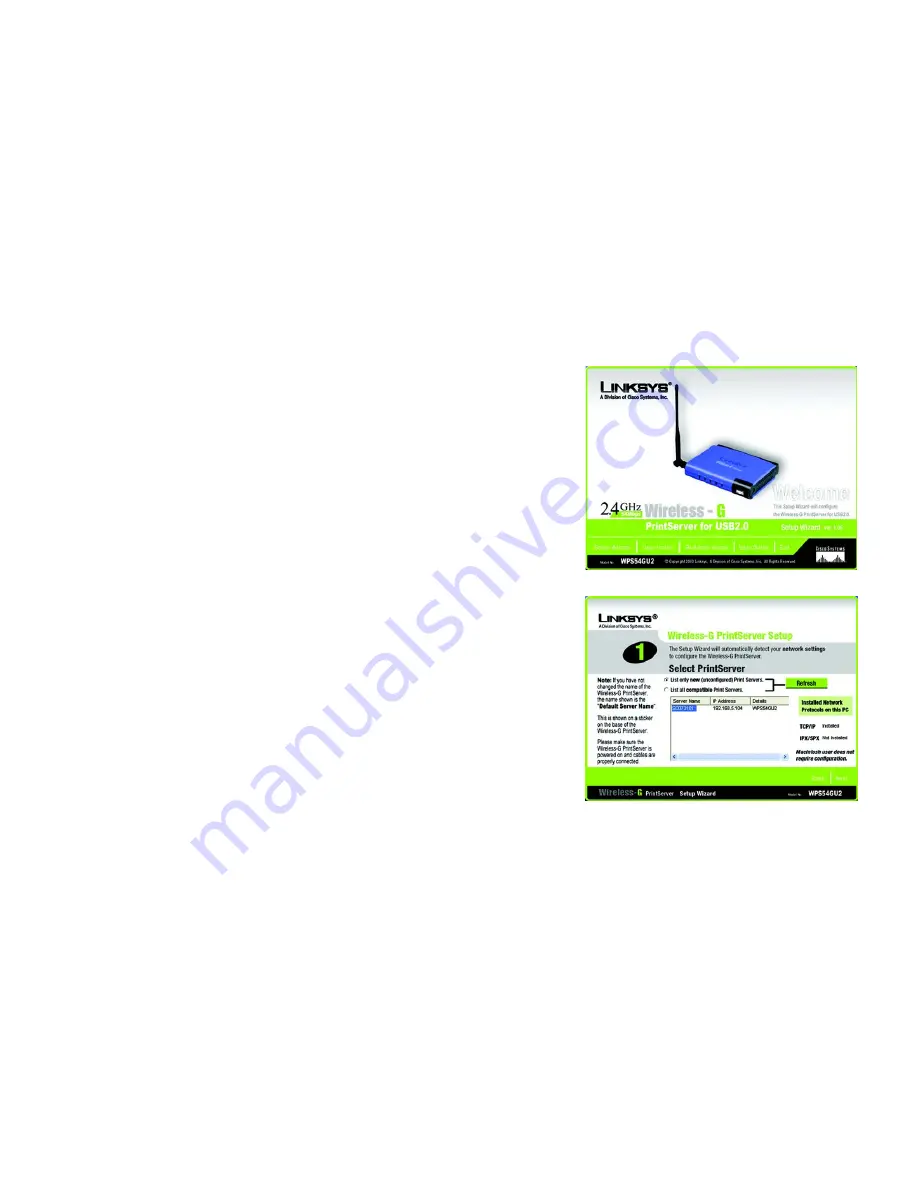
2. When you see Figure 4-1, click
Setup Wizard
to continue. Click
Exit
to end the installation. Click
User Guide
button to view the User Guide.
3. After the Setup Wizard has found the PrintServer, the screen in Figure 4-2 will appear. If this is the first time
you have run the Setup Wizard, make sure that
List only new (unconfigured) Print Servers
is selected and
your PrintServer is listed by its default server name. Next to the PrintServer’s Server Name is its IP Address.
Note the IP Address so you can use it to access the PrintServer’s web-based utility, as described in “Chapter
6: Configuring the PrintServer Using the Web-based Utility.”
If you have previously configured the Print Server, select
List all compatible Print Servers
. Click
Next
to
continue.
Click the
Refresh
button to refresh the screen. Click
Back
to return to the previous screen.
Figure 4-1: Welcome
Figure 4-2: Wireless-G PrintServer Setup
IP address:
the address used to identify a
computer or device on a network.


