34
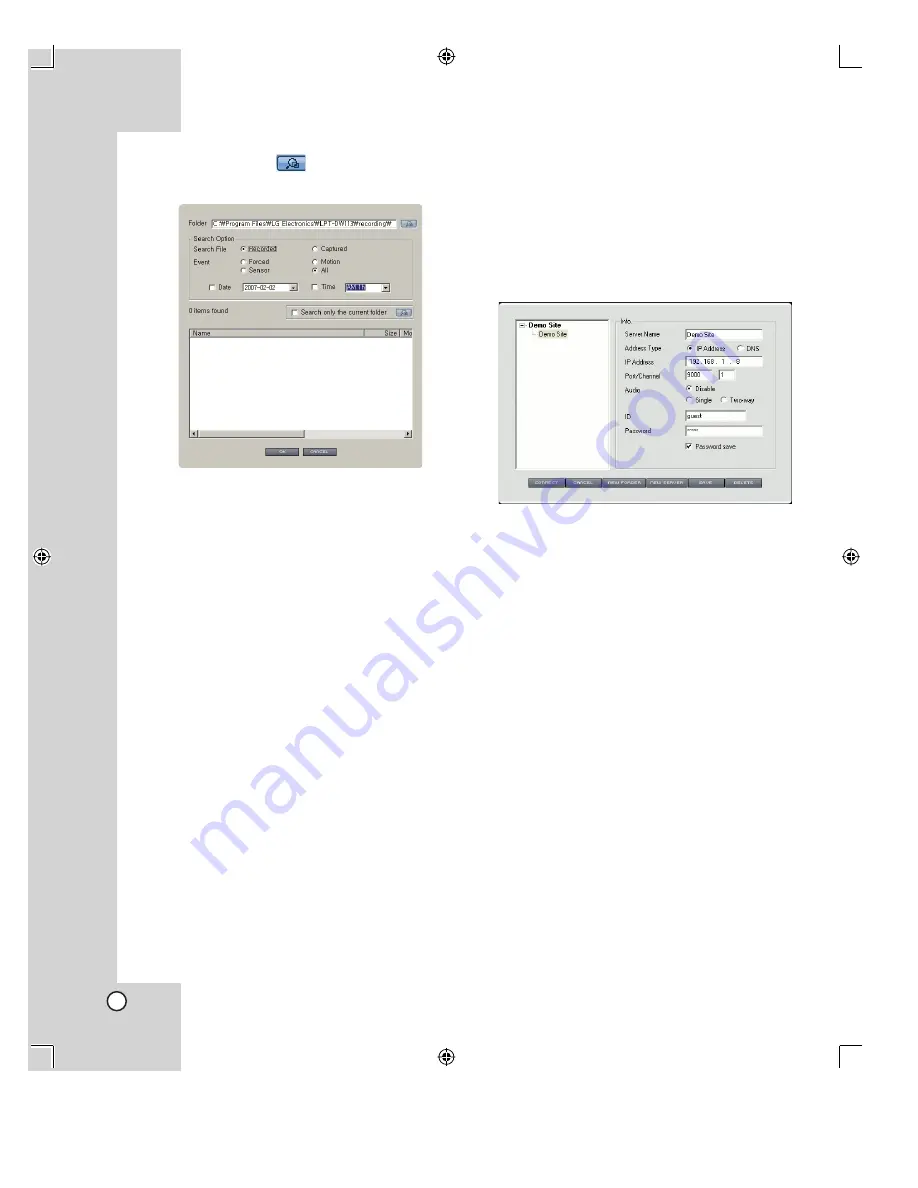
• File find button
: Click to display the file
find window.
>
Folder:
Select the folder to find the file.
>
Search file
: Select the file type to search
between Recorded and Captured.
>
Event
: Select the event type to search a
recorded file by event type.
>
Date
: Mark up and select the date to
search recorded file at the date.
>
Time
: Mark up and select the time to
search recorded file at the time.
>
# items found
: Displays the result of
search (#: the number of searched file).
>
Search only the current folder:
Mark
up when you want to search the current
folder.
>
Search list
: Displays the searched file
list. If you want to play a file, select the file
and double click it or click [OK] button.
If you play the file, the DW113 Viewer is
disconnect from the network camera auto-
matically.
>
CANCEL
: Click to exit the window.
Register the Site Name and Connect
the Camera using the DW113 Viewer
You should register a site name to connect the cam-
era by DW113 Viewer.
1. Run the DW113 viewer program.
2. Click the [On] icon.
The connect dialog menu is displayed.
3. Click the [NEW SERVER] to add the site.
The [Demo Site ##] is created under folder site
name.
If you want to make group site, click the [NEW
FOLDER].
Note:
If you want to delete the site name, select the site
name and click the DELETE button. If you select
the folder site name, all site name in the folder
and the folder are deleted.
4. Select site name.
5. Change the [Info.] options, if you want.
• Server Name: Display the selected server
name. You can rename the server name.
• Address Type: Select the address type
between IP Address and DNS.
• IP Address / DNS: If you select the [IP
Address] option on the Address type, enter
the IP address. If you select the [DNS] option
on the Address type, enter the DNS name of
the camera.
• Port/Channel: Enter the Login port number
and channel number.
Summary of Contents for LPT-DW113M
Page 44: ...P NO MFL30580181 ...


