22
Operation and settings
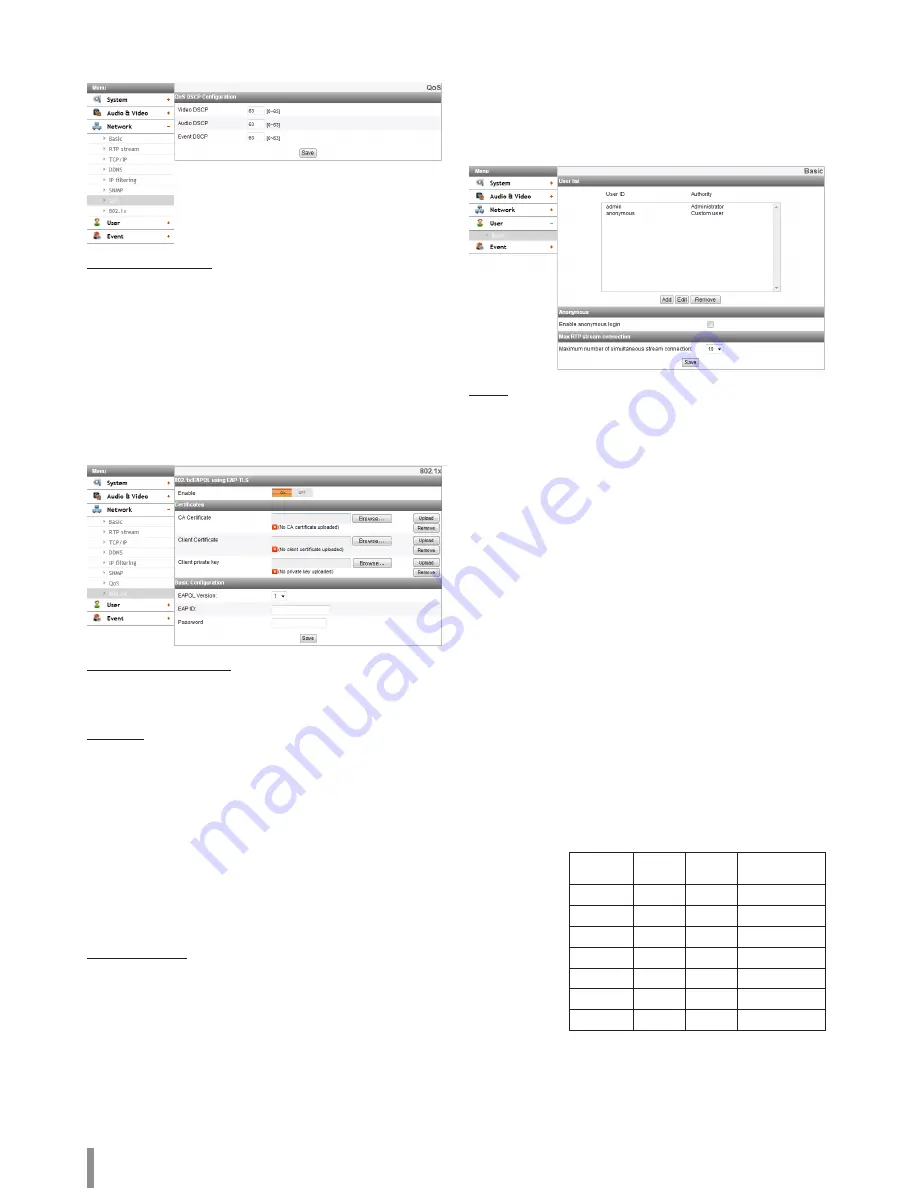
QoS
You can specify network Quality of Service (QoS) settings.
QoS DSCP Configuration
> Video DSCP: Enter the priority of Video for DSCP
(Differentiated Service Code Point) Quality of Service.
> Audio DSCP: Enter the priority of Audio for DSCP Quality of
Service.
> Event DSCP: Enter the priority of Event for DSCP Quality of
Service.
•
Save: Click this button to confirm the settings.
802.1x
Specifies whether 802.1x network access is enabled.
802.1x/EAPOL using EAP-TLS
> Enable: Select on to enable the protocol. Current
authorization status of 802.1x port is displayed on buttons
right.
Certificates
> To upload or remove the certificates
1. Click the [Browse] Button.
2. Find and open the certificates file.
- CA Certificate: Upload the accredited certificate included
public key.
- Client Certificate: Upload the accredited certificate
included client authentication key.
- Client private key: Upload the accredited certificate
included client private key.
3. Click the [Upload] button to install certificates.
4. Click the [Remove] button to delete certificates.
Basic Configuration
> EAPOL Version: Select the EAPOL version.
> EAP ID: Enter the ID of the client certificate using up to 16
characters.
> Password: Enter the password of the client private key using
up to 16 characters.
•
Save: Click this button to confirm the settings.
User settings
Basic
The IP device is shipped with the login rights of administrator only.
If others need to access the IP device excluding the configuration a
login with viewer rights need to be created. A maximum of 50 users
can be created.
User list
> Add the User
You can register a new user with various access rights.
1. Click the [Add] button. User setting dialog is displayed.
2. Enter the new User ID and Password. (Should have a
minimum of 4 characters and preferably a combination
of alphanumeric.)
3. To confirm the password, retype the password that you
typed in the Password box.
4. Select the authority from the drop down list to provide
the access rights to each user and then click the [Save]
to confirm your selection.
- Administrator: Allows you to operate setup menus
and to view live images.
- Power user: Use of the limited functions of the
system. (The Configuration menu is not allowed.)
A power user can use the Live View, OSD control and
audio functions.
- Normal user: Provides the lowest level of access,
Allows to view live images only.
- Custom user: The user can login and view the live
stream image only when the “Enable anonymous
login” option is checked to enable it.
Note:
•
Remember the password.
•
Displayed Items according access authority are
like below:
Admin
Power
User
Normal User /
Custom User
PTZ
O
O
X
DPTZ
O
O
X
REC
O
O
X
BI-AUD
O
O
X
MIC
O
O
X
SPEAKER
O
O
X
SETTINGS
O
X
X
> Edit the registered user
You can change the password or authority.
1. Choose the user ID and then click the [Edit] button.
2. Change the Password or Authority, then click the [Save]
button to confirm your selection.
Summary of Contents for LNB5110
Page 40: ......


