Operation and settings
15
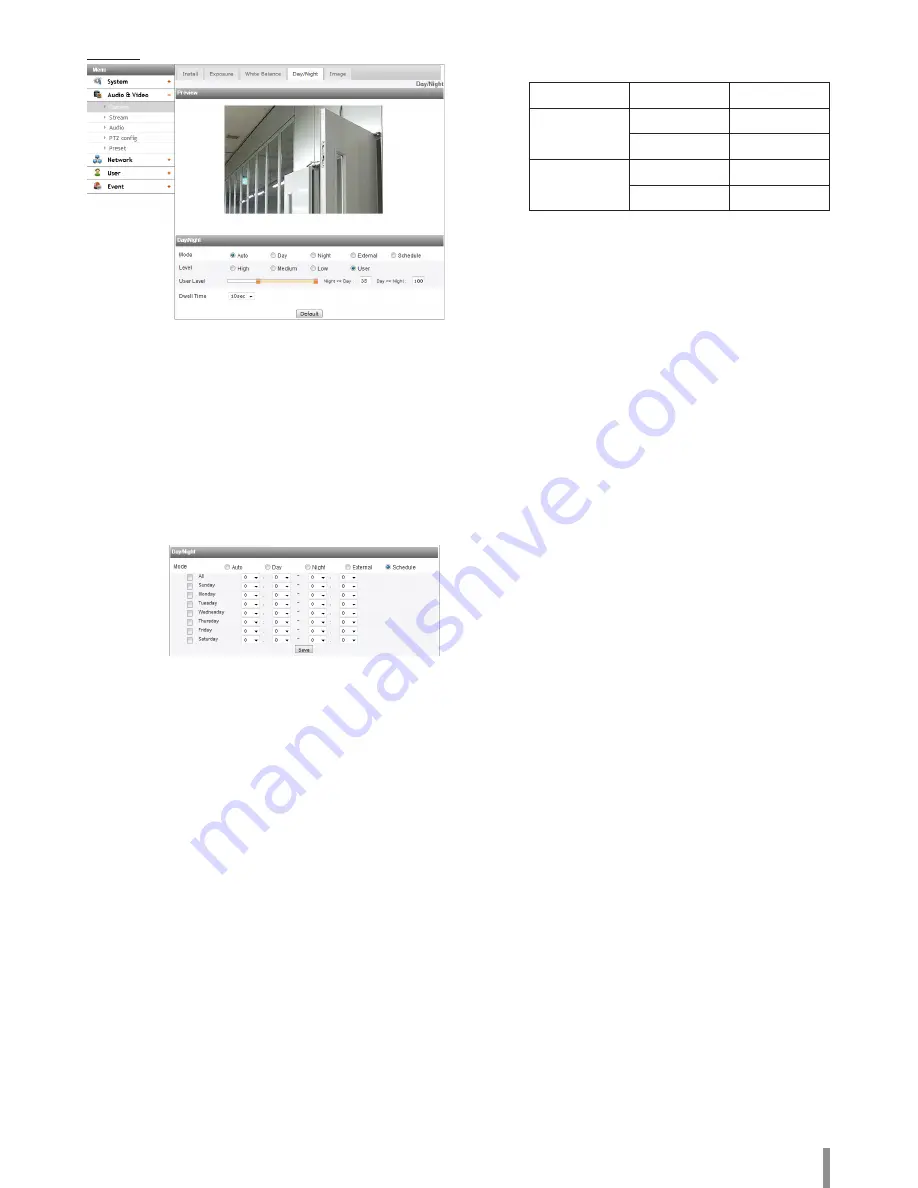
Day/Night
> Mode: Select [Mode] option on the [Day/Night] menu, then
select the following mode.
- Auto: [Day/Night] mode can be changed to the [Auto]
mode depending on the [Level] settings.
- Day: Maintains the color mode always.
- Night: Maintains the Black-and-white mode always.
- External: The Day/Night mode is converted by using
Alarm In Port.
- Schedule: Operates as the [Day] mode during set time.
> To set the schedule
1. Select the [Schedule] option. The detail options are
displayed.
2. Select the check box of options.
•
All: Operates as the [Day] mode every day during set
time.
•
Sunday - Saturday: You can set the time for each day
of the week. For days of week which are not selected,
it operates as [Auto] mode.
•
Save: Click this button to save the schedule setting.
> Level: Adjust the automatic conversion time according to
the ambient light. If you select the [High], conversion is
made in the lowest illuminance.
> User Level: When you select the [Level] option to [User],
you can adjust the automatic conversion time according to
the ambient light. The left handle set the value of [Night >>
Day] and the right handle set the value of [Day >> Night].
> Dwell Time: Set the time to maintain the brightness for the
automatic conversion.
Note:
•
When you set to [External] mode, the [Sensor] function
of [Triggered Event] will be deactivated.
•
In case of [External] mode, you should set to [Enable]
from the [Sensor&Relay > Sensor] option.
•
Set the type of [Sensor] according to External Sensor
type. The Day/Night mode is converted as below table.
Sensor Type
Alarm
Mode
Normal Open
High
Day
Low
Night
Normal Close
High
Night
Low
Day
•
If the difference of value between the [Day >> Night]
and [Night >> Day] is not big enough, may occur the
problem to convert the Day and Night.
•
When the [AGC] set to [Off], the [Day/Night] is initialized
to the [Day] mode. Other settings of [AGC] are initialized
to the [Auto] mode.
•
Default: Click this button to restore the IP device back to original
factory settings.
Summary of Contents for LNB5110
Page 40: ......


