Using Safe Mode
Safe Mode lets the printer continue to operate in a special limited mode in which it attempts to continue offering as
much functionality as possible despite known issues. See
“Safe Mode print behavior” on page 27
.
Warning—Potential Damage:
Safe Mode is intended as a short
‑
term workaround and should be used only in the
case of a non
‑
critical error when a print job must be completed before service can be arranged to repair the printer.
The printer must be returned to standard operating mode before diagnostics can be run or full
‑
function printing can
continue.
You can enter Safe Mode in one of the following ways:
•
Enter Safe Mode from the Configuration menu, and then POR the printer. See
“Safe Mode” on page 192
.
•
For 2.4” display models, press the
Stop
and
Back
keys, and then POR the printer.
•
For 4.3” and 7” display touchscreen models, press the
6
and
7
keys, and then POR the printer.
•
For LED models, you must contact the next level of technical support for assistance.
Return the printer to standard operating mode to service the printer and return to full
‑
function printing.
Safe Mode print behavior
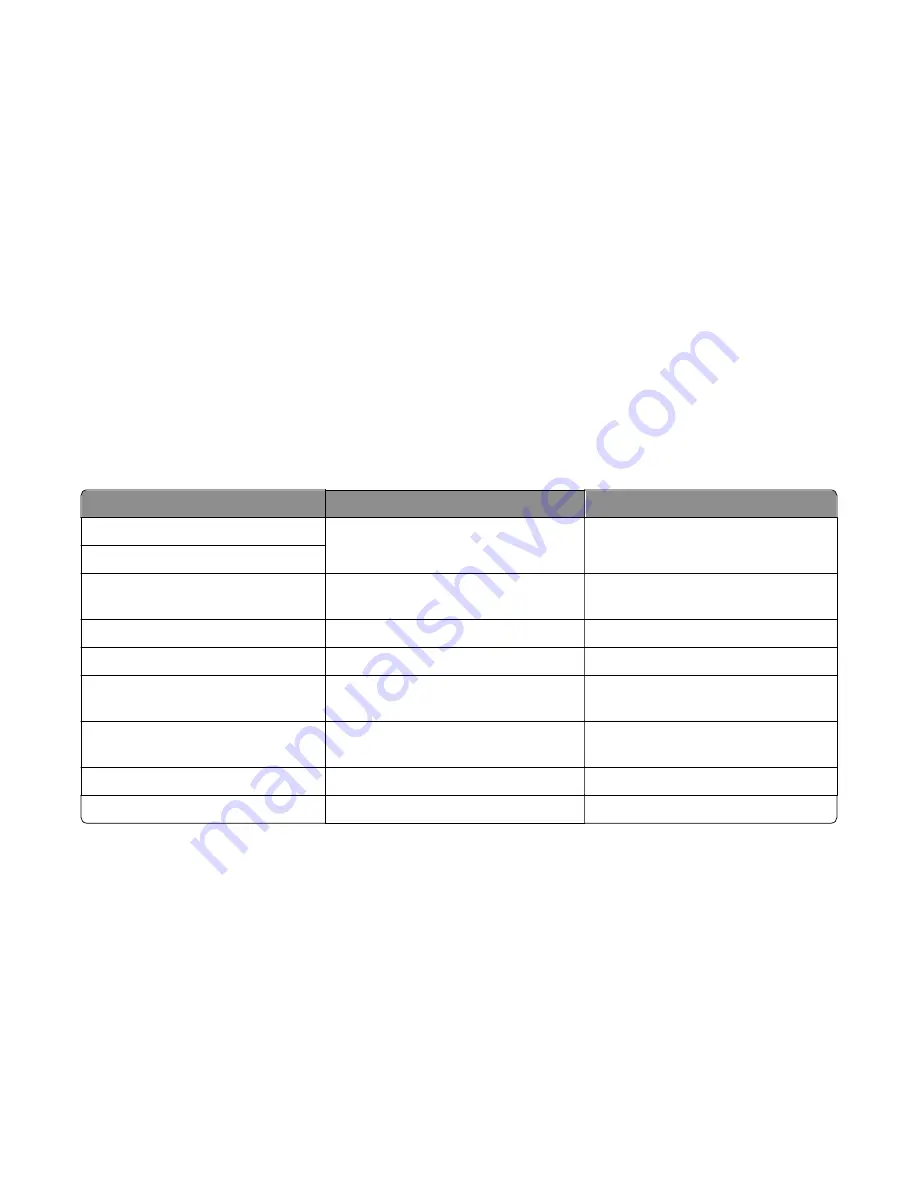
The following table outlines the behavior for this printer model while in Safe Mode:
Safe Mode engine features
Engine behavior
Control panel behavior
Simplex printing only
Reports that duplex printing is disabled.
Duplex print option is not selectable.
Ignore duplex sensor
Ignore standard bin full sensor
Standard bin full messages are not
reported.
Standard bin full messages will not
occur.
Print at narrow media operating point Pages are printed slower.
N/A
Ignore all input options
Reports that only Tray 1 is installed.
Only Tray 1 and the MPF are selectable.
Ignore all output options
Does not any report installed finishing
options.
No finishing options are selectable.
Ignore rear door sensor
Rear door open messages are not
reported.
Rear door open messages do not occur.
Reduce print speed
Pages are printed slower.
N/A
Reduce time to first print
Slower time to first print.
N/A
Fixing print quality issues
•
“Initial print quality check” on page 28
•
“Print quality toner rubs off service check” on page 29
•
“Print quality background service check” on page 30
•
“Print quality blank page service check” on page 31
•
“Print quality blurred or fuzzy print service check” on page 32
•
“Print quality half
‑
color page service check” on page 33
•
“Print quality horizontal banding service check” on page 33
7527
Diagnostic information
27
Summary of Contents for CX310dn
Page 24: ...7527 24 ...
Page 154: ...7527 154 ...
Page 187: ...D ADF cover open E Flatbed cover open F Paperfeed sensor 7527 Service menus 187 ...
Page 227: ...5 Disconnect the belt C 6 Disconnect the fan and remove 7527 Repair information 227 ...
Page 311: ...Component locations Controller boards CX310 models 7527 Component locations 311 ...
Page 312: ...CX410 models 7527 Component locations 312 ...
Page 313: ...CX510 models 7527 Component locations 313 ...
Page 318: ...7527 318 ...
Page 325: ...7527 325 ...
Page 327: ...Assembly 1 Covers 7527 Parts catalog 327 ...
Page 329: ...Assembly 2 Scanner 7527 Parts catalog 329 ...
Page 331: ...Assembly 3 Paperpath 7527 Parts catalog 331 ...
Page 334: ...7527 Parts catalog 334 ...
Page 335: ...Assembly 4 Operator panels 7527 Parts catalog 335 ...
Page 338: ...7527 Parts catalog 338 ...
Page 339: ...Assembly 5 Electronics 7527 Parts catalog 339 ...
Page 342: ...7527 Parts catalog 342 ...
Page 343: ...Assembly 6 Cables and sensors 7527 Parts catalog 343 ...
Page 345: ...Assembly 7 Media drawers and trays 7527 Parts catalog 345 ...
Page 358: ...7527 358 ...
Page 372: ...7527 372 ...
Page 386: ...7527 Part number index 386 ...
Page 392: ...7527 Part name index 392 ...


