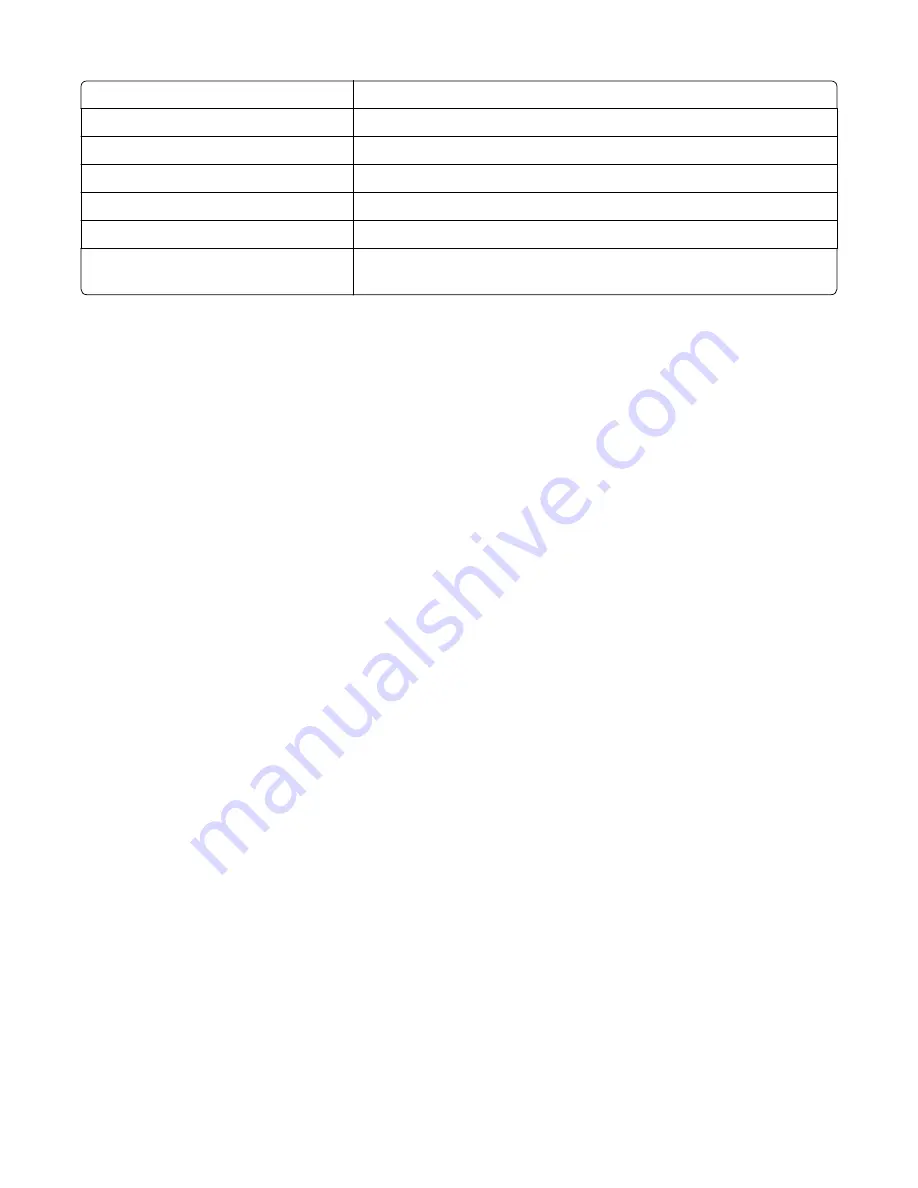
PPDS Emulation
See
“PPDS Emulation” on page 192
.
Demo Mode
See
“Demo Mode” on page 193
.
Factory Defaults
See
“Factory Defaults” on page 193
.
Energy Conserve
See
“Energy Conserve” on page 194
.
Auto Color Adj
See
“Auto Color Adjustment” on page 196
.
Font Sharpening
See
“Font Sharpening” on page 197
.
Exit Config Menu
This selection exits Configuration Menu, and
Resetting the Printer
displays. The printer performs a POR and returns to normal mode.
Action for prompts
This setting enables users to determine which input source would receive paper-related or envelope-related change
prompts when they occur. Regardless of the target source, the device always requires some type of user assistance to
resolve the change prompt (examples: pushing a button to ignore the prompt and changing the source’s installed
media). However, this setting gives a user the option of having the device resolve change prompt situations without
requiring any user assistance.
To change this setting:
1
From the Configuration Menu, navigate to
Action for prompts
.
2
Touch
Left
or
Right
to change the setting.
3
Touch
Submit
to save the setting, or touch
Back
to return to the Configuration Menu without saving any changes.
When set to
Prompt user
, the device behaves like the past implementation. When a change prompt occurs, the device
stops printing, posts the change prompt to the target source, and waits for the user to select an action before continuing.
When set to
Continue
, the device automatically assumes that the user selects
Continue
every time a change prompt
is encountered. Likewise, when the device is set to
Use Current
, all change prompts will perform as if
Use Current
was
selected by the user.
ADF Edge Erase
The value of this setting determines the size in millimeters of the “no-print” zone around an ADF scan job.
To change this setting:
1
From the Configuration Menu, navigate to
ADF Edge Erase
.
2
Touch
Left
or
Right
to change the setting.
3
Touch
Submit
to save the setting, or touch
Back
to return to the Configuration Menu without saving any changes.
7527
Service menus
190
Summary of Contents for CX310dn
Page 24: ...7527 24 ...
Page 154: ...7527 154 ...
Page 187: ...D ADF cover open E Flatbed cover open F Paperfeed sensor 7527 Service menus 187 ...
Page 227: ...5 Disconnect the belt C 6 Disconnect the fan and remove 7527 Repair information 227 ...
Page 311: ...Component locations Controller boards CX310 models 7527 Component locations 311 ...
Page 312: ...CX410 models 7527 Component locations 312 ...
Page 313: ...CX510 models 7527 Component locations 313 ...
Page 318: ...7527 318 ...
Page 325: ...7527 325 ...
Page 327: ...Assembly 1 Covers 7527 Parts catalog 327 ...
Page 329: ...Assembly 2 Scanner 7527 Parts catalog 329 ...
Page 331: ...Assembly 3 Paperpath 7527 Parts catalog 331 ...
Page 334: ...7527 Parts catalog 334 ...
Page 335: ...Assembly 4 Operator panels 7527 Parts catalog 335 ...
Page 338: ...7527 Parts catalog 338 ...
Page 339: ...Assembly 5 Electronics 7527 Parts catalog 339 ...
Page 342: ...7527 Parts catalog 342 ...
Page 343: ...Assembly 6 Cables and sensors 7527 Parts catalog 343 ...
Page 345: ...Assembly 7 Media drawers and trays 7527 Parts catalog 345 ...
Page 358: ...7527 358 ...
Page 372: ...7527 372 ...
Page 386: ...7527 Part number index 386 ...
Page 392: ...7527 Part name index 392 ...


