


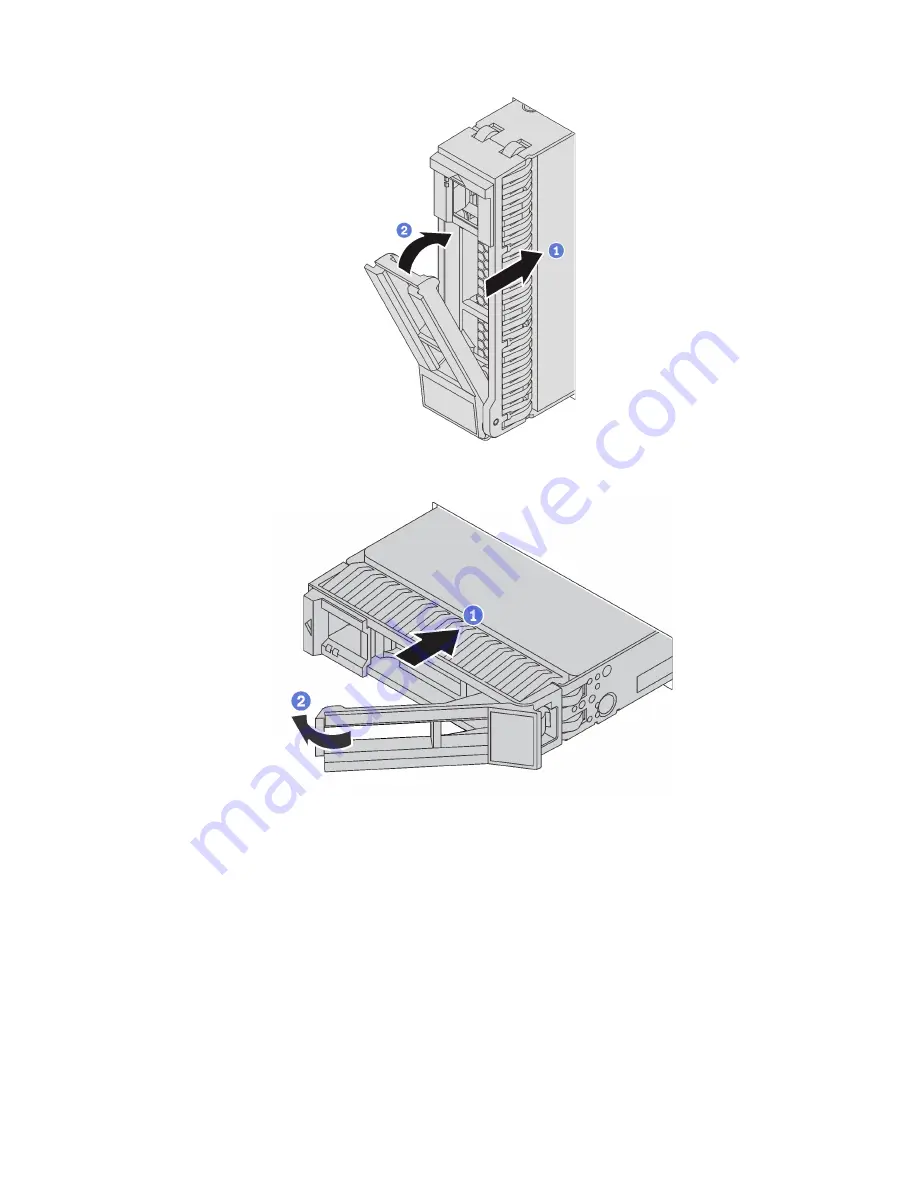
Figure 95. 2.5-inch hot-swap drive installation
Figure 96. 3.5-inch hot-swap drive installation
Step 1. Ensure that the drive tray handle is in the open position. Slide the drive into the drive bay until it
snaps into position.
Step 2. Close the drive tray handle to lock the drive in place.
Step 3. Check the drive status LED to verify that the drive is operating correctly.
• If the yellow drive status LED is lit continuously, that drive is faulty and must be replaced.
• If the green drive activity LED is flashing, the drive is being accessed.
Step 4. Continue to install additional hot-swap drives if necessary.
After installing all hot-swap drives:
1. If you have removed the security bezel, reinstall it. See “Install the security bezel” on page 93.
.
Hardware replacement procedures
125
Summary of Contents for ThinkSystem SR650
Page 1: ...ThinkSystem SR650 Maintenance Manual Machine Types 7X05 and 7X06 ...
Page 8: ...vi ThinkSystem SR650 Maintenance Manual ...
Page 20: ...12 ThinkSystem SR650 Maintenance Manual ...
Page 96: ...88 ThinkSystem SR650 Maintenance Manual ...
Page 154: ...Figure 107 Riser 1 assembly removal 146 ThinkSystem SR650 Maintenance Manual ...
Page 212: ...204 ThinkSystem SR650 Maintenance Manual ...
Page 230: ...222 ThinkSystem SR650 Maintenance Manual ...
Page 234: ...226 ThinkSystem SR650 Maintenance Manual ...
Page 243: ......
Page 244: ......


