


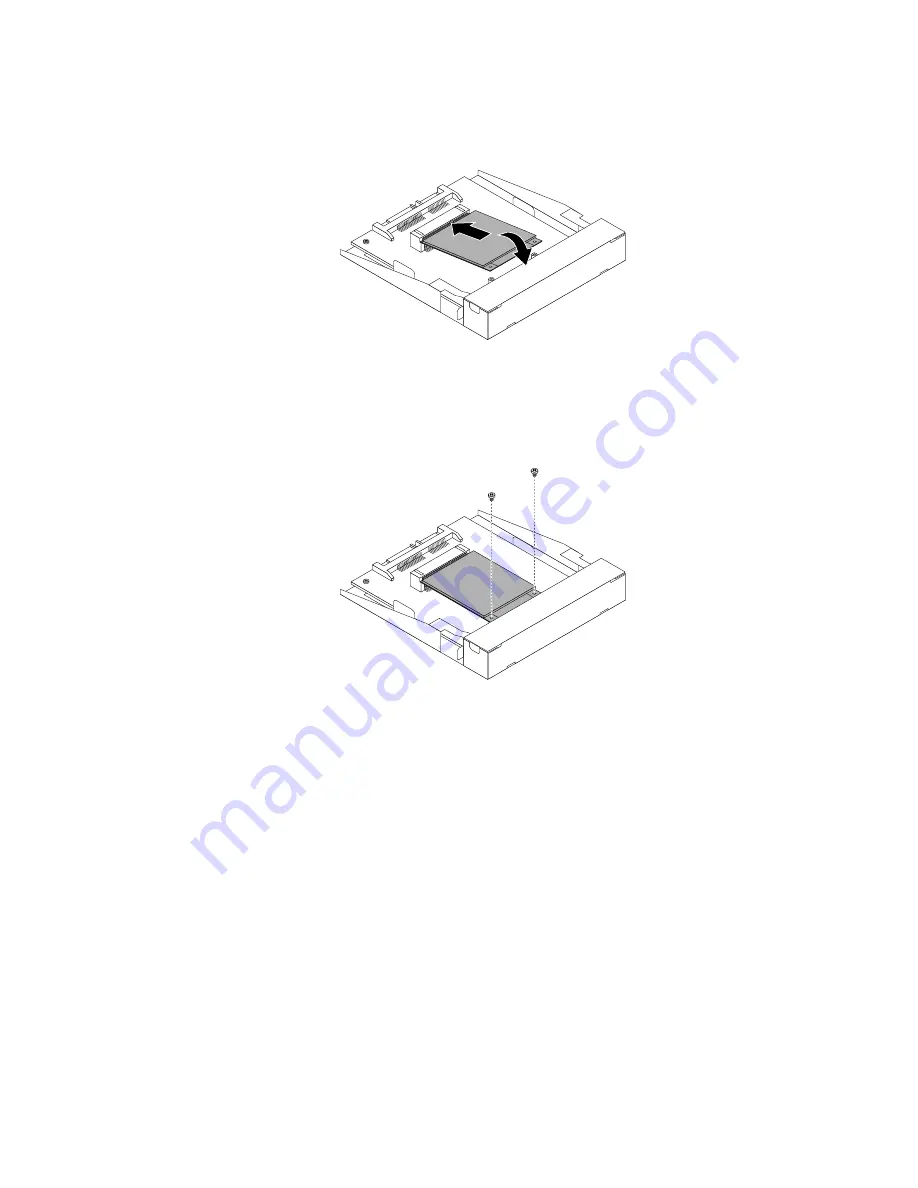
6. Carefully insert the mSATA solid-state drive into the mini PCI Express slot on the storage converter at an
angle of about 20 degrees. Then, press the mSATA solid-state drive downward.
Figure 136. Installing the mSATA solid-state drive into the storage converter
7. Install the two screws that came with the mSATA solid-state drive to secure the drive to the storage
converter.
Figure 137. Installing the screws to secure the mSATA solid-state drive
Chapter 9
.
Replacing FRUs (machine types: 10A2, 10A3, 10A8, 10A9, 10AH, 10AJ, 10AM, and 10AN)
181
Summary of Contents for ThinkCentre M83
Page 6: ...iv ThinkCentre M83 and M93 p Hardware Maintenance Manual ...
Page 8: ...vi ThinkCentre M83 and M93 p Hardware Maintenance Manual ...
Page 15: ...Chapter 1 Safety information 7 ...
Page 19: ...Chapter 1 Safety information 11 ...
Page 20: ...1 2 12 ThinkCentre M83 and M93 p Hardware Maintenance Manual ...
Page 21: ...1 2 Chapter 1 Safety information 13 ...
Page 26: ...1 2 18 ThinkCentre M83 and M93 p Hardware Maintenance Manual ...
Page 27: ...1 2 Chapter 1 Safety information 19 ...
Page 30: ...22 ThinkCentre M83 and M93 p Hardware Maintenance Manual ...
Page 34: ...26 ThinkCentre M83 and M93 p Hardware Maintenance Manual ...
Page 40: ...32 ThinkCentre M83 and M93 p Hardware Maintenance Manual ...
Page 74: ...66 ThinkCentre M83 and M93 p Hardware Maintenance Manual ...
Page 100: ...92 ThinkCentre M83 and M93 p Hardware Maintenance Manual ...
Page 166: ...158 ThinkCentre M83 and M93 p Hardware Maintenance Manual ...
Page 306: ...298 ThinkCentre M83 and M93 p Hardware Maintenance Manual ...
Page 307: ......
Page 308: ......


