EN
174
Pictur
e mode
Manual exposure setting
1. Press the shutter button, and
2. use the shutter speed dial
19
and/or aperture setting ring
13
on the lens to set the desired exposure.
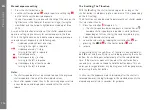
In Live View mode this is done with the help of the mark on the
light balance in the footer of the monitor image, if using the
viewfinder with the help of a light balance made up of three
LEDs.
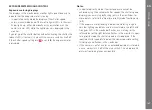
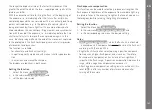
As well as the direction of rotation of the shutter speed dial and
aperture setting ring necessary for correct exposure, the three
LEDs in the light balance also indicate underexposure, overexpo-
sure and correct exposure in the following way:
Underxposure by at least one stop;
turning to the right is required
Underexposure by
1
⁄
2
stop;
turning to the right is required
Correct exposure
Overexposure by
1
⁄
2
e stop;
turning to the left is required
Overexposure by at least one stop;
turning to the left is required
Notes:
• The shutter speed dial must be clicked to one of the engraved
shutter speeds or to one of the intermediate values.
• For shutter speeds slower than 2s the remaining exposure time
is counted down and displayed in seconds after the shutter
release.
The B setting/The T function
With the
B
setting, the shutter remains open for as long as the
shutter button is held down (up to a maximum of 125s; depending
on the ISO setting).
The B function can also be used to permanently set shutter speeds
that are slower than 8s.
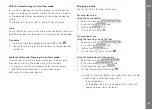
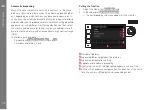
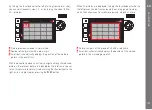
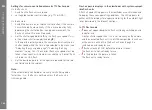
1. Press Focus button
3
for approx. 1s.
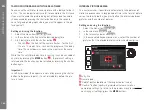
• The shutter speed sub-menu appears in the monitor, or
B
.
Available shutter speeds are indicated in white (different,
depending on ISO sensitivity), those not available in gray.
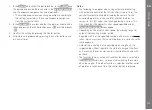
2. Select the desired shutter speed.
3. Leave the sub-menu by tapping the shutter button
18
, or
pressing the
MENU
-
22
, or the Center button
30
, and
4. release.
In conjunction with the self-timer, a T function is also available: If
both
B
is set and the self-timer is activated by pressing the shutter
button, the shutter opens automatically after the selected delay
time. It then remains open until you press the shutter button a
second time – you do not need to hold the button down. This en-
ables you to largely prevent any blurring, even with long exposures,
by pressing the shutter button.
In all cases, the exposure meter is disabled; after the shutter is
released however, the digital display in the viewfinder counts the
elapsed exposure time in seconds, for guidance.
Summary of Contents for M 10
Page 1: ...LEICA M10 ANLEITUNG INSTRUCTIONS ...
Page 2: ...1 10 11 13 15 14 12 12b 19 20 17 18 18a 12c 16a 12a 16 2 3 4 5 2 8 9 6 7 ...
Page 3: ...35 36 37 21 22 23 24 25 26 27 28 30 31 29 33 34 32 ...
Page 4: ......
Page 5: ...LEICA M10 Anleitung ...
Page 7: ...DE 3 ...
Page 41: ...DE 37 Kamera Grundeinstellungen ...
Page 102: ...DE 98 Anhang ANHANG DIE ANZEIGEN IM SUCHER 1 2 3 ...
Page 117: ...LEICA M10 Instructions ...
Page 153: ...EN 149 Camera default settings ...
Page 214: ...EN 210 Appendix APPENDIX VIEWFINDER DISPLAYS 1 2 3 ...

