


Aperio AT2 DX User’s Guide, Revision A © Leica Biosystems Imaging, Inc. 2019
20
Chapter 4: Scanning Slides
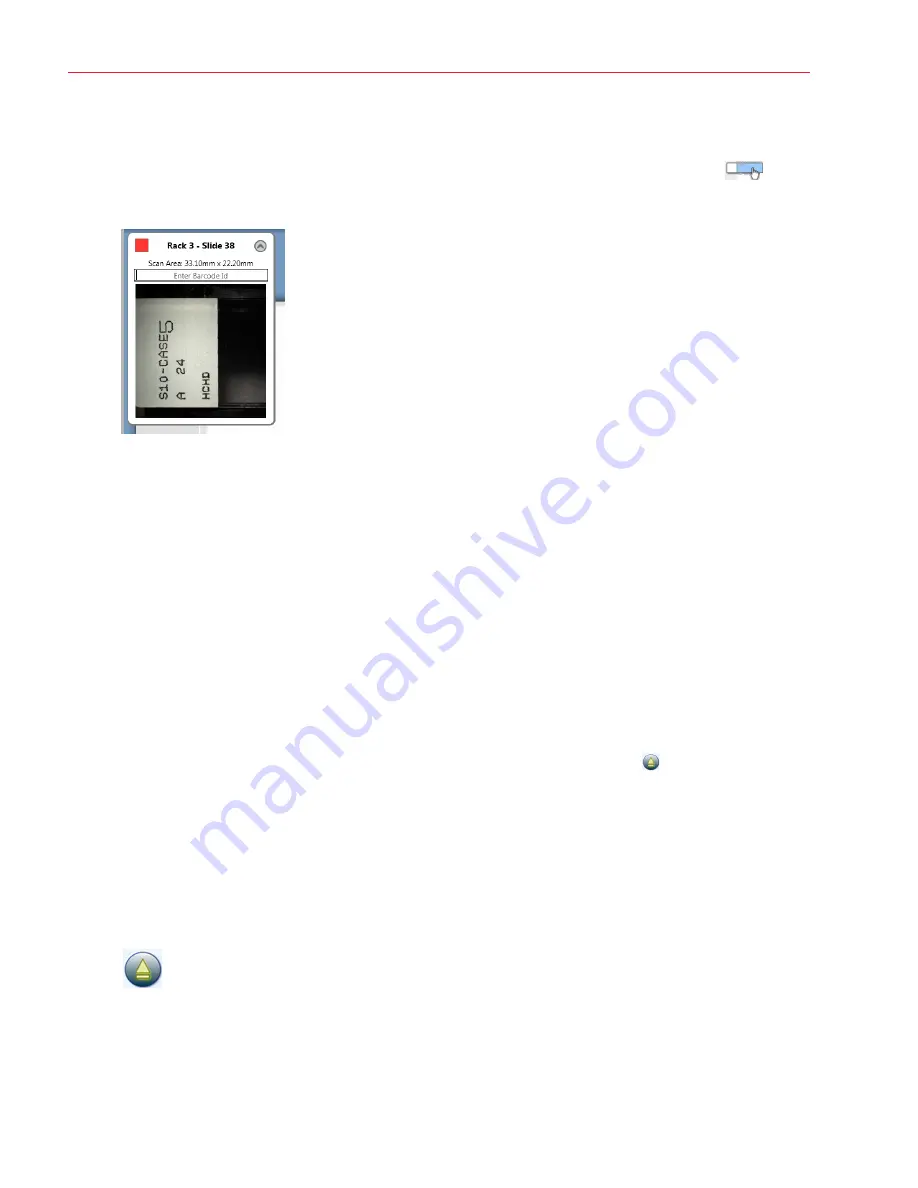
Manually Entering a Barcode
To manually enter a barcode:
1.
While using the Console, click on the slide in the rack or batch view and select the
View Slide
icon
.
2.
In the slide view window, click the down-arrow at the top of the label window to expand it.
3.
Type the barcode data into the
Enter Barcode Id
text box and press Return.
4.
Rescan the slide.
Multiple Slide Scanning Using the AutoLoader
The AutoLoader allows you to automatically scan up to 400 1-inch x 3-inch (2.54 cm by 7.62 cm) tissue slides unattended.
For information on loading slides into the AutoLoader, see
“Loading Slides into the AutoLoader” on page 37
specifications for slides used in the AutoLoader, see
“AutoLoader Specifications” on page 57.
Replacing a Rack
To replace an AutoLoader rack, eject the rack—this tells the scanner to move the rack to the access position. Then remove
the rack from the scanner, re-load it or replace it with another loaded rack, and place it back in the scanner. (See
“Chapter 6: Using the AutoLoader” on page 36
for details on placing slides in racks and using the AutoLoader.) To
eject the rack, place your cursor at the bottom of the graphic of the rack you want to eject—the
Eject
button appears;
click it to eject the rack.
Loading a Slide into the Slide Tray
You can scan a single slide by using the slide tray.
To load a slide in the slide tray:
1.
First, make sure the slide tray is in load position by clicking the
Eject
button at the bottom of the Console window.
2.
Place a slide into the slide tray with coverslip up and label oriented to the front.
For more information on scanning from the slide tray, see


