


Aperio AT2 DX User’s Guide, Revision A © Leica Biosystems Imaging, Inc. 2019
35
This chapter discusses the importance of reviewing image quality for the scanned slides.
Image Quality Review
After scanning slides, it is important to review the eSlides to make sure the image is of good quality. Ultimately, it is up
to the pathologist to look at eSlides to verify they are of sufficient quality to perform his/her task. In addition, scanner
operators should verify eSlide quality after scanning.
The quality criteria that are important for primary diagnosis that should be verified by scanner operators are: 1) that the
entire tissue sample has been scanned, and 2) that the tissue is in focus.
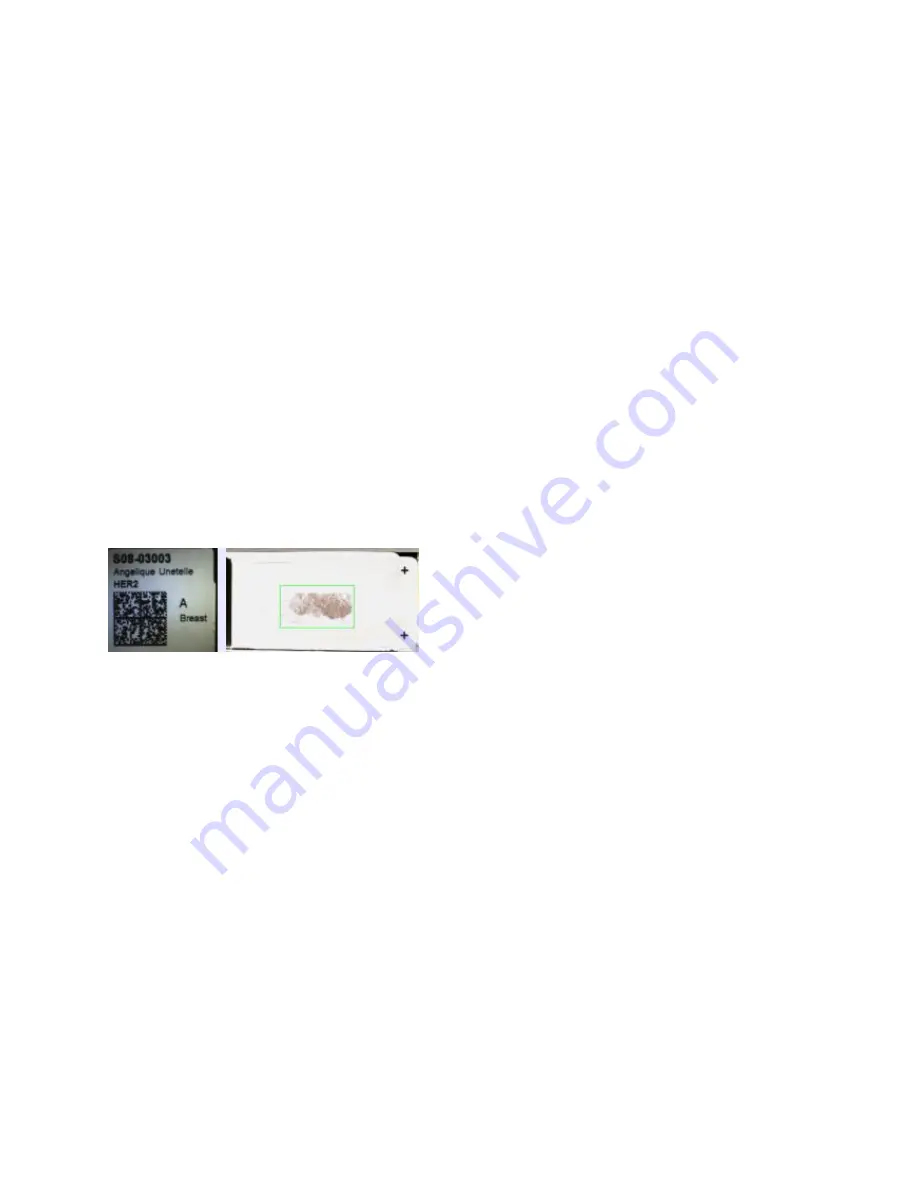
Aperio scanners provide a macro image, a low resolution image of the entire slide, that also provides a green outline of the
scanned image.
1.
From your MDDS, open the scanned images in Aperio ImageScope DX.
2.
Look at the entire image to see if the entire tissue sample was scanned.
3.
Adjust the zoom level by using the Zoom tool. Click in the thumbnail in the Aperio ImageScope DX window and pan
the image. All eSlide images should be in focus and free of visible image stripes.
4.
Rescan any eSlides that failed to scan or failed the image quality review.
Data Entry
Data entry is automated using barcodes. When a glass microscope slide is scanned by the Aperio AT2 DX scanner, a barcode
on the slide label is decoded to populate data fields in your MDDS. For information on barcode formats supported and on
what to do if the scanner cannot read a barcode, see
“Barcode Requirement” on page 19.
5
Image Quality Review


