G
e
tt
ing st
ar
te
d
5
Aligning the print cartridges
1
Load plain paper in the printer. For help loading paper, see the
previous section.
2
Press
Menu
.
3
Press
until
Utilities
is highlighted,
and then press
Select
.
The
Utilities
menu appears.
4
Press
until
Align Cartridges
is highlighted, and then press
Select
.
5
Press
until
Yes
is highlighted, and then press
Select
.
“Printing Page, Please Wait”
message appears.
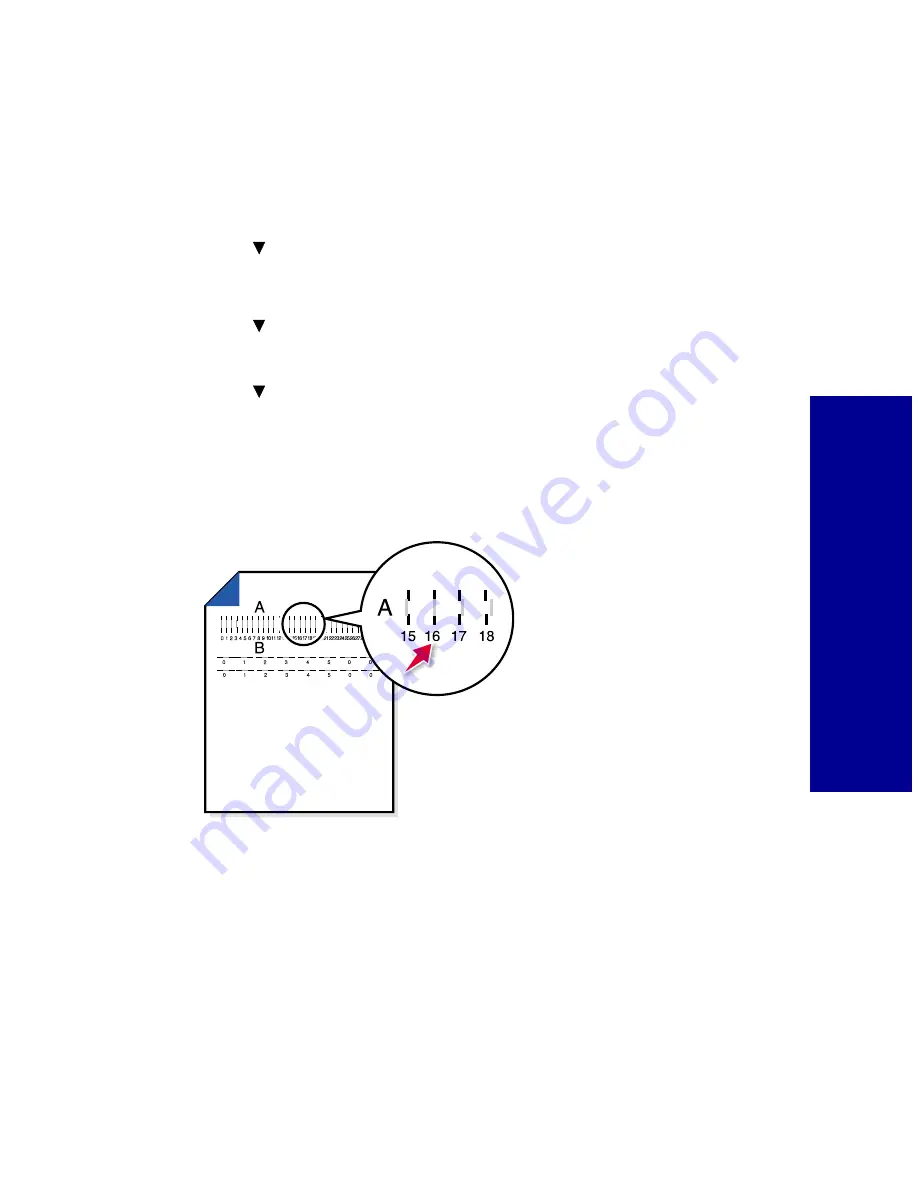
The test page prints several alignment patterns, depending on the
cartridge combination installed. Each pattern has a number under
it. The test page that prints is similar to the one shown:
6
Choose Values With Straightest Lines
message appears, press
Select
to continue.
7
From each alignment group on the test page, find the number
under the alignment pattern that comes closest to forming a
straight line.
For example, in sample group A, the arrow points to the pattern
that comes closest to forming a straight line.
Note: If you have a color and
black cartridge combination
installed, you will have two more
alignment values, C and D.
Follow the same instructions as
you would for the color and
photo cartridge combinations.


