


10
Step 5
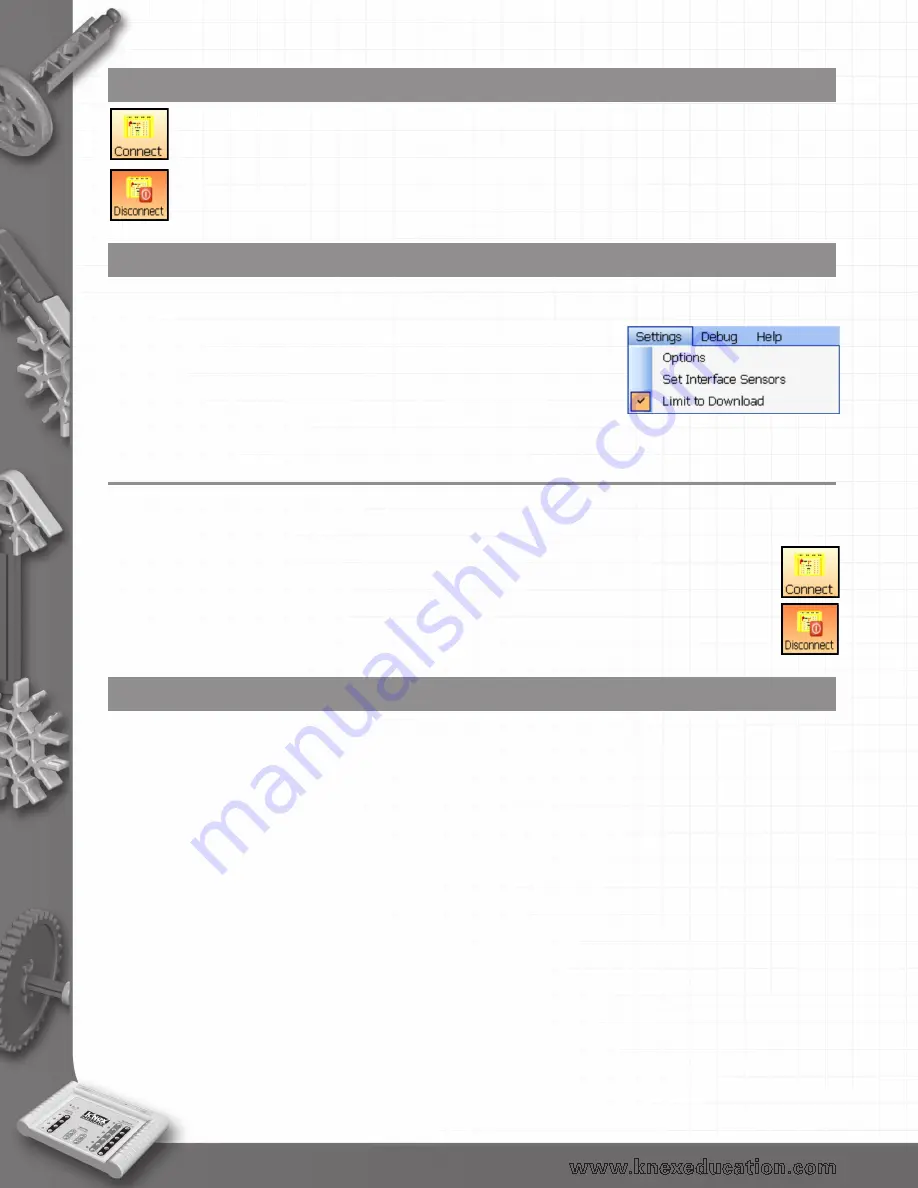
• Click on the Connect interface icon to establish connection to the K’NEX Interface.
When a connection is established the icon alters to show Disconnect, which is used to
break off connection with the interface.
Step 6
There are limits to some features that can be downloaded and run from the K’NEX Interface while it is
disconnected from the computer e.g. variables are restricted to x and y only (see page 14).
• If you are creating a control program that will be downloaded and
run with the K’NEX Interface disconnected from the computer,
select the ‘Limit to Download’ option in the Settings menu.
Using the K’NEX Interface after the initial set-up
• Connect the K’NEX Interface to the power supply. The green LED should stay continuously lit.
Note: If the green LED flashes, press the GO button once so it is solid.
• Connect the K’NEX Interface to the computer using the USB cable.
• Start the K’NEX Computer Control software.
• Click on the Connect icon to establish connection to the K’NEX Interface
When a connection is established the icon will change to Disconnect (which is used to break
off connection with the interface).
Simulation
Control programs can be created and modified in the software without the the K’NEX Interface
attached. This is referred to as ‘operating in simulate mode’.
To simulate the K’NEX Interface:
1. The K’NEX Interface should still be set as the interface (from Interface in the File menu) so the
correct number of outputs, inputs and the relevant commands that operate with the K’NEX
Interface will be made available.
2. If you want to limit the features to those that will work with the K’NEX Interface disconnected
from the computer, select Limit to Download from the Settings menu.
3. Do not select the Connect icon.
4. Create your control program.
back to Table of Contents


