21
3. You will see the
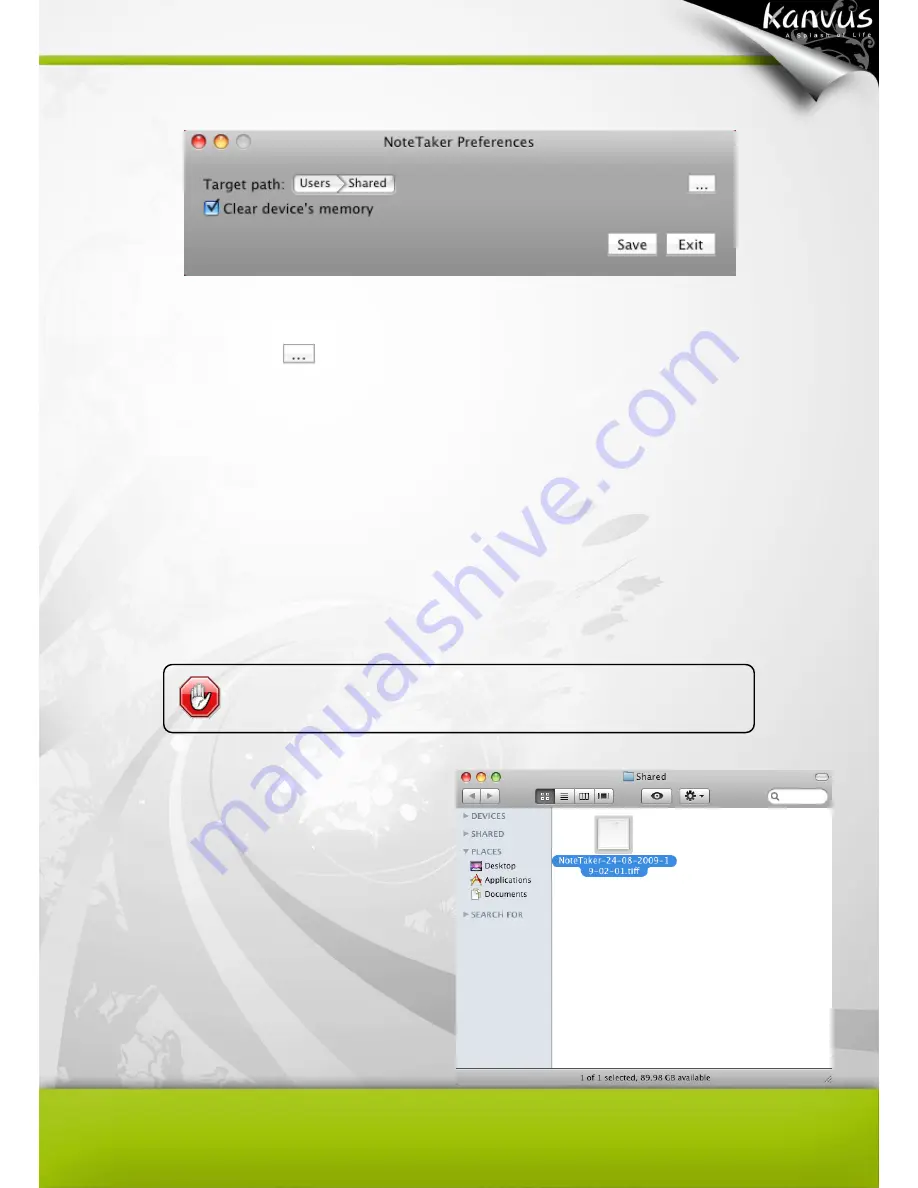
“Note Taker Preferences” setting dialog box.
(1) Target path :
Displays the destination location i
n your Mac’s hard drive where you would like to
store the notes. Click
to choose a different path.
(2) Clear device
’s memory :
If you tick on this checkbox, the memory of the device will be erased
after you upload the notes to the computer. If the checkbox is unchecked, the notes will be kept
in your device.
(3) Save :
Save your preferences and close the dialog.
(4) Exit :
Close the dialog box without saving any changes.
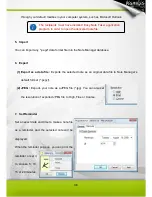
4. After you connect the device and upload the
notes to you computer, a folder will appear
automatically showing the preference you
set last step. Then you can see the saved
notes as TIFF format. Double-click on the
desired file to view it.
The note is uploaded automatically when you connect the device
via a USB port on your Mac computer.
Summary of Contents for KuPen Air
Page 1: ...V1 00 Windows Macintosh ...
Page 5: ...4 1 Product Introduction Product Features Package Contents Receiver Unit Digital Pen ...
Page 11: ...10 2 Getting Started Installation Configuration ...
Page 64: ...63 5 Specification Summary Receiver Unit Digital Pen ...
Page 67: ...66 6 Troubleshooting Testing your device FAQ Service and Technical Support Driver Download ...


