– 12 –
When you unplug the AC power cord or if a power
failure occurs
The clock loses the setting and is reset to “0:00.” If this happens,
set the clock again.
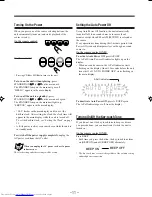
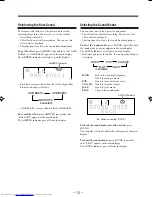
To turn off the clock indication (power save mode)
Press DISP/CHARA while the unit is in standby mode.
“DISPLAY OFF” appears in the main display.
The clock indication goes off from the main display.
To turn on the clock indication,
press DISP/CHARA
again while the unit is in standby mode.
“DISPLAY ON” appears in the main display.
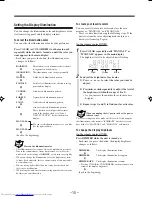
To check the clock time with tones
When the key-touch tone is activated (see “Turning On/Off
the Key-touch Tone” on page 11), the unit lets you know
the time using long and short tones in different pitches
while the unit is in standby mode.
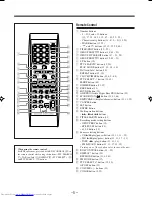
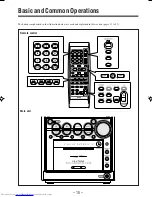
On the remote control ONLY:
Press DIMMER while the unit is in standby mode.
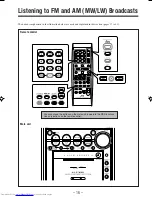
The time is represented as a four-digit number: two digits
each for hours and minutes (ex. 2:58
=
0258). Each digit
is distinguished by a different pitch of tone, and numbers
are made up of long and short tones.
The following shows the details.
Differentiation of digits:
Representation of numbers:
* •••••: Five quick short tones
Ex.:
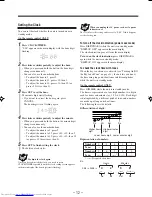
Setting the Clock
You can set the clock whether the unit is turned on or in
standby mode.
On the remote control ONLY:
1
Press CLOCK/TIMER.
“0:00” appears in the main display with the hour digit
flashing.
2
Press
¢
or
4
repeatedly to adjust the hour.
• When you press and hold the button, the hour digit
changes continuously.
• You can also use the number buttons.
– To adjust the hour to 5, press 5.
– To adjust the hour to 12, press +10, then 2.
– To adjust the hour to 20, press +10, then 10 (or
press +10 twice, then 0).
3
Press SET to set the hour.
The minute digit starts flashing.
• If you want to correct the hour again, press
CANCEL.
The hour digit starts flashing again.
4
Press
¢
or
4
repeatedly to adjust the minute.
• When you press and hold the button, the minute digit
changes continuously.
• You can also use the number buttons.
– To adjust the minute to 5, press 5.
– To adjust the minute to 25, press +10, +10, then 5.
– To adjust the minute to 30, press +10, +10, then 10
(or press +10 three times, then 0).
5
Press SET to finish setting the clock.
The built-in clock starts.
To adjust the clock again
Once you have adjusted the clock, you need to press
CLOCK/TIMER repeatedly until the clock setting screen appears
in the main display (the hour digit starts flashing).
2:58
=
0258
=
Hours
Minutes
0
2
5
8
—
--
•••••
•••••---
Do
Mi
Sol
Do
Do
Mi
Sol
Do
Higher hours
digit
Lower hours digit
Higher minutes
digit
Lower minutes digit
Numbers
0
1
2
3
4
Tones
—
-
--
---
----
Numbers
5
6
7
8
9
Tones
•••••
•••••-
•••••-- •••••--- •••••----
*
*
*
*
*
EN10-15UX-Z7MDR[B]f
02.6.28, 13:46
12

