5
Tap “ADD”.
(Operation on this camera)
.
ADD
ACCESS POINTS
SET
6
Tap “EZ REGISTRATION WPS”.
(Operation on this camera)
.
EZ REGISTRATION WPS
ADD
7
Activate WPS of the access point (wireless LAN router) within 2 minutes.
0
To activate WPS, refer to the instruction manual of the device in use.
8
After registration is complete, tap “OK” on the camera’s screen.
(Operation on this camera)
.
OK
WPS
WPA2
ENCRYPTION METHOD
SSID:********************************
REGISTERED
9
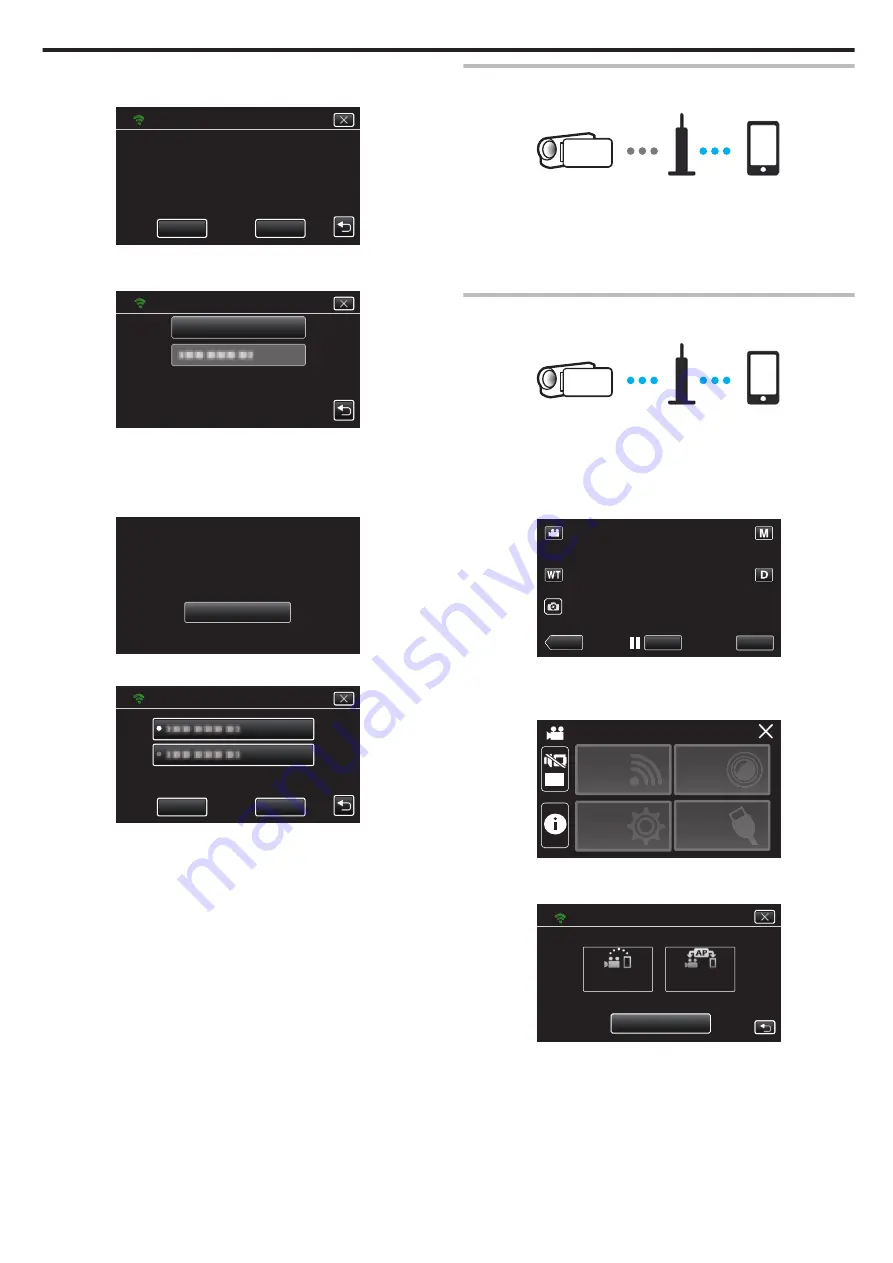
Select the access point, then tap “SET”.
.
ADD
ACCESS POINTS
SET
0
If several access points are registered, tap on the access point to be
used, then tap “USE”.
0
To delete the access point registered, tap on the access point, then
tap “DELETE”.
0
The following registration methods are also available.
“Registering Access Point Using WPS PIN” (
“Registering Access Point Manually” (
Connecting Smartphone to Access Point (Wireless LAN
Router)
.
0
Connect the smartphone to the access point (wireless LAN router) at
home.
0
For details on how to connect, refer to the instruction manual of the device
in use or the access point (wireless LAN router).
0
This setting is not required if the smartphone has already been connected
to the access point (wireless LAN router) at home.
Monitoring the images by connecting the smartphone and the
camera
.
0
Install “Everio sync. 3” on the smartphone in advance.
“Installing Smartphone Applications” (
o
Operation on this camera
1
Tap “MENU”.
(Operation on this camera)
.
REC
≪
PLAY
MENU
0
The top menu appears.
2
Tap the “Wi-Fi” (
Q
) icon.
(Operation on this camera)
.
OFF
SETUP
TOP MENU
Wi-Fi
SETTING
RECORD
SETTINGS
CONNECTION
3
Tap “ACCESS POINT CONNECTION”.
(Operation on this camera)
.
Wi-Fi
Wi-Fi SETTING
ACCESS POINT
CONNECTION
CONNECTION
DIRECT
Using Wi-Fi
103


