8
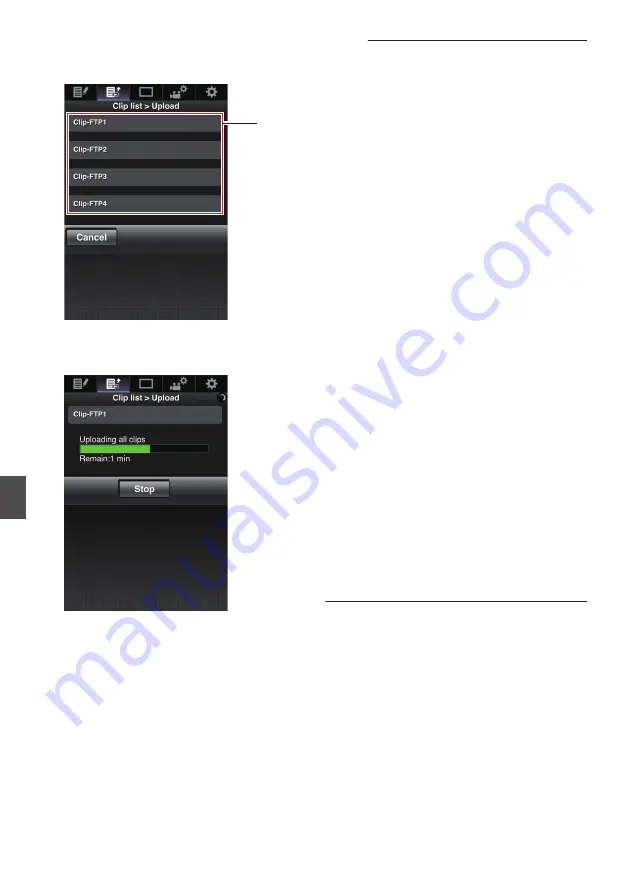
Select the clip server and start uploading.
0
Upon selecting the server to upoload clips to,
an upload screen appears.
.
8
0
The status of the transfer process is indicated
by a progress bar.
.
Memo :
0
To stop transfer, tap (click) the [Stop] button.
Tapping (clicking) [Yes] on the confirmation
screen stops the transfer halfway and brings you
back to the main page.
0
If there already exists a file on the FTP server
with a name identical to the file to be transferred,
a confirmation screen asking to overwrite the file
will appear.
However, if “HTTP” is selected in the [Select
FTP Proxy] screen of the network connection
settings, an overwrite confirmation screen does
not appear, and the existing file will be
overwritten directly.
0
After uploading in step
8
has started, other web
browser operations are disabled until uploading
is complete.
0
After uploading in step
8
has started and upon
shifting to the Media mode by pressing the
[MODE] selection button, operation from the
web browser will be disabled.
To enable web browser operation, press the
[MODE] selection button again to switch to the
Camera mode.
0
If a setting other than “FTP” is specified for
[Protocol], to ensure the safety of the
communication path, a screen appears
prompting you to validate the fingerprint of the
public key and certificate received from the
server.
Check to ensure that the displayed value
coincides with the known value.
0
Fingerprint is a unique value that varies with
each public key and certificate.
0
For details of the fingerprint, please consult
the administrator of the server to be
connected.
0
When “HTTP” is selected in the [Select FTP
Proxy] screen of the network connection setting,
connections to the servers other than “FTP”
protocol cannot be made.
172
Uploading a Recording Clip via a Web Browser
n
Connecting to the Network
n
Summary of Contents for GY-HM170E
Page 2: ...2 ...
Page 211: ...211 ...


