72
English
5
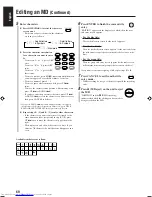
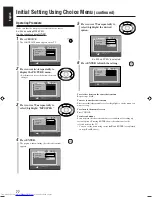
Select the device to record onto.
(1) Press cursor
3
/
2
repeatedly to select
the device.
(2) Press SET.
(3) When you select “MD REC,”
select the recording length
mode (see page 46) by pressing cursor
3
/
2
, then press SET
again.
When you select “TAPE REC,”
select Reverse
Mode (see page 43) by pressing REV.MODE
when you prepare the device.
When recording starts, reverse mode indicator
changes to
automatically.
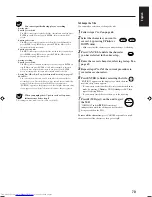
The
REC
(recording timer) indicator stops flashing and remains
lit. The contents of this setting appear on the display in sequence
for your confirmation.
6
Press
AUDIO to turn off the unit if
you have set the timer with the unit
turned on.
To record onto an MD using the Group recording, press GROUP
REC ON/OFF to turn on the Group recording after setting the
Recording Timer (before turning off the unit).
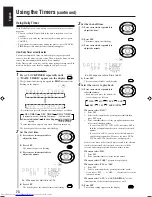
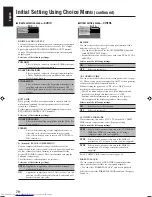
Before the start time, the
REC
(recording timer) indicator and
“REC TIMER STANDBY!” start flashing on the display.
Before the shut-off time, the display changes as follows:
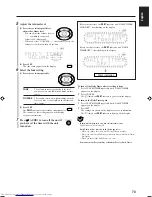
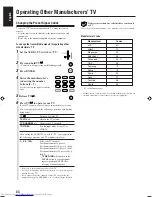
To turn off the Recording Timer after its setting is done
1
Press CLOCK/TIMER repeatedly until “REC TIMER” appears
on the display.
2
Press CANCEL.
The (timer) and
REC
(recording timer) indicators go off from
the display.
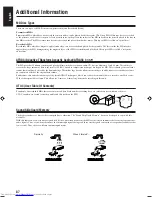
To turn on the Recording Timer again
1
Press CLOCK/TIMER repeatedly until “REC TIMER” appears
on the display.
2
Press SET repeatedly until the settings are shown on the display
for your confirmation.
The (timer) and
REC
(recording timer) indicators light up on
the display.
•
When you press
7
while Recording Timer works
The recording stops but the timer is not canceled. The unit automatically
turns off (on standby) when the shut-off time comes.
•
If the unit is kept turned on when the start time comes
Recording Timer does not work at all.
REC
SP
x 1
MD
REC
REC
Clock indication
MD REC
TAPE REC
EN71-75_UX-J99DVD[UB]5.p65
03.12.12, 11:06 PM
72


