6-4
6.2.2 Configuring the own track display
Configure the own track display.
Own track information is saved in SSD every second. Track information of up to 24 hours is displayed
on the chart.
Procedure
Use the following operation to display the [Own Track] dialogue in the Edit pane of the [View] dialogue.
[Menu]
→
View
→
Own Track
The [Own Track] dialogue consists of the [Display] tab, [Plot] tab, and [Clear] tab.
Memo
Some items may not be displayed depending on the installation setting.
[Display] tab
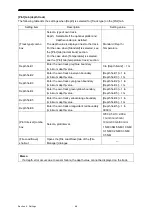
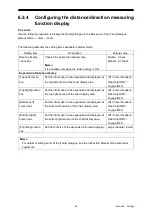
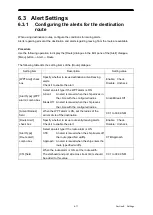
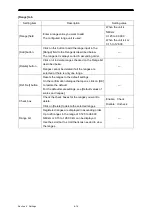
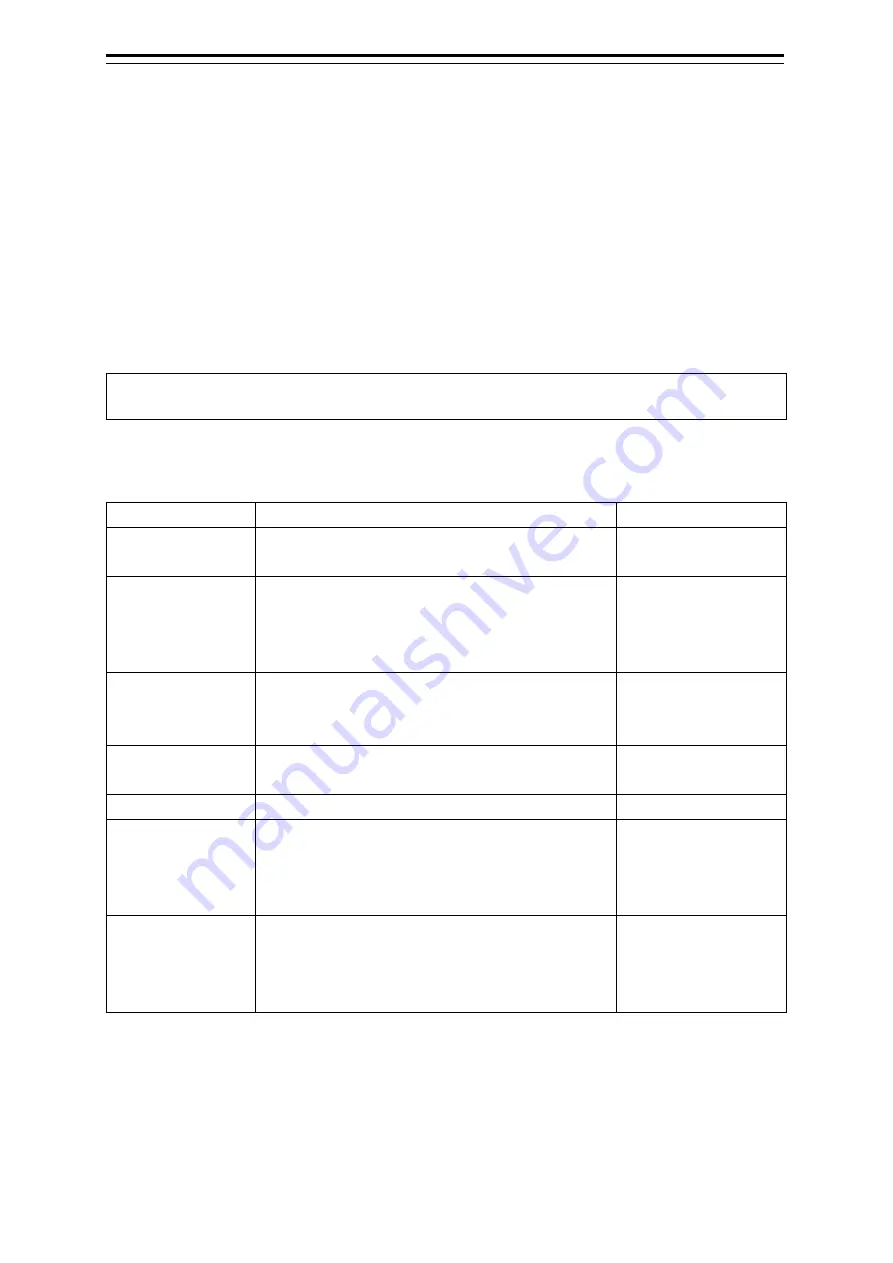
The following table lists the setting items of the [Display] tab.
Setting item
Description
Setting value
[Own Track
Display]
Check it to enable the own track display.
Check the colour to enable.
Enable: Check.
Disable: Uncheck.
[Show
Values/Vector on
Track] check box
Check it to display the water depth, water
temperature, and the current vector.
Select Depth, Temperature, or Current from the
[Show Values/Vector on Track] combo box.
Enable: Check.
Disable: Uncheck.
[Show Values/
Vector on Track]
combo box
Select Depth, Temperature, or Current to display it
next the track.
Depth/Temperature/
Current
[Current Vector]
This item is enabled when [Current] is selected in
the [Show Values/Vector on Track] combo box.
—
[Current Size] filed
Enter the vector length.
0.1 to 99.9 kn/cm
[Layer A], [Layer B],
[Layer C], [Layer
D], and [Layer E]
check boxes
Check the check box(es) for the layer(s) A/B/C/D/E
whose display you want to enable.
Enable: Check.
Disable: Uncheck.
Colour selection
combo boxes
When Layer [A]/[B]/[C]/[D]/[E] is enabled, select the
display colour of each layer.
White / Grey / Amber /
Magenta / Blue / Cyan
/ Green / Yellow /
Orange / Dark Red
Summary of Contents for JMR-5400 Series
Page 2: ......
Page 58: ...Section 2 Basic Operations and Mode Screen 2 32 ...
Page 86: ...Section 4 Route Planning 4 18 ...
Page 96: ...Section 5 Route monitoring 5 10 ...
Page 124: ...Section 7 Specifications 7 2 ...
Page 205: ......


