42
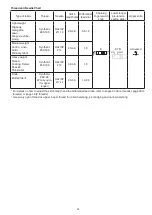
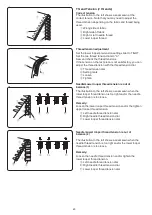
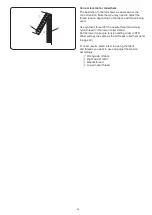
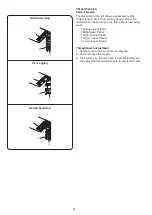
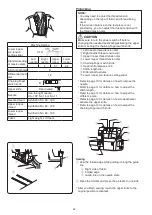
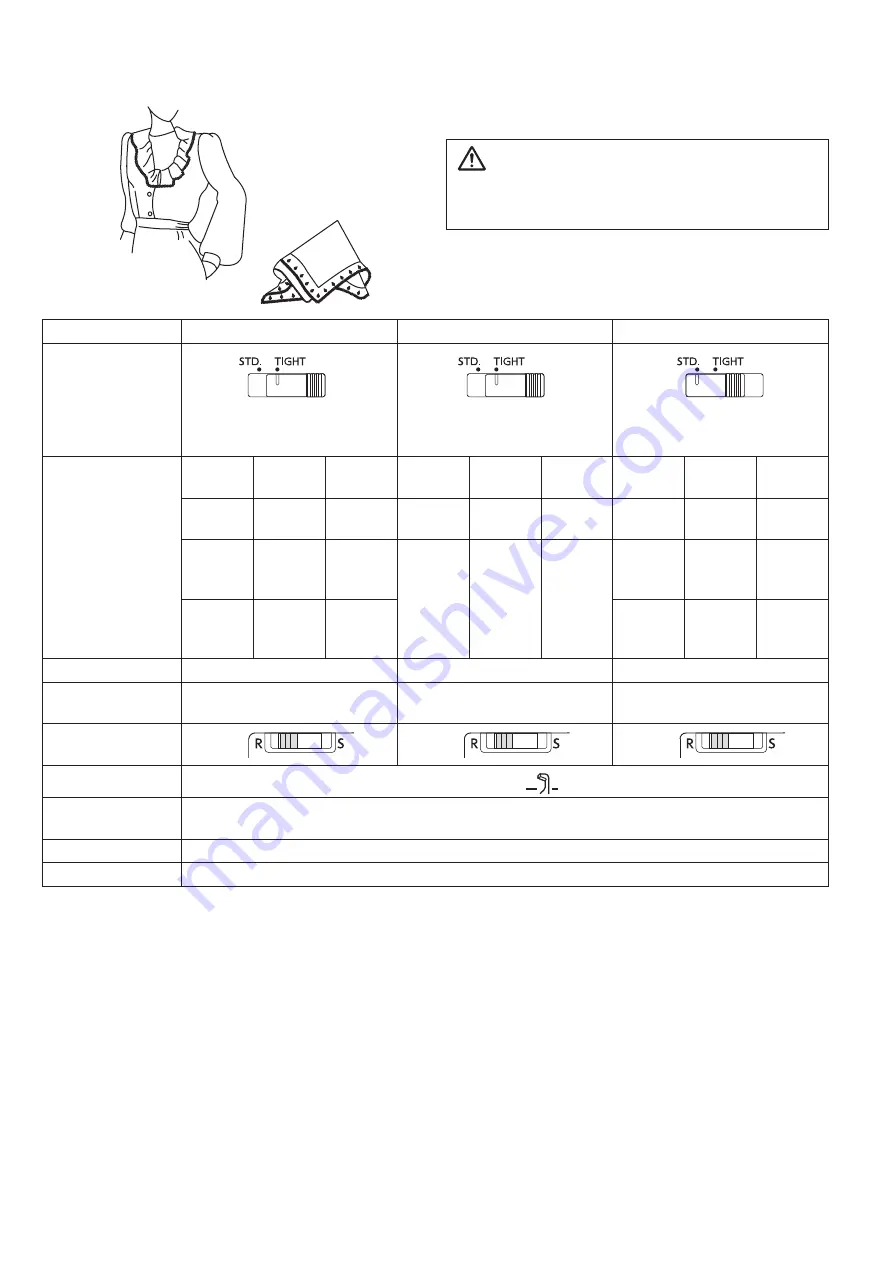
Rolled Hemming
Picot Edging
Narrow Hemming
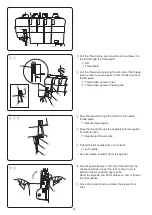
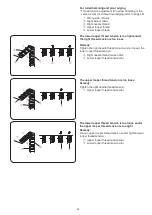
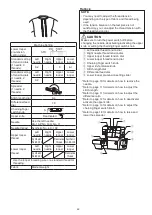
Lower looper
pre-tension setting
slider
TIGHT
* Set the lower looper
pre-tension setting slider to
TIGHT after threading.
TIGHT
* Set the lower looper
pre-tension setting slider to
TIGHT after threading.
STD.
Standard setting of
tension dials
Right
needle
Upper
looper
Lower
looper
Right
needle
Upper
looper
Lower
looper
Right
needle
Upper
looper
Lower
looper
(Synthetic)
3-4
(Synthetic)
3
(Synthetic)
3
(Synthetic)
2-4
(Synthetic)
3
(Synthetic)
3
(Synthetic)
4
(Synthetic)
3
(Synthetic)
3
(Synthetic)
4
(Wooly
nylon)
1
(Synthetic)
3
-
-
-
(Synthetic)
4
(Wooly
nylon)
1
(Synthetic)
3
(Synthetic)
4
(Wooly
nylon)
1
(Wooly
nylon)
3
(Synthetic)
4
(Wooly
nylon)
1
(Wooly
nylon)
3
Stitch length dial
R
3-4
R
Differential feed
dial
1.0
1.0
1.0
Chaining finger
switch knob
R
R
R
Upper knife
Activated
Needle
Using the right needle: HA-1 SP No. 11
(Remove the left needle.)
Needle thread
Synthetic: No. 80 - 100
Fabric
Lightweight fabric such as organdy, crepe de chine, lawn and georgette
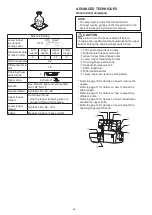
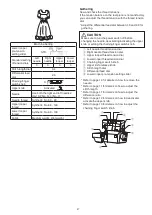
ROLLED HEMMING, PICOT EDGING AND NARROW HEMMING
Tension Dial and Machine Settings According to the Thread and Fabric
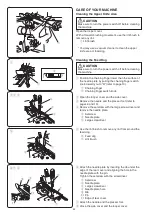
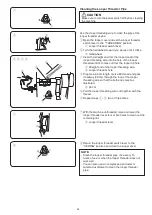
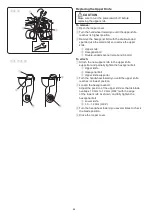
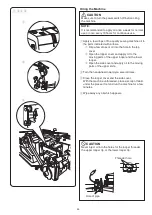
The setting of tension dials may vary depending on the
type and thickness of fabric and thread being sewn.
* Refer to page 10 for details on how to remove the needle.
* Refer to page 11 for details on how to adjust the stitch length.
* Refer to page 11 for details on how to adjust the difference ratio.
* Refer to page 13 for details on how to adjust the chaining finger switch knob.
* Refer to page 12 for details on how to deactivate and activate the upper knife.
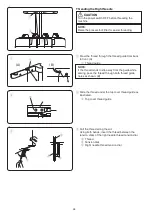
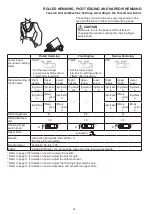
CAUTION
Make sure to turn the power switch off before
changing the needle or setting the chaining finger
switch knob.
Summary of Contents for AT2000D
Page 2: ...Instruction Book AirThread 2000D Professional...
Page 3: ......
Page 62: ...59 This page is left intentionally blank...
Page 63: ...60 Version 1 01 11 04 2018...
Page 64: ......
Page 65: ...799 800 005 EN...

