SeapiX
–
Installation Manual
SSD-C-1306 Ed. A
–
01/2020
45
5
SeapiX Commissioning
When SeapiX is used for the first time, follow the step-by-step commissioning process
described below:
Warning:
Before proceeding, make sure that the SAU is in the water. Otherwise, severe
damage can occur to SeapiX system.
Step
Action
1.
Check that the different elements of the SeapiX system have been tested, installed and
connected properly: see 4 Installation Process.
2.
Check the power supply voltage and connect the power cords.
3.
Check that the
ITU
is shut down.
4.
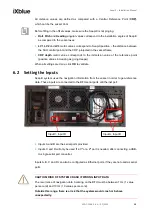
Power on the
BFU
.
5.
Power on the
ITU
.
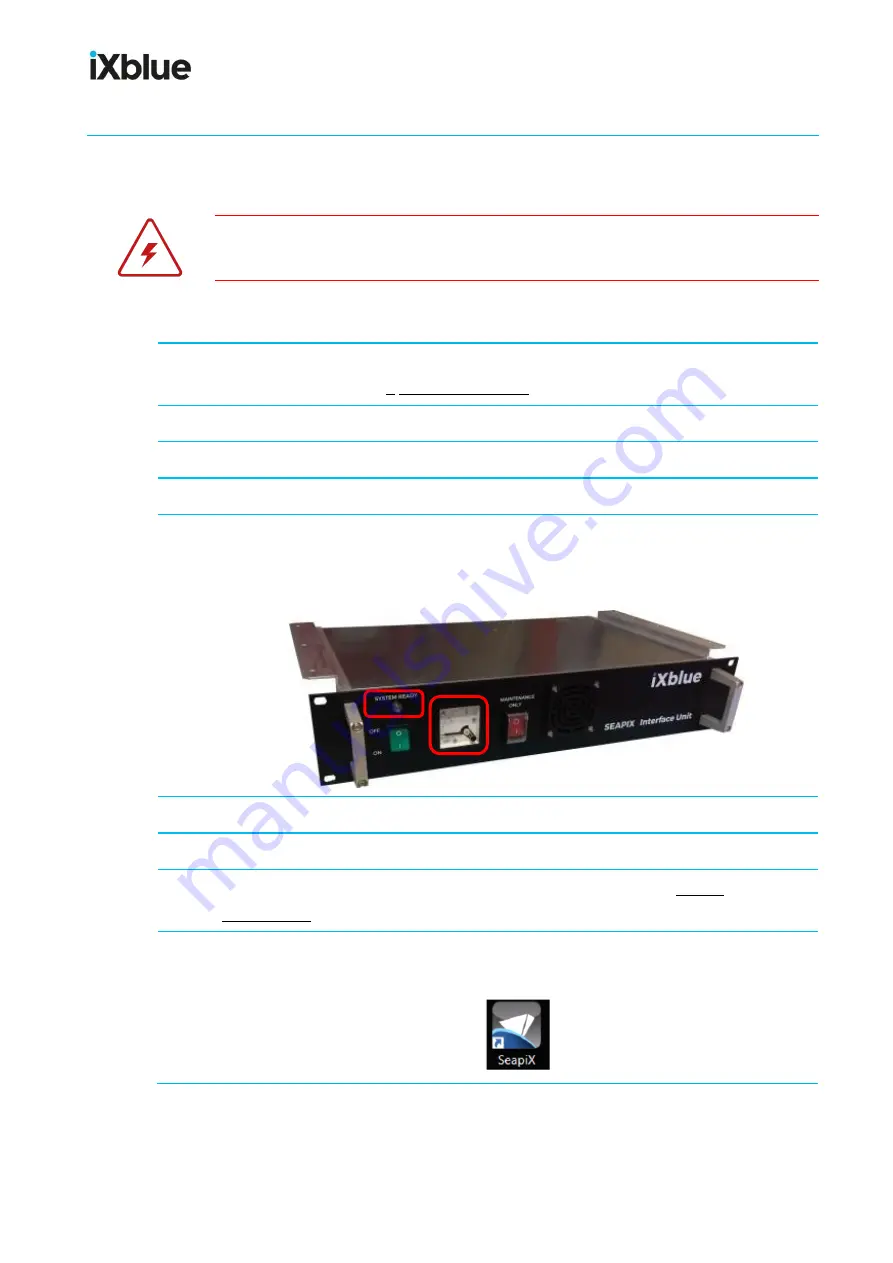
The
ITU
shall start: on its front face, the
blue LED
switches on and a
peak
consumption
(up to 10A) is visible on the current indicator.
6.
Power on the
VPU
. At that stage, SeapiX is ready to be configured.
7.
Check that the VPU dongle is inserted.
8.
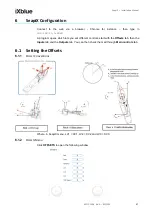
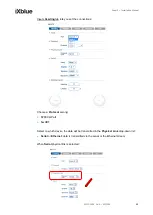
Configure the Offsets and the Inputs / Outputs and check them
(see SeapiX
9.
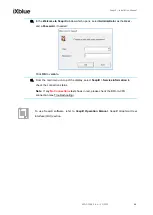
From Windows® desktop on the
VPU
, double-click the
SeapiX
icon to launch
SeapiX
software
:

