32
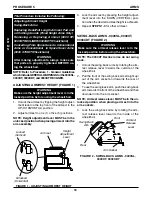
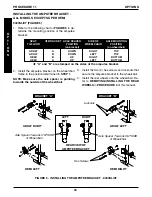
REPLACING THE HEADREST PILLOW
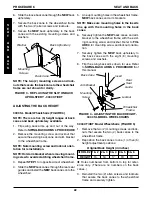
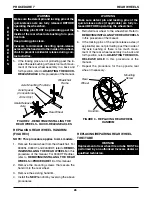
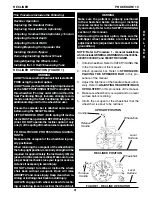
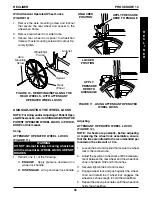
(FIGURE 2)
1. Unfasten straps of headrest pillow from behind head-
rest upholstery.
2. Secure straps of NEW headrest pillow onto fastening
strips located on back of headrest upholstery.
R
E
C
L
I
N
E
R
Strap
Fastening
Strips
Headrest
Pillow
Strap
Headrest
Upholstery
FIGURE 2 - REPLACING THE HEADREST
PILLOW
PROCEDURE 10
RECLINER
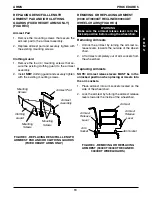
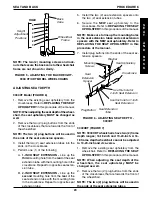
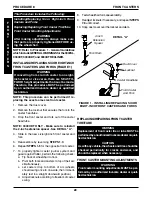
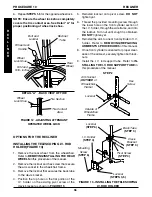
Back Upholstery (FIGURE 3)
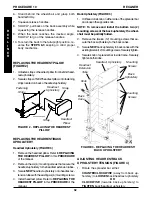
1. Unthread one knob on either side of the spreader bar
and loosen the opposite knob.
NOTE: To remove and install the bottom two (2)
mounting screws of the back upholstery the wheel-
chair must be partially folded.
2. Remove the twelve (12) mounting screws that se-
cure the back upholstery to the back canes.
3. Secure
NEW
back upholstery to back canes with the
existing twelve (12) mounting screws. Securely tighten.
4. Secure knob of spreader bar to side frame. Securely
tighten both knobs.
REPLACING THE HEADREST/BACK
UPHOLSTERY
Headrest Upholstery (FIGURE 3)
1. Remove the headrest pillow. Refer to
REPLACING
THE HEADREST PILLOW
in this
PROCEDURE
of the manual.
2. Remove the six (6) mounting screws that secure the
headrest upholstery to the headrest extension tubes.
3. Secure
NEW
headrest upholstery onto headrest ex-
tension tubes with the existing six (6) mounting screws.
4. Install headrest pillow. Refer to
REPLACING THE
HEADREST PILLOW
in this
PROCEDURE
of the
manual.
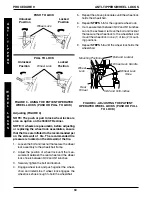
Mounting
Screws
Back
Upholstery
Mounting
Screws
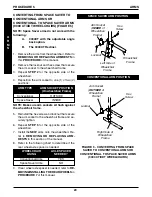
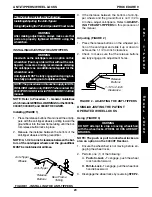
ADJUSTING HEADREST/BACK
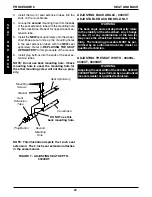
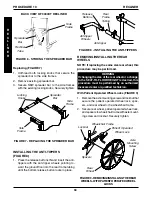
UPHOLSTERY TENSION (FIGURE 4)
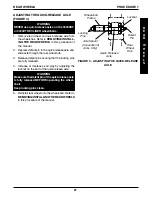
1. Rotate the spreader bar either:
COUNTERCLOCKWISE
(away from back up-
holstery) to
LOOSEN
back/headrest upholstery
OR
CLOCKWISE
(towards back upholstery) to
TIGHTEN
back/headrest upholstery
FIGURE 3 - REPLACING THE HEADREST/
BACK UPHOLSTERY
Back
Cane
Headrest Upholstery
Headrest
Extension
Tube
Knob
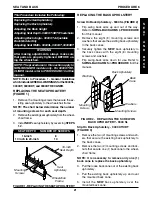
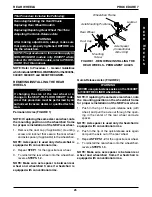
6. Stand behind the wheelchair and grasp both
handlesfirmly.
7. Squeeze release handles.
8. SLOWLY, pull back on the back assembly while
squeezing the release handles.
9. When the back reaches the desired angle,
SLOWLY let go of the release handles.
10. To return the back to the full upright position, re-
verse the
STEPS 6-9
keeping in mind proper
body mechanics.
Summary of Contents for 9000 SL
Page 42: ...42 NOTES N O T E S NOTES...

