Chapter 3 — Printing Labels
XMLLabel v6.10 User’s Guide
39
You can create printer groups and remove printers you do not
want to use. For help, see the next sections, “Creating Printer
Groups” and “Removing Printers and Groups.”
7
Click
Next
.
8
Select the check boxes of the printers where you want to send
the .lbx files and click
Next
.
9
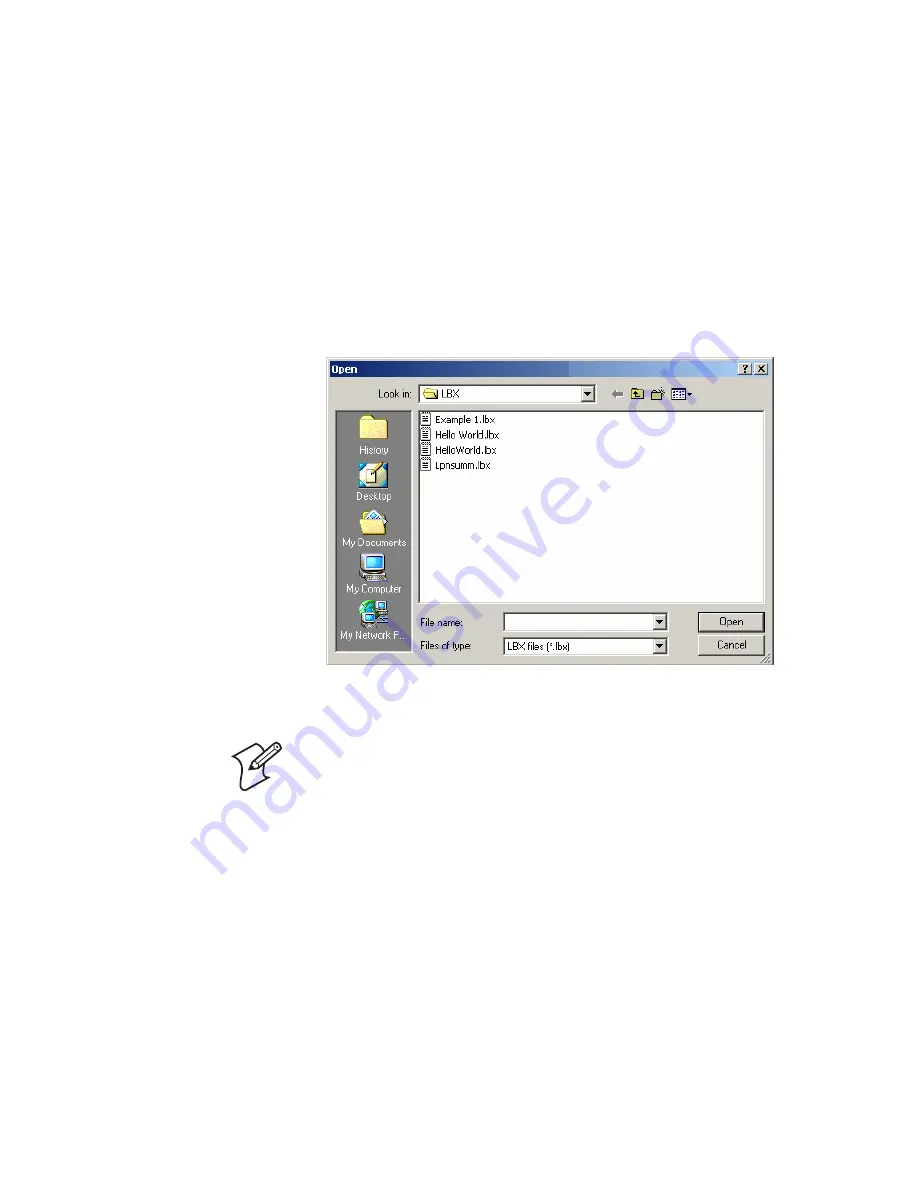
In the Add Files window, click
Add files
. An Open dialog
box appears.
10
Browse to the location of your .lbx file, select it, and click
Open
. Your .lbx file now appears in the
Files
list.
Note:
You can select and add multiple .lbx files from the
Open dialog box.
11
Click
Next
.
12
In the Select Rules window, select your options for the .lbx
file and click
Next
.
Label Loader sends your .lbx file to the printer. A Transfer
dialog box appears to show you the status of the file transfer.
When the file has transferred successfully, you receive a
Transfer completed message.
13
Click
Finish
.
Summary of Contents for XMLLabel
Page 1: ...XMLLabel v6 10 User s Guide...
Page 4: ...iv XMLLabel v6 10 User s Guide...
Page 22: ...Chapter 1 Getting Started 14 XMLLabel v6 10 User s Guide...
Page 40: ...Chapter 2 Designing Labels 32 XMLLabel v6 10 User s Guide...
Page 60: ...Chapter 4 Troubleshooting 52 XMLLabel v6 10 User s Guide...
Page 61: ......


