


CHAPTER 2 |
Installing the SBX
2
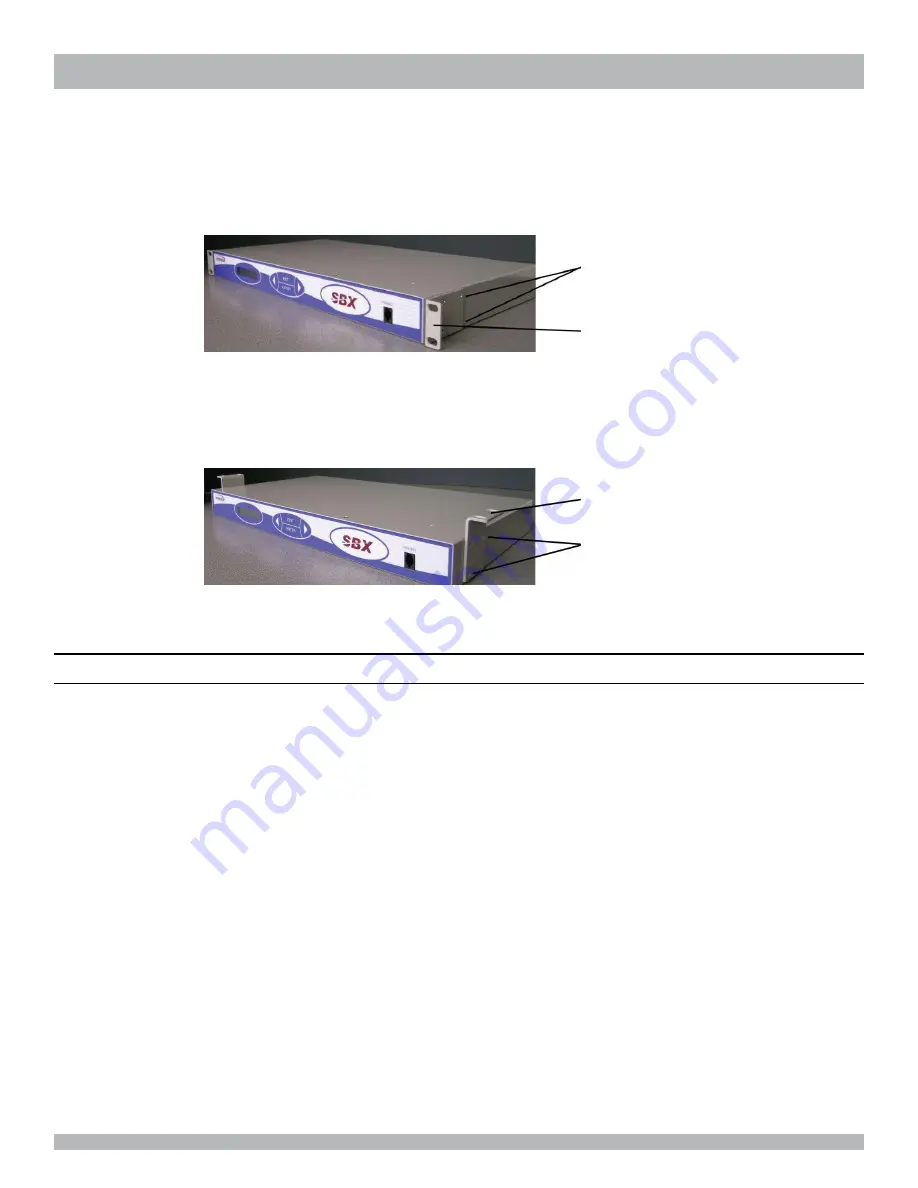
To install an SBX
2
in a rack
1. Attach the rack mounting bracket to the
SBX
2
with the screws provided, as shown below:
Screws (4 per side)
Flange
2. Install the
SBX
2
in the rack using the flanges of the mounting brackets.
To mount an SBX
2
to a wall
1. Attach the mounting brackets to the
SBX
2
with the screws provided, as shown below:
Flange
Screws (4 per side)
2. Use appropriate screws to mount the
SBX
2
to a plywood backboard.
Note:
Do not mount the
SBX
2
directly to standard wall board material.
Checking System Startup
At system startup, the
SBX
2
identifies the current system configuration. You should watch the information displayed on
the LCD to ensure that the
SBX
2
is working correctly.
Record the system details since the system configuration information may be required at a later date for maintenance
and upgrades.
To check system startup
1. Attach the
SBX
2
to the power supply.
2. Verify that the LCD illuminates.
3. Verify that the
SBX
2
identifies the current system configuration in the following order:
••
Confirms loading of messages and prompts.
••
The current firmware version installed.
••
The total amount of recording time currently installed.
••
The amount of recording time that is currently available.
••
The date and time.
The date and time may have to be reset to show the correct values.
Interalia
|
SBX
2
System Manual
Page 7


