Server System Features
22
Intel
®
Server System R1000EP Service Guide
4.
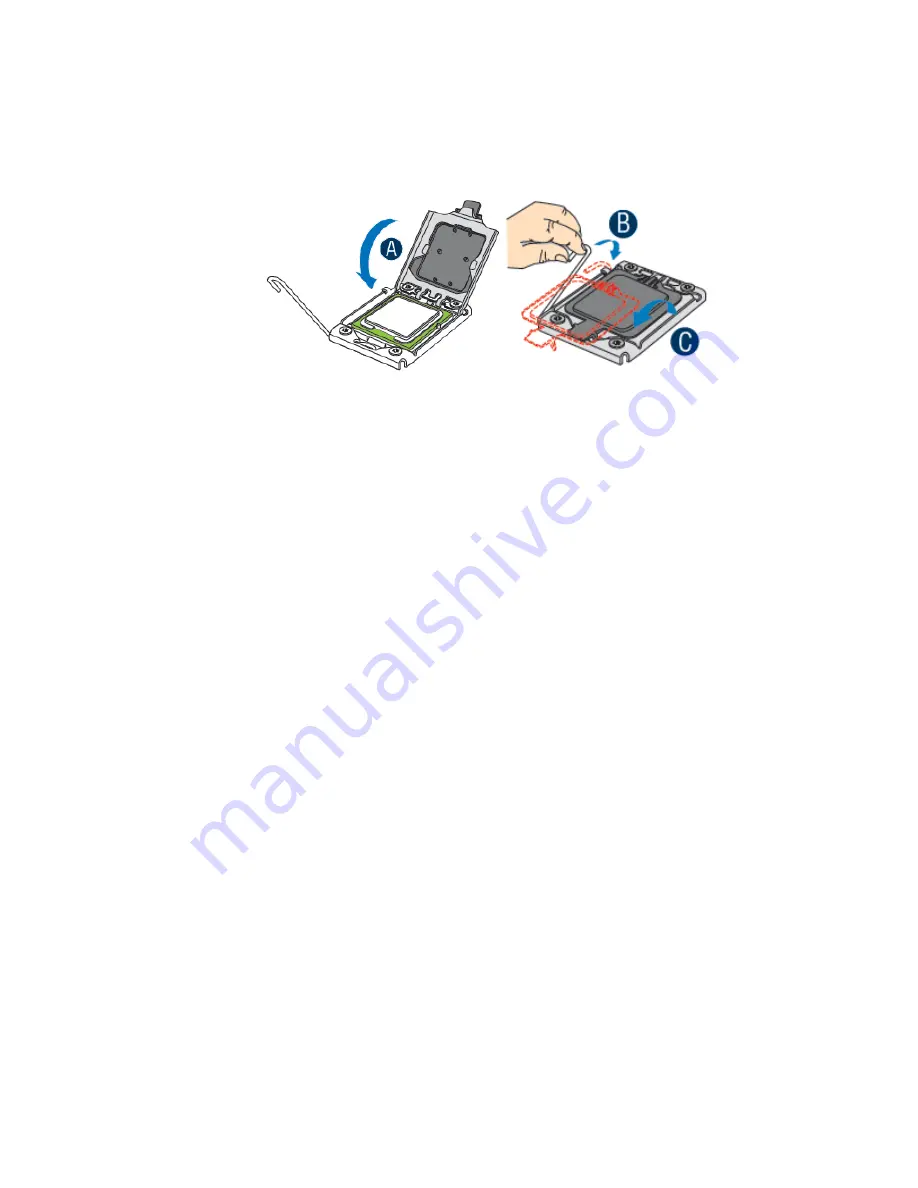
Close the load plate all the way as shown (see letter
A
). With your finger, push down the load
plate as shown (see letter
B
). Close the socket lever and ensure that the load plate tab engages
under the socket lever when fully closed. The cover will be automatically removed.
Figure 30. Installing Processor – Close the load plate and Remove the Cover
Installing Processor Heatsink(s)
1.
Remove the protective film on the TIM if present (see letter
A
).
2.
Align heatsink fins to the front and back of the chassis for correct airflow. Airflow goes from
front-to-back of chassis (see letter
B
).
Each heatsink has four captive fasteners and should be tightened in a diagonal manner using the
following procedure:
3.
Using a #2 Phillips* screwdriver, start with screw 1 and engage screw threads by giving it two
rotations and stop (see letter
C
). (Do not fully tighten.)
4.
Proceed to screw 2 and engage screw threads by giving it two rotations and stop (see letter
D
).
Similarly, engage screws 3 and 4.
5.
Repeat steps C and D by giving each screw two rotations each time until each screw is lightly
tightened up to a maximum of 8 inch-lbs torque (see letter
E
).
Summary of Contents for R1000EP series
Page 12: ......


