Appendix B. Using the DS6000 with iSeries
341
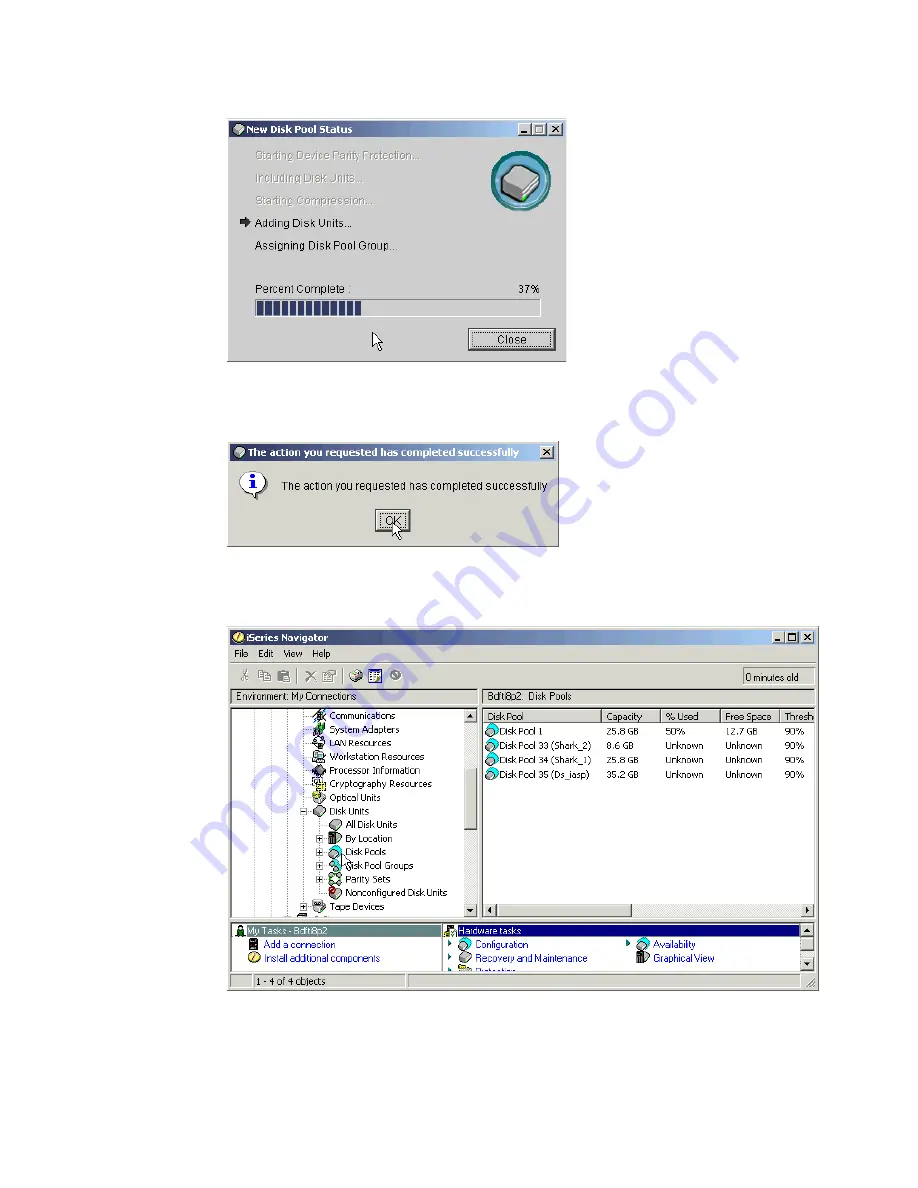
Figure B-18 New Disk Pool Status
14.When complete, click OK on the information panel shown in Figure B-19.
Figure B-19 Disks added successfully to Disk Pool
15.The new Disk Pool can be seen on iSeries Navigator Disk Pools in Figure B-20.
Figure B-20 New Disk Pool shown on iSeries Navigator
16.To see the logical volume, as shown in Figure B-21, expand Configuration and Service,
Hardware
, Disk Pools and click the disk pool you just created.
Summary of Contents for System storage DS6000 Series
Page 2: ......
Page 5: ...iii...
Page 6: ...iv DS6000 Series Concepts and Architecture...
Page 18: ...xvi DS6000 Series Concepts and Architecture...
Page 24: ...xxii DS6000 Series Concepts and Architecture...
Page 26: ...2 DS6000 Series Concepts and Architecture...
Page 44: ...20 DS6000 Series Concepts and Architecture...
Page 46: ...22 DS6000 Series Concepts and Architecture...
Page 68: ...44 DS6000 Series Concepts and Architecture...
Page 88: ...64 DS6000 Series Concepts and Architecture...
Page 136: ...112 DS6000 Series Concepts and Architecture...
Page 138: ...114 DS6000 Series Concepts and Architecture...
Page 218: ...194 DS6000 Series Concepts and Architecture...
Page 242: ...218 DS6000 Series Concepts and Architecture...
Page 266: ...242 DS6000 Series Concepts and Architecture...
Page 298: ...274 DS6000 Series Concepts and Architecture...
Page 352: ...328 DS6000 Series Concepts and Architecture...
Page 392: ...368 DS6000 Series Concepts and Architecture...
Page 396: ...372 DS6000 Series Concepts and Architecture...
Page 404: ...DS6000 Series Concepts and Architecture DS6000 Series Concepts and Architecture...
Page 405: ......


