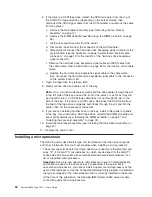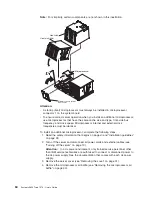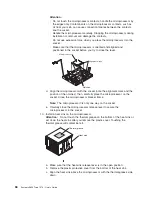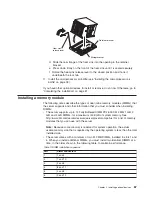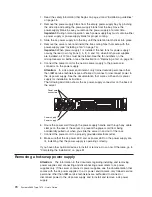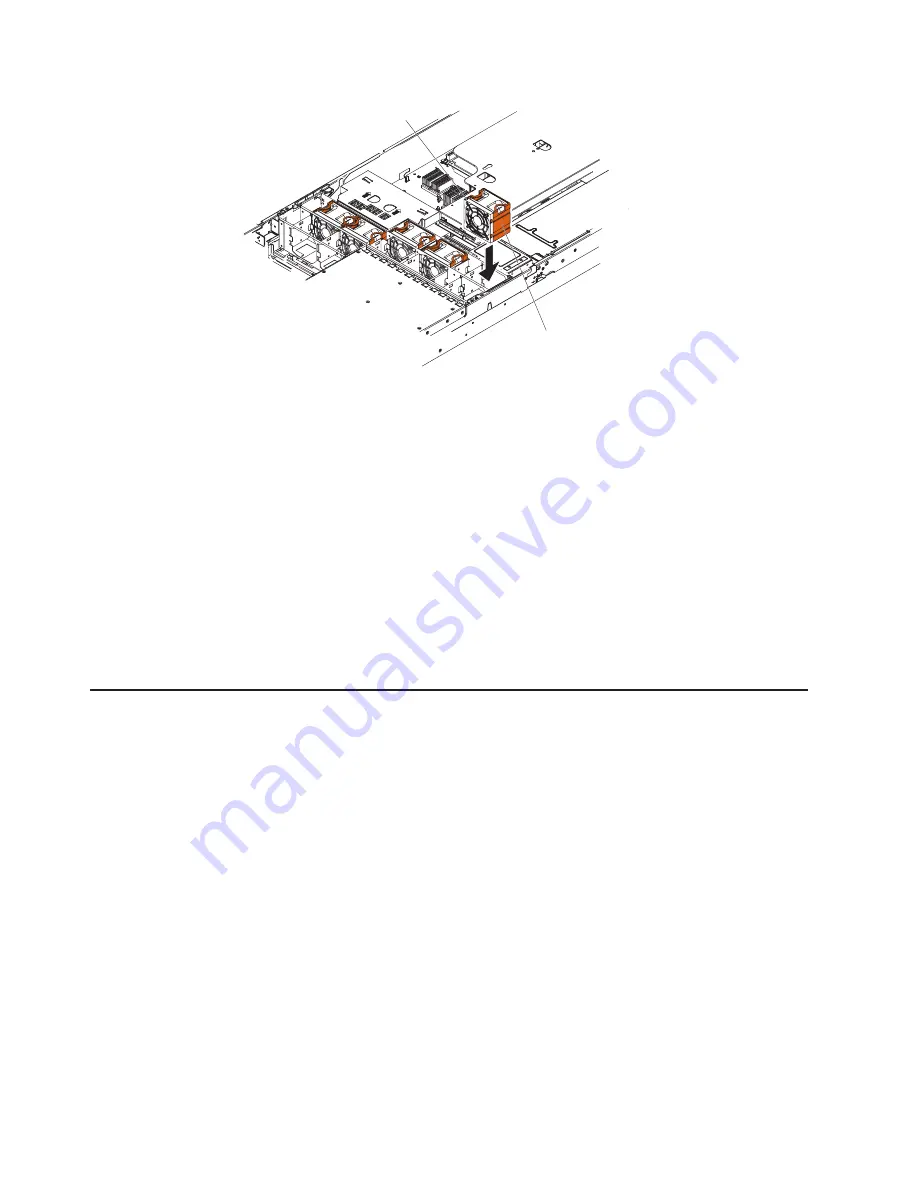
Hot-swap fan
LED
To
install
any
of
the
10
replaceable
fans,
complete
the
following
steps:
1.
Read
the
safety
information
that
begins
on
page
vii
and
“Installation
guidelines”
on
page
28.
2.
If
you
have
not
done
so
already,
slide
the
server
out
of
the
rack
and
remove
the
cover
(see
“Removing
the
cover”
on
page
31).
Attention:
To
ensure
proper
system
cooling,
do
not
remove
the
top
cover
for
more
than
30
minutes
during
this
procedure.
3.
Orient
the
new
fan
over
its
position
in
the
fan
assembly
bracket
so
that
the
LED
on
top
of
the
fan
is
toward
the
left
side
of
the
server.
4.
Push
the
new
fan
into
the
fan
assembly
bracket
until
it
clicks
into
place.
5.
Repeat
until
all
the
new
fans
are
installed.
If
you
have
other
optional
devices
to
install
or
remove,
do
so
now.
Otherwise,
go
to
“Completing
the
installation”
on
page
81.
Removing
a
fan
The
server
comes
with
up
to
10
replaceable
fans.
Attention:
To
ensure
proper
server
operation,
if
a
fan
fails,
replace
it
as
soon
as
possible.
To
remove
any
of
the
10
replaceable
fans,
complete
the
following
steps.
76
System
x3650
Type
7979:
User’s
Guide
Summary of Contents for 7979B1U
Page 1: ...System x3650 Type 7979 User s Guide...
Page 2: ......
Page 3: ...System x3650 Type 7979 User s Guide...
Page 8: ...vi System x3650 Type 7979 User s Guide...
Page 30: ...14 System x3650 Type 7979 User s Guide...
Page 130: ...114 System x3650 Type 7979 User s Guide...
Page 138: ...122 System x3650 Type 7979 User s Guide...
Page 143: ......
Page 144: ...Part Number 44R5189 Printed in USA 1P P N 44R5189...

