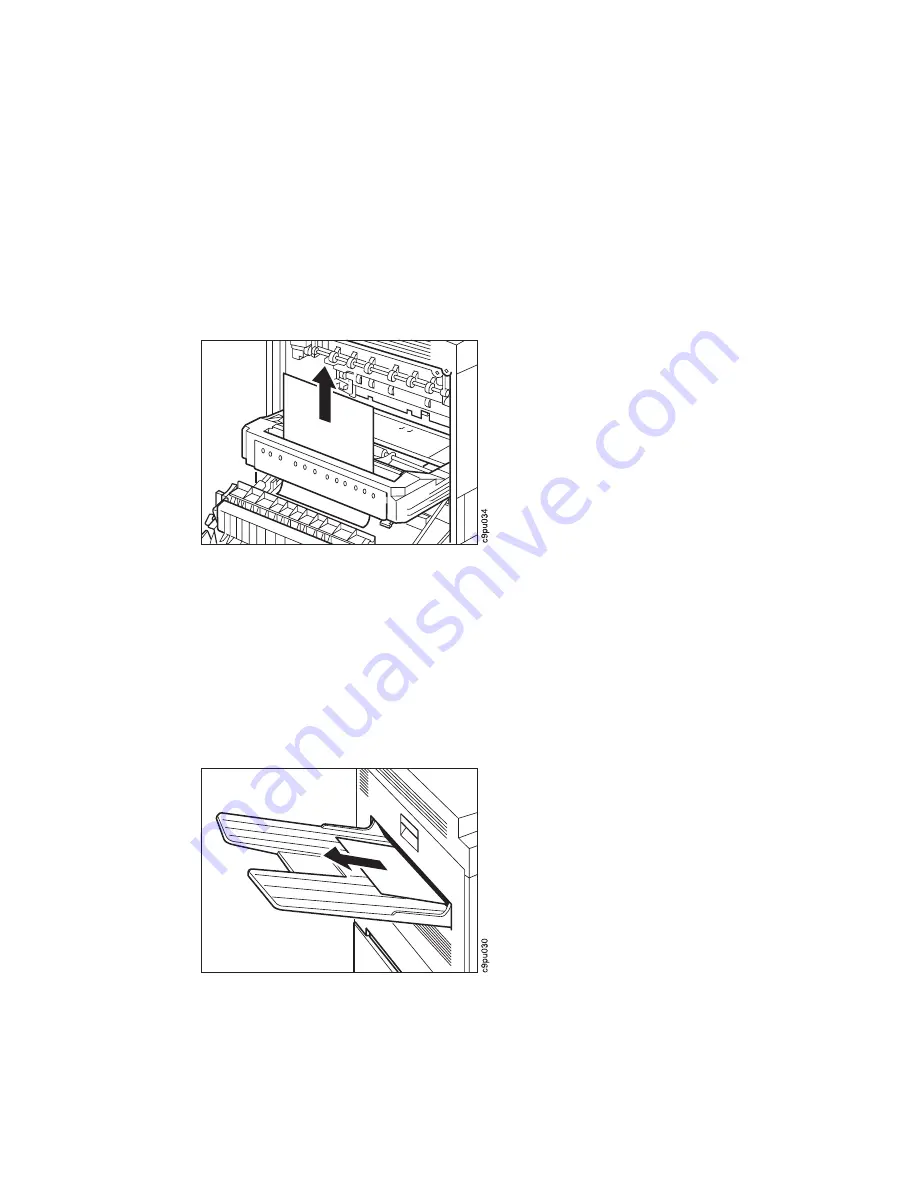
8. If the paper jam is inside the duplex unit, gently pull the paper straight up to
remove the paper.
9. After removing the paper, push the duplex unit back into place and close the left
printer cover.
10. Plug in the power cord.
11. Connect power cord to power source.
12. Turn printer power on.
Removing Paper Jams from the Face-Up Tray
Follow these steps:
1. Try to remove the paper jam from the face-up tray by pulling the paper towards
you. Most paper jams can be removed this way.
2. If the paper cannot be removed easily from the face-up tray, you will need to
remove the paper by following the steps listed in “Removing Paper Jams from the
Fuser Area” on page 116.
130
User's Guide
Summary of Contents for 24
Page 1: ...IBM Network Printer 24 IBM Network Printer 24PS User s Guide IBM S544 5378 01 ...
Page 2: ......
Page 3: ...IBM Network Printer 24 IBM Network Printer 24PS User s Guide IBM S544 5378 01 ...
Page 10: ...viii User s Guide ...
Page 12: ...x User s Guide ...
Page 16: ...xiv User s Guide ...
Page 106: ...82 User s Guide ...
Page 132: ...108 User s Guide ...
Page 162: ...138 User s Guide ...
Page 219: ...5 Plug power cord in and turn printer power back on Chapter 7 Installing Printer Options 195 ...
Page 220: ...196 User s Guide ...
Page 230: ...c9pu210 2 Use 4324 as the machine type 206 User s Guide ...
Page 238: ...214 User s Guide ...
Page 296: ...272 User s Guide ...
Page 318: ......
Page 321: ......
Page 322: ...IBM Part Number 63H4020 File Number S370 4300 9370 16 Printed in U S A S544 5378 ð1 63H4ð2ð ...


