58
EQUIPMENT INFORMATION
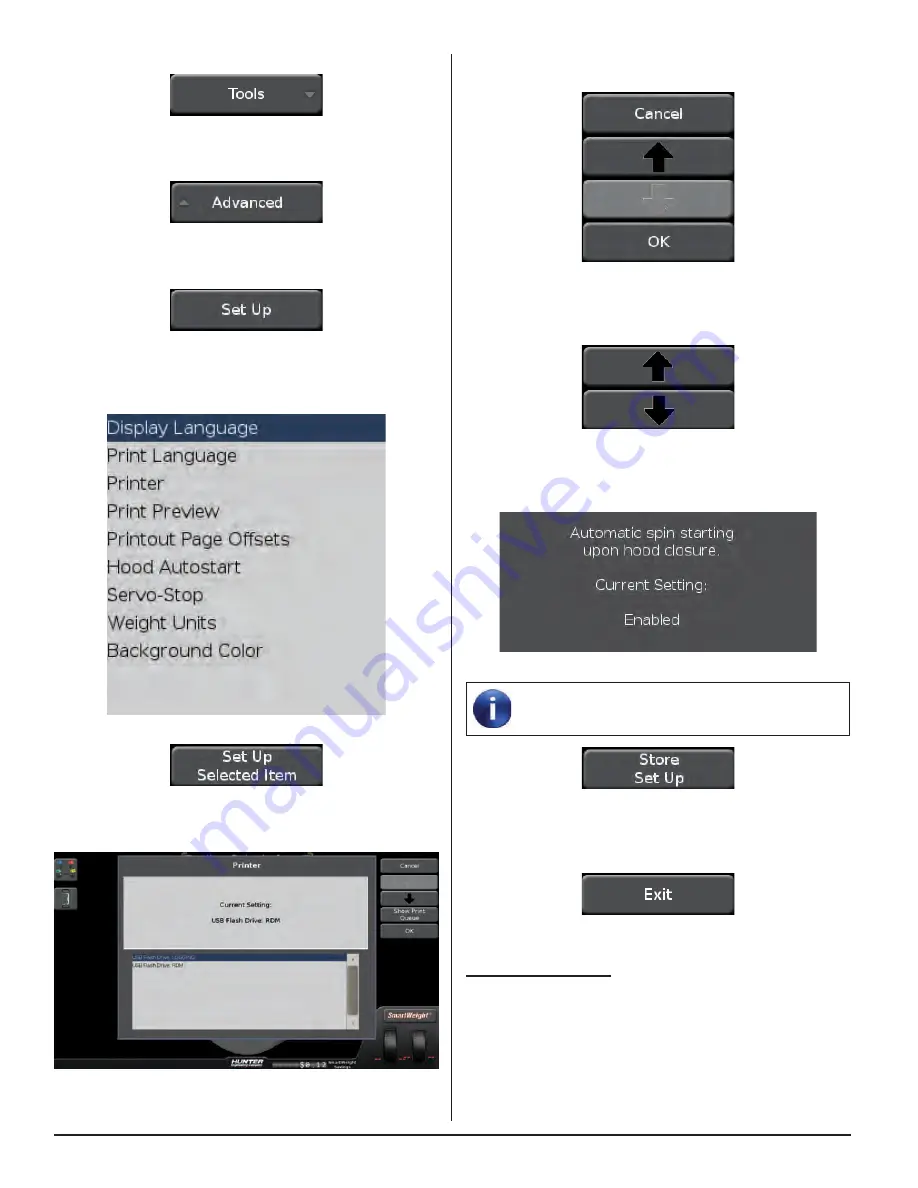
When the selection is made, touch “OK” to save or
“Cancel” to abandon.
Figure 234.
To scroll up or down in the list of items, either press the
“Up” or “Down” arrows, or drag the scroll bar.
Figure 235.
The upper right area of the set up screen displays the
current setting for each feature.
Figure 236.
The set up information is not stored until “Store
Set Up” is touched.
Figure 237.
To abandon the set up procedures without saving
changes, touch the “Exit” button or reset the system.
Figure 238.
“Reset All” Button
Clears all data and returns the balancer to a freshly
booted condition.
From the main balance screen, touch the “Tools” button.
Figure 228.
Touch the “Advanced” button.
Figure 229.
Touch the “Set Up” button.
Figure 230.
Change set up features by touching the desired item then
touching the “Set Up Selected Item” button.
Figure 231.
Figure 232.
Available options will be displayed.
Figure 233.
Summary of Contents for GSP9200 Touch
Page 2: ......
Page 6: ...THIS PAGE INTENTIONALLY LEFT BLANK iv ...
Page 26: ...THIS PAGE INTENTIONALLY LEFT BLANK 18 INTRODUCTION TO BALANCING ...
Page 87: ...THIS PAGE INTENTIONALLY LEFT BLANK ...
Page 88: ...www Hunter com ...


