Hardware options installation 31
5.
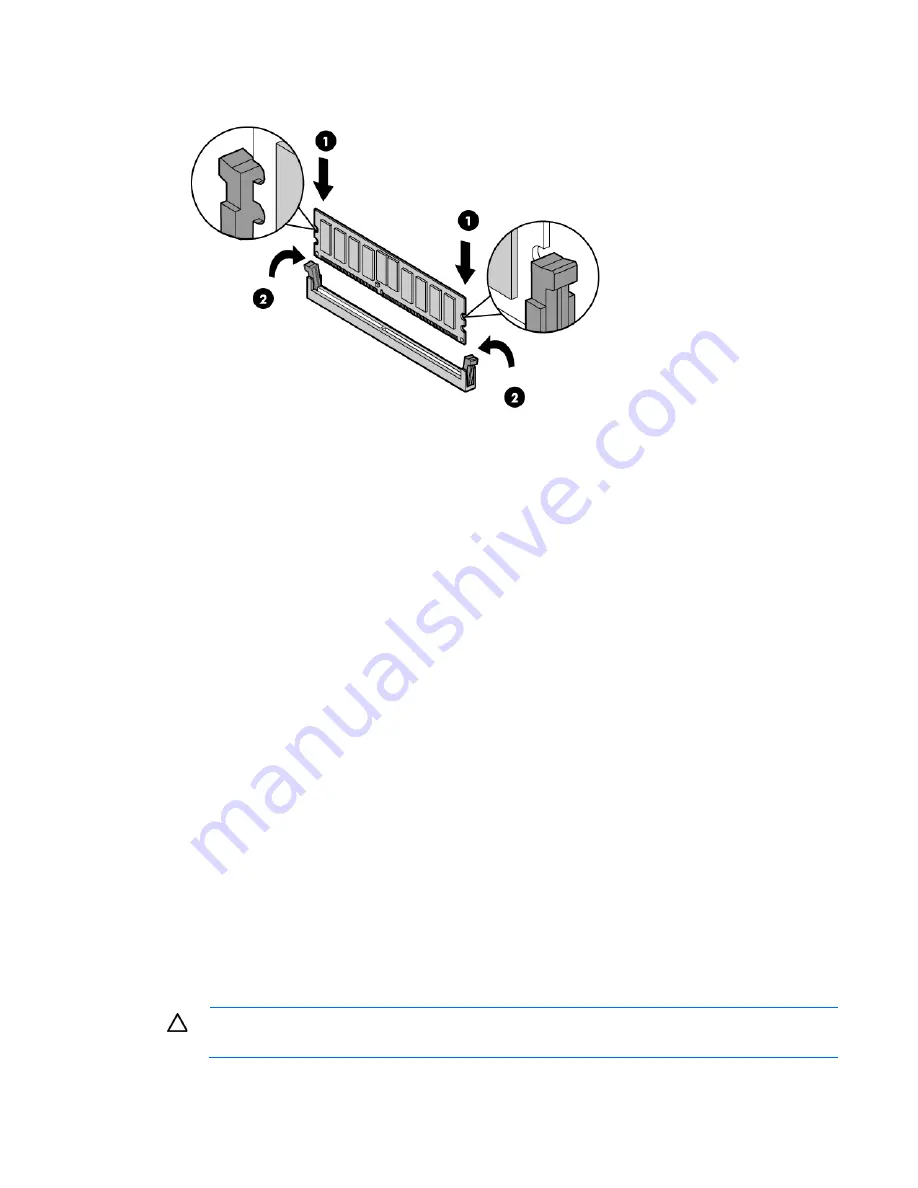
Install the DIMM.
6.
Install the air baffle (on page
20
).
7.
Install the access panel (on page
18
).
If you are installing DIMMs in Lockstep configuration, configure the mode in RBSU ("
HP ROM-Based Setup
Utility
" on page
54
).
Drive options
The server provides non-hot-plug capability through an embedded SATA controller. To obtain hot-plug
capability, install an optional controller and hot-plug cable option kit.
Drive guidelines
When adding drives to the server, observe the following general guidelines:
•
The system automatically sets all drive numbers.
•
If only one drive is used, install it in the bay with the lowest drive number.
•
Drives must be the same capacity to provide the greatest storage space efficiency when drives are
grouped together into the same drive array.
Optional storage controllers provide support for hot-plug capability and drive LEDs. Controller options are:
•
The embedded controller supports non-hot-plug SATA drives. Drive LEDs are not supported.
•
Optional SATA controllers support hot-plug SATA drives and drive LEDs.
•
Optional SAS controllers support hot-plug SAS or SATA drives and drive LEDs.
Removing a drive blank
CAUTION:
To prevent improper cooling and thermal damage, do not operate the server unless
all bays are populated with either a component or a blank.
Summary of Contents for ProLiant DL120 G7
Page 21: ...Operations 21 2 Install the access panel on page 18 3 Power up the server on page 17 ...
Page 41: ...Hardware options installation 41 10 Remove the rear bracket 11 Remove the ATX power supply ...
Page 49: ...Cabling 49 RPS cabling Internal USB cabling ...
Page 51: ...Cabling 51 ODD cabling SATA cabling LFF model ...
Page 52: ...Cabling 52 SFF model SAS cabling LFF model ...
Page 53: ...Cabling 53 SFF model ...
Page 74: ...Troubleshooting 74 ...
Page 97: ...Support and other resources 97 ...


