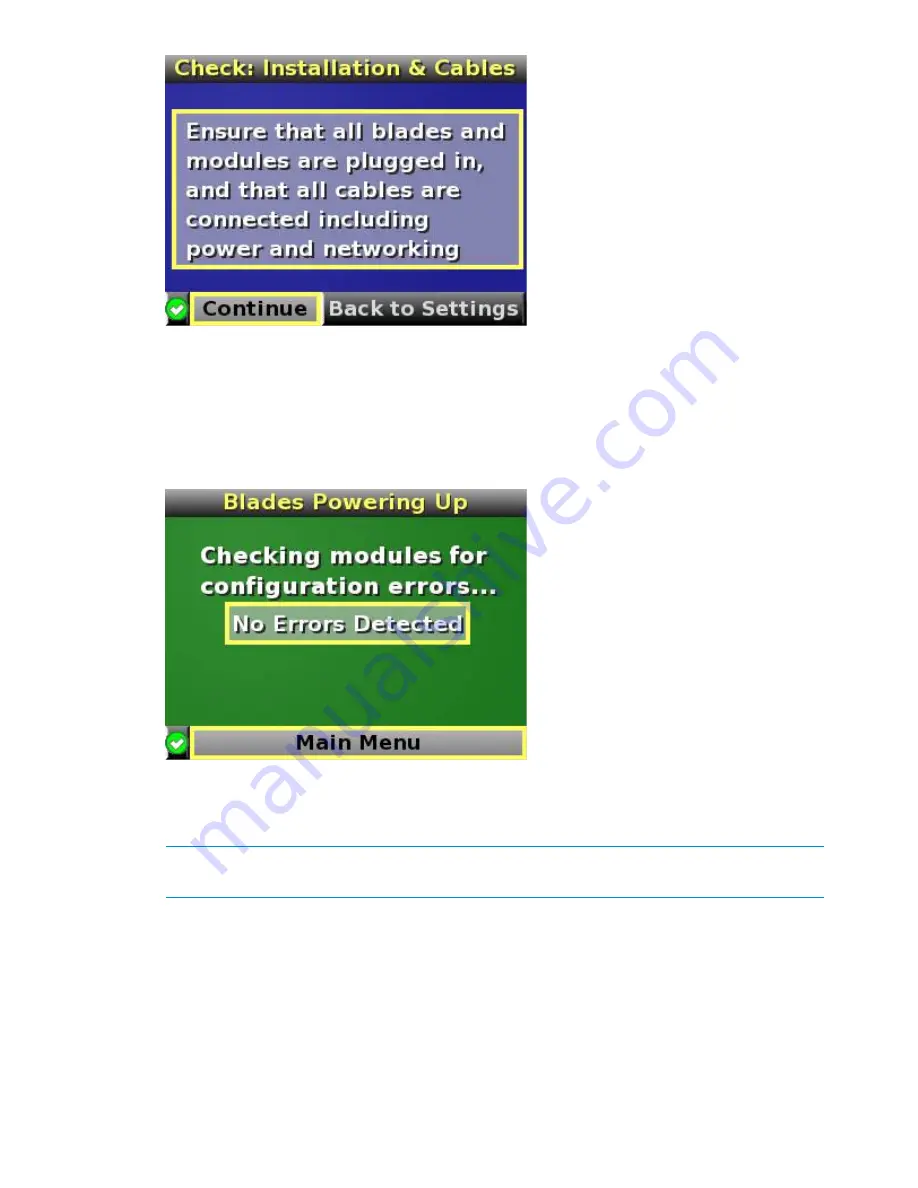
6.
Be sure that all components are installed and cabled before continuing. Select
Continue
, and
press the OK button to begin verifying for configuration and installation errors. When Continue
is selected, the enclosure UID automatically turns off.
7.
If no errors are detected, the rear enclosure UID turns off, and the Insight Display screen
illuminates green. Press the
OK
button to return to the Main Menu. Enclosure and blade
hardware setup and configuration is complete.
If errors are detected, the Insight Display screen glows amber, and the Health Summary screen
is displayed. See
“Insight Display errors” (page 30)
for more information on troubleshooting
configuration and installation errors.
NOTE:
Any configuration error prevents the operation of the enclosure and must be corrected
immediately.
8.
Open a browser and connect to the active Onboard Administrator module using the Onboard
Administrator IP address that is configured during the Insight Display Installation Wizard
process.
9.
Enter the user name and password from the tag supplied with the Onboard Administrator
module to access the remote Onboard Administrator web interface and complete the Onboard
Administrator First Time Installation Wizard.
Navigating the Insight Display
Navigate the menus and selections by using the arrow buttons on the Insight Display panel.
The first menu displayed is the Main Menu:
22
HP Integrity Superdome 2 Insight Display


